Table of Contents
- 11.1. Tests & Requirements
- 11.2. Begin Module 11.
- 11.3. Determine a count of outstanding/outstanding queries in Status View.
- 11.4. Review outstanding queries in Queries View.
- 11.5. Using EDC, locate and reply to outstanding clarification queries.
- 11.6. Add an Electronic Signature (eSign) to a set of completed subject records.
- 11.7. End Module 11.
Determine a count of outstanding/outstanding queries in Status View.
Review outstanding queries in Queries View.
Using EDC, locate and reply to outstanding clarification queries.
Add an Electronic Signature (eSign) to a set of completed subject records.
Estimate of Time Required: 30 Minutes
-
Start DFATK as described in Module 1 (Installation & Initialization).
-
Click followed by to begin this module.
-
Click to email a copy of ID99003_module11.pdf to
valid1. Clicking more than once will result in multiple pages arriving to your email inbox.![[Note]](../../imagedata/note.png)
Note Refer to Section 1.7, “Create a DFdiscover account for
valid1.” as a valid email address is required forvalid1to receive the module specific PDF files.
-
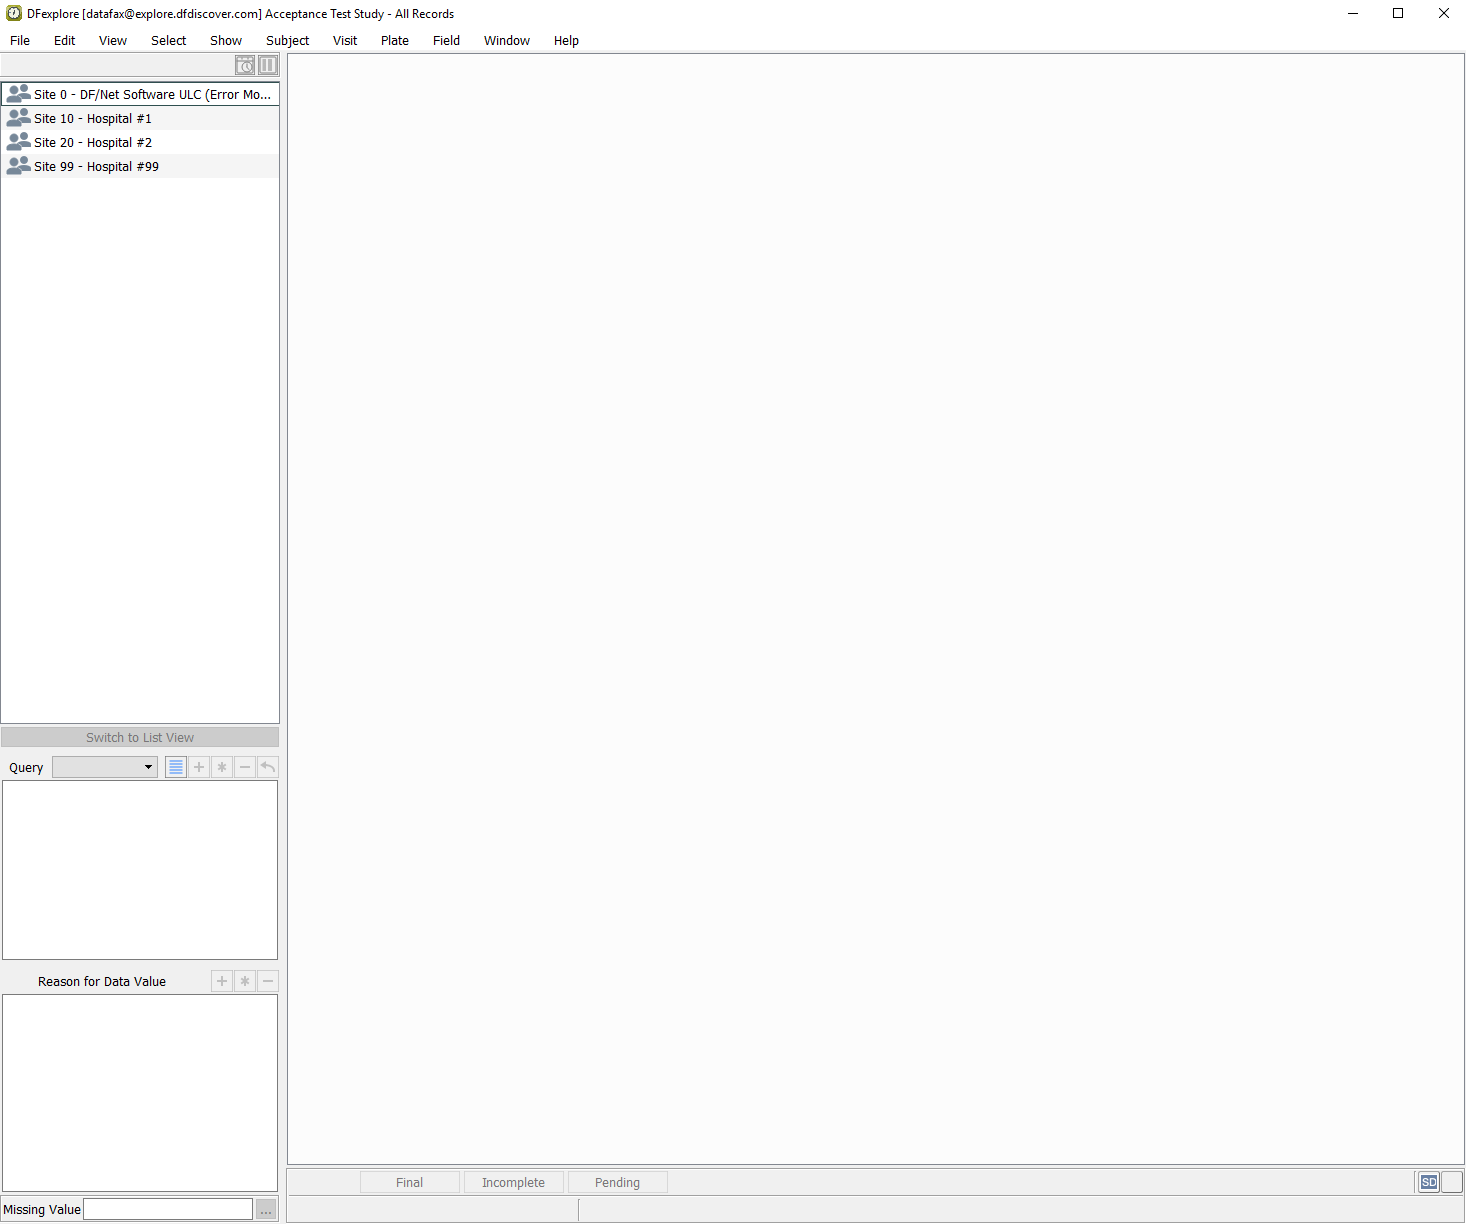
Start DFexplore and choose 254 Acceptance Test Study as described in Section 1.6, “How to start DFexplore”.
-
Select 254 Acceptance Test Study, click to open its database.
-
1 Case report form page for Subject 99003 arrives on your local printer or via email to the address provided in Step 5. Alternatively a copy of the Subject 99003 CRF can be obtained from the back of the Acceptance Test Study manual. You will need to reference this page in several of the tests in this module.
-
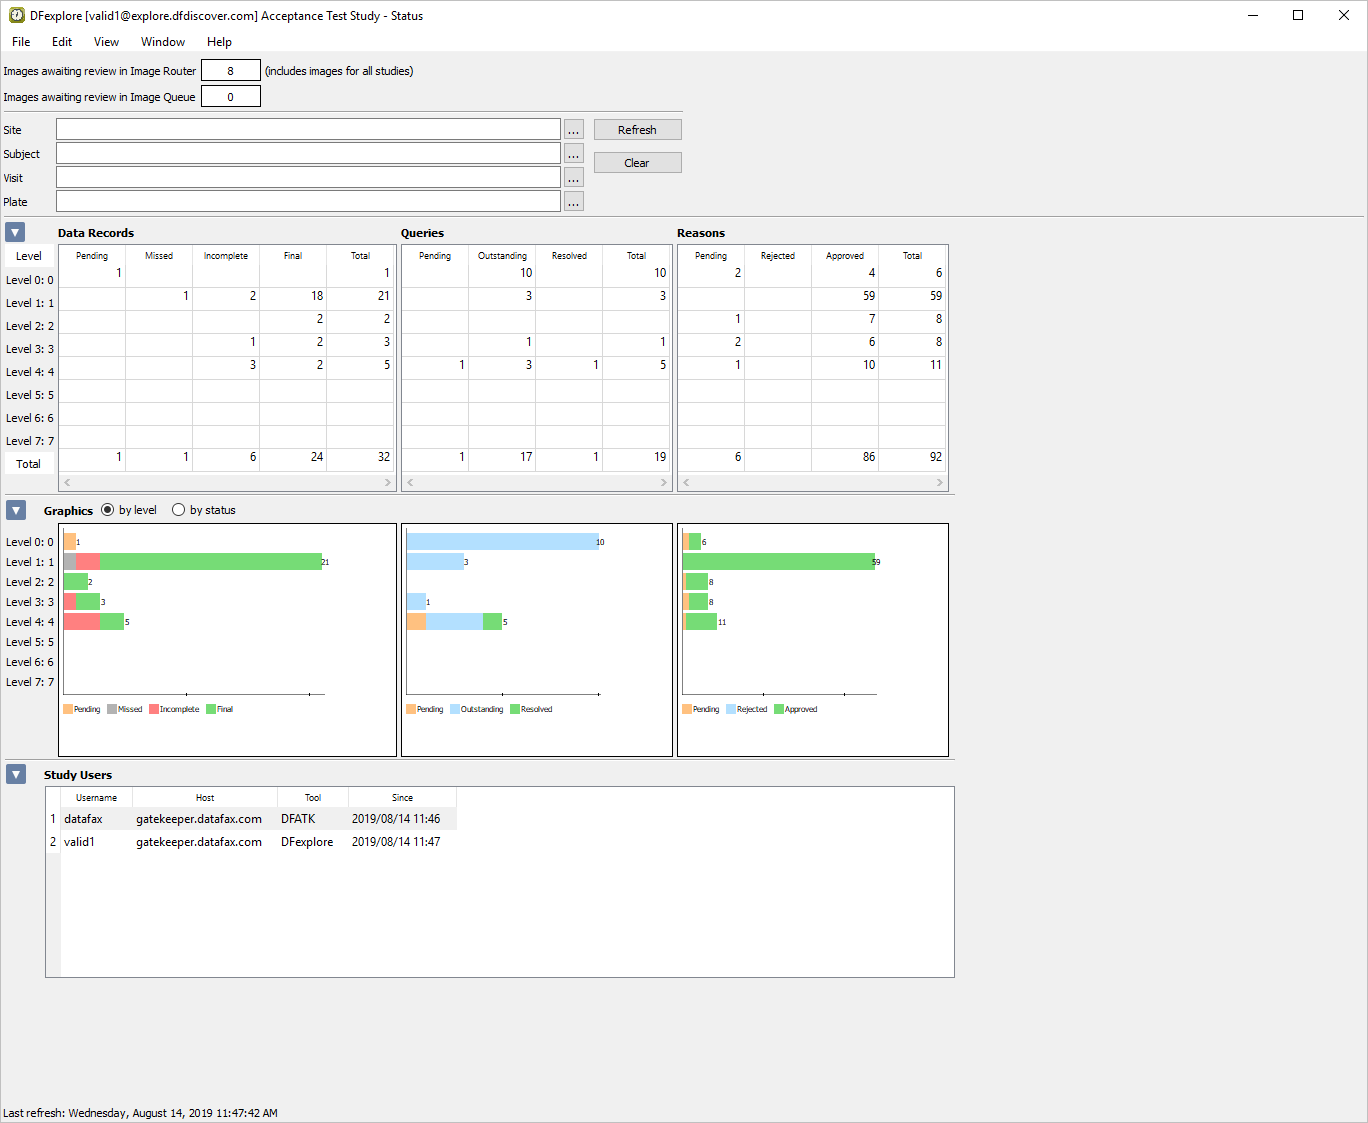
Select > . Examine the Queries table to view the status and count of all queries in the database.
-
Locate the Outstanding column that displays a count of 17. Double-click number 17 to retrieve the records containing the 17 outstanding queries.
-
In the Database Status task Specification dialog set:
Mode = Validate
Save level = 1 - Level 1
Check (enable) Enable Edit checks
Search queries and open check (enable) Queries View?
Click to display a dialog confirming the retrieval. In the confirmation dialog, click to open Queries View.
-
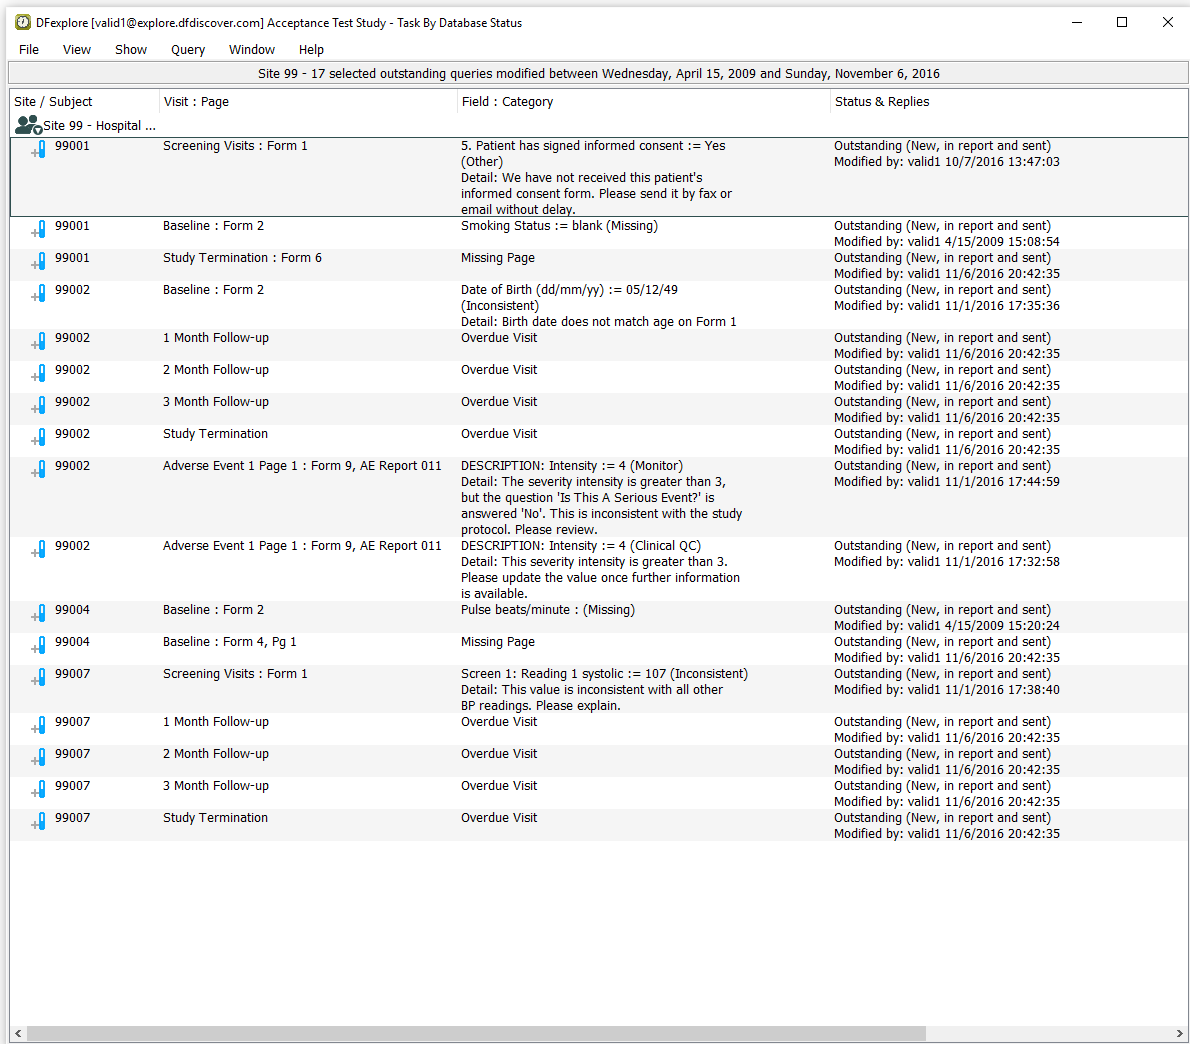
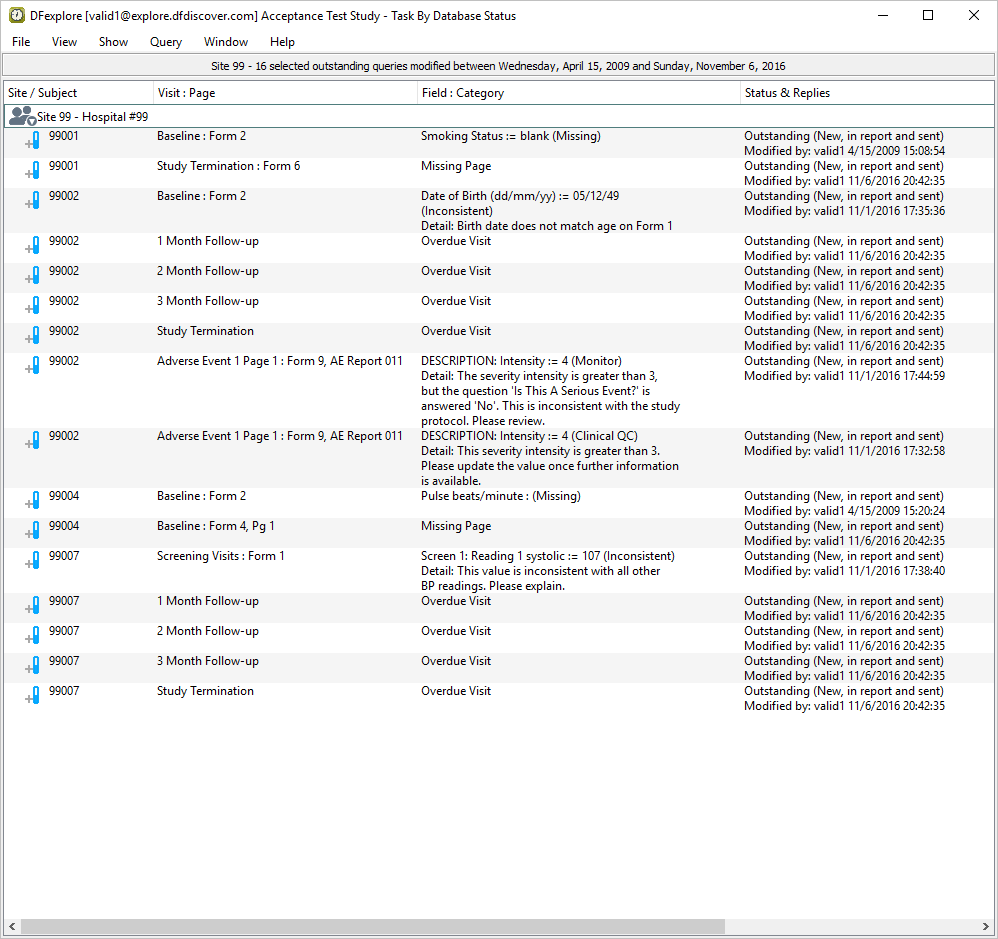
Select > to verify that you are seeing only outstanding queries for subjects in Site 99 - Hospital #99.

-
Examine Queries View to confirm :
-
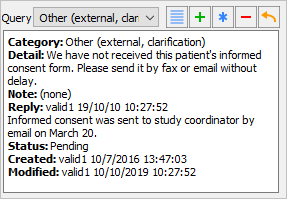
The Status & Replies column displays Outstanding (New, in report and sent) for all queries.
An entry exists for Subject 99001, Screening Visits Form 1, 5. Patient has signed informed consent.
An entry exists for Subject 99007, Screening Visits Form 1, Screen 1 Reading 1 systolic.
-
-
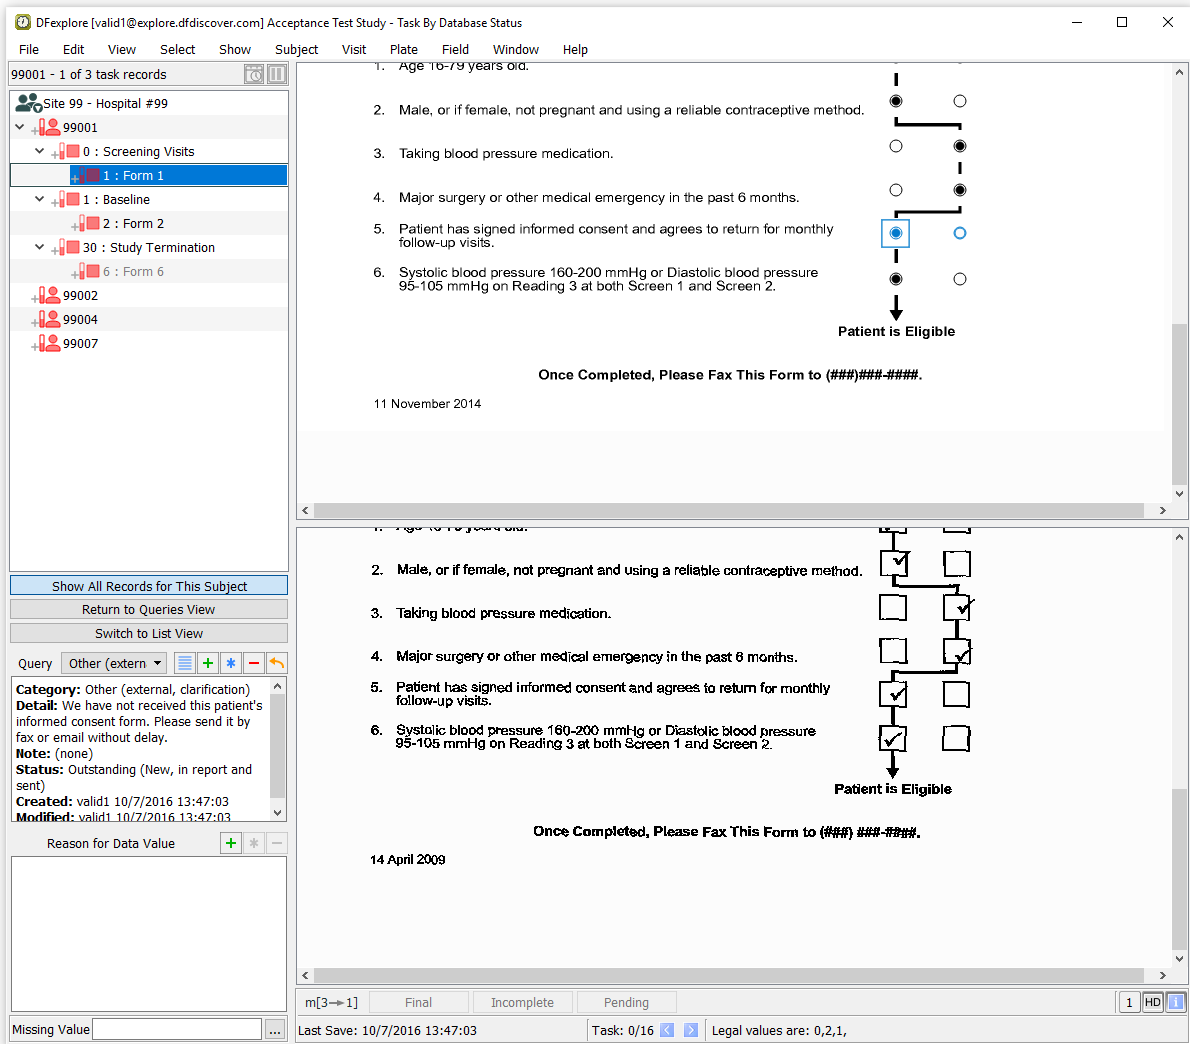
Locate the entry for Subject 99001, Screening Visits Form 1, 5. Patient has signed informed consent. Double-click the query to switch to Data View and make the queried page and field active. Examine the information present in the Query window.
-
Select > or click
 . In the dialog, enter
 Informed consent was sent to study coordinator by email on March 20.in the New Reply field.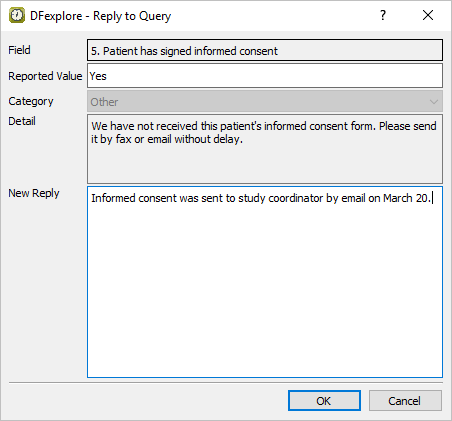
-
Click to apply the reply to the queried field. Examine the information present in the Query window.
-
Do not enter or change data in any of the remaining fields on the current page. Click to save the current page and the query reply to the database.
-
From the record list window, click . Examine the list of queries.
-
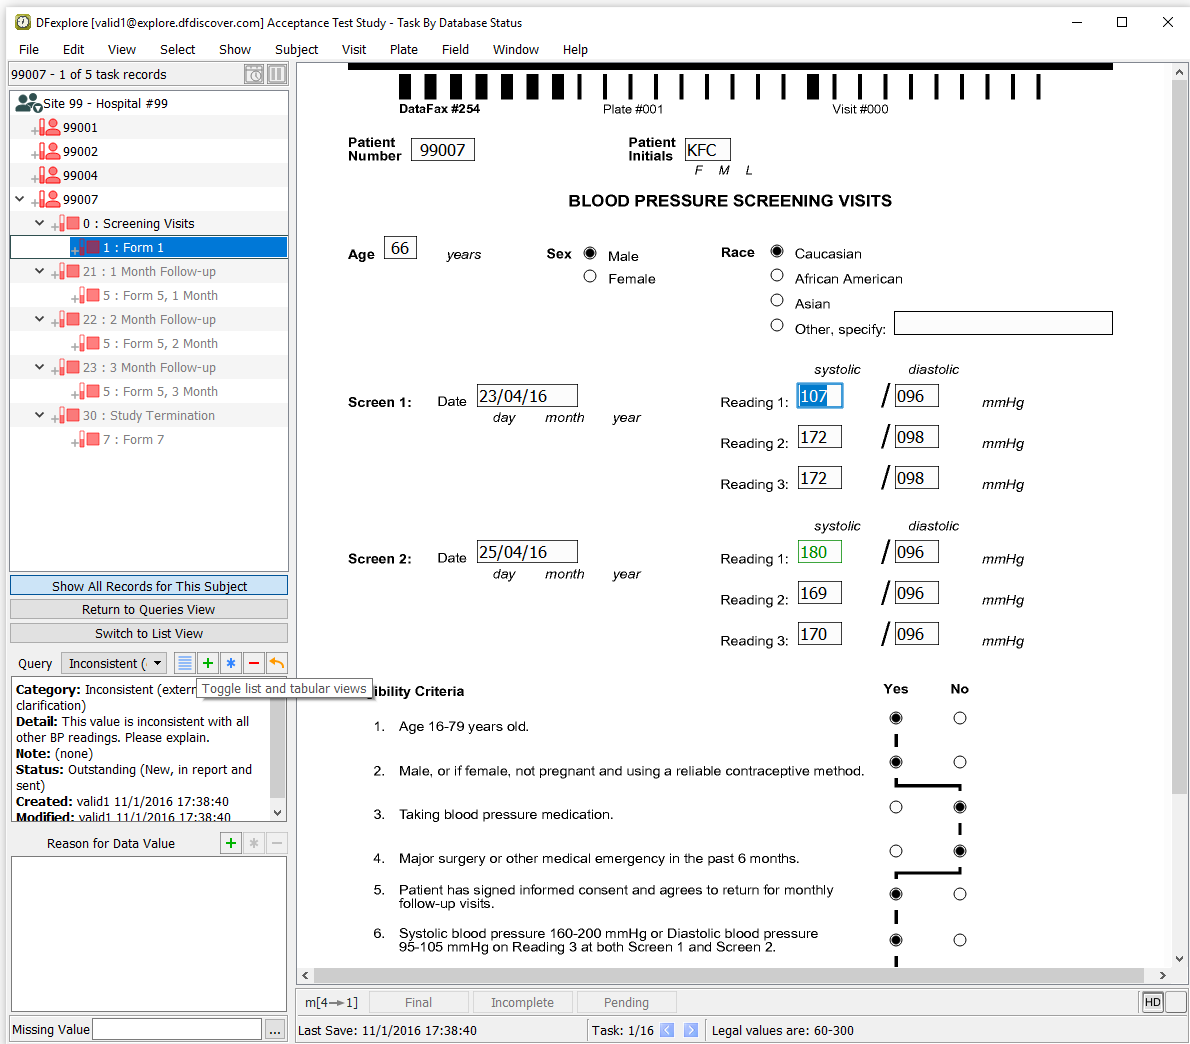
Locate the entry for Subject 99007, Screening Visits: Form 1, Screen 1: Reading 1 systolic. Double-click systolic blood pressure query to switch to Data View and make the queried page and field active. Examine the information present in the Query window.
-
Select > or click
in the dialog, enter Systolic reading was entered incorrectly. It should be 170.in the New Reply field.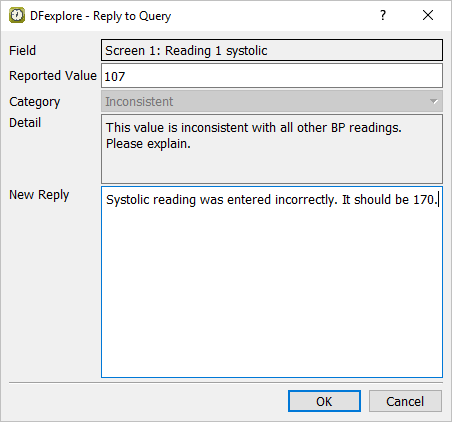
-
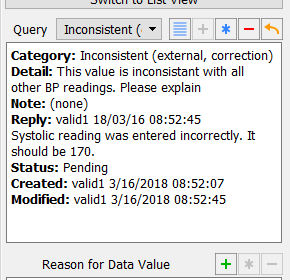
Click in the Reply to Query dialog to apply the reply to the queried field. Examine the information present in the Query window.
-
Click to save the current page and the query reply to the database.
-
Select > to close and exit DFexplore.
| Note |
|---|---|
eSignatures require password permission to be set in the user role at the DFadmin level. The Password permission must be granted for the specific eSignature plate. |
-
As user
datafaxopen the login dialog for DFadmin as described in (Section 1.5, “Define Acceptance Test Study to the DFdiscover server.”). Enter the login name and password for userdatafaxand select Login. Click to login.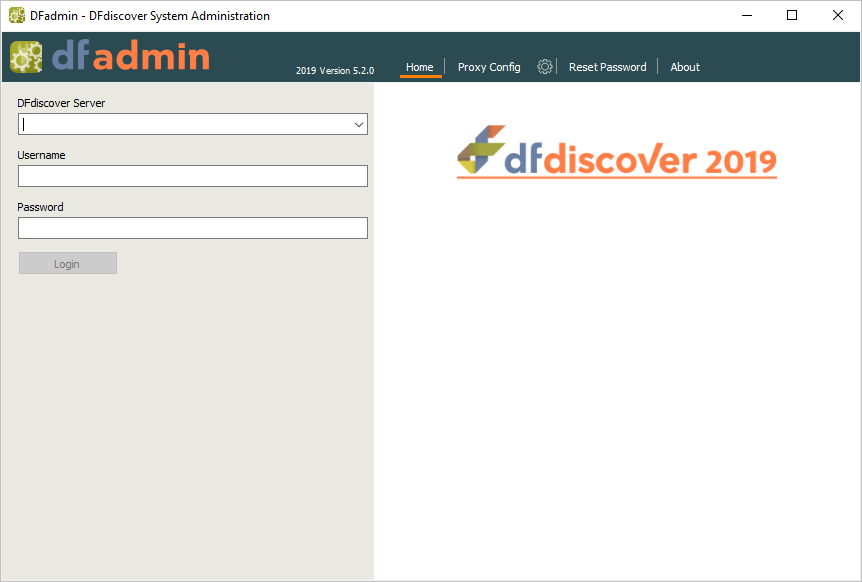
-
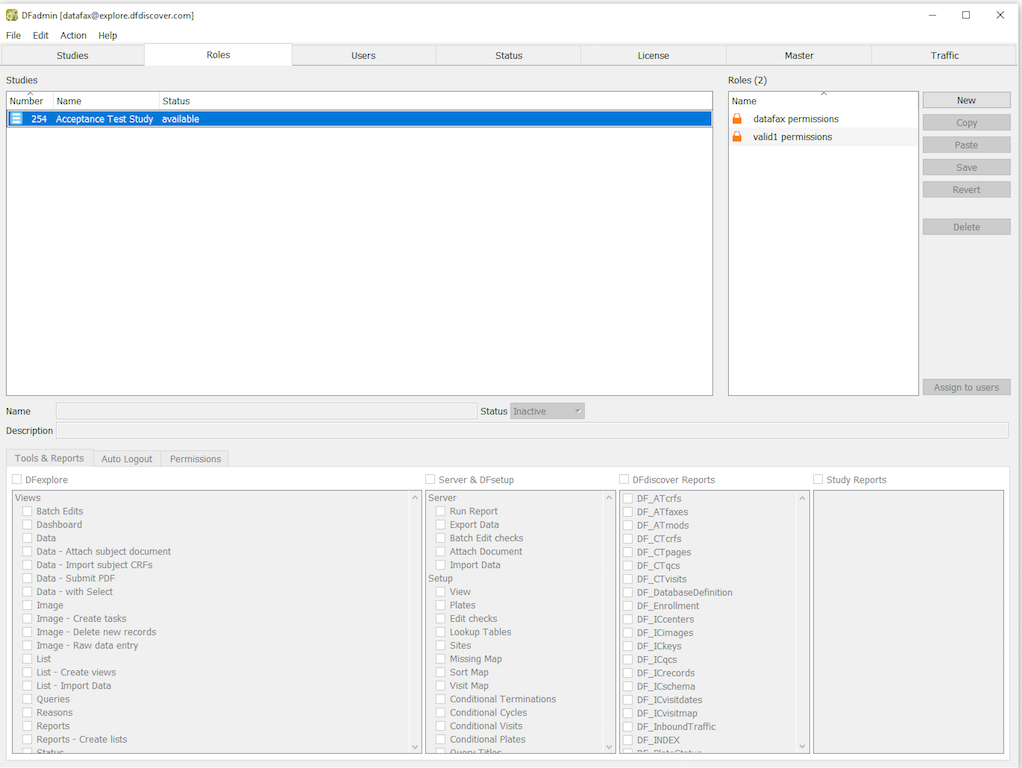
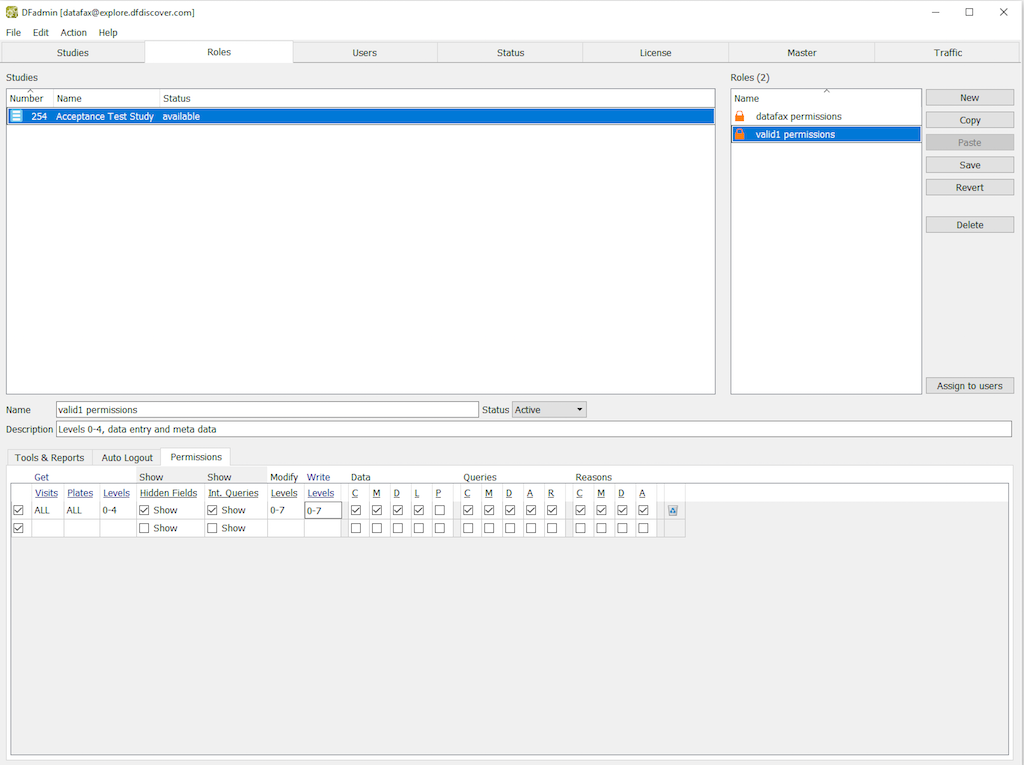
In DFadmin, click Roles tab to open the Role definition window. Choose the entry for 254 Acceptance Test Study from the list of studies.
-
Choose the role valid1 permissions from the roles list. Select Permissions tab to open the permissions for editing.
-
Modify the existing row of permissions by replacing Plates
ALLwith1-6,8-200as shown below. As the Study Termination plate (plate 7) collects eSignatures, specify permissions for plate 7 as a second permission row as shown below.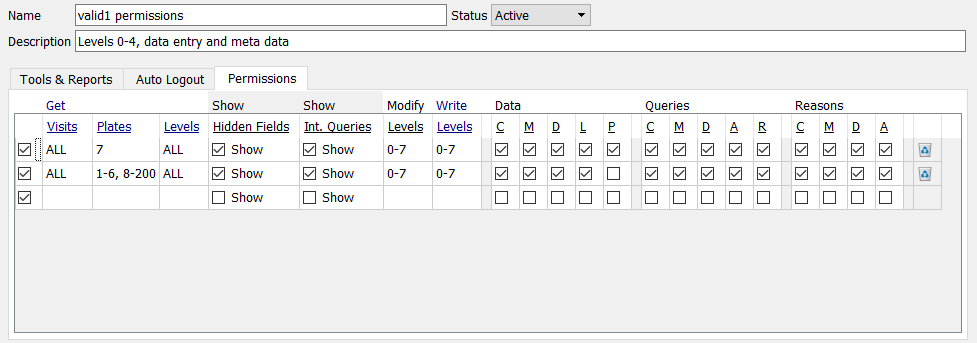
-
Select > or click to apply and save the modifications to the role. Select > to exit DFadmin.
-
Start DFexplore and login as
valid1to and open the 254 Acceptance Test Study as described in (Section 11.3, “Determine a count of outstanding/outstanding queries in Status View.”)Note Locate the page for Subject 99003, plate 7, Study Termination that was printed when the module was started. You will need this page for the next series of test steps.
-
Double-click Site 99 - hostpital #99. Locate subject 99003, double-click its entry to expand a list of assessments for Subject 99003.
-
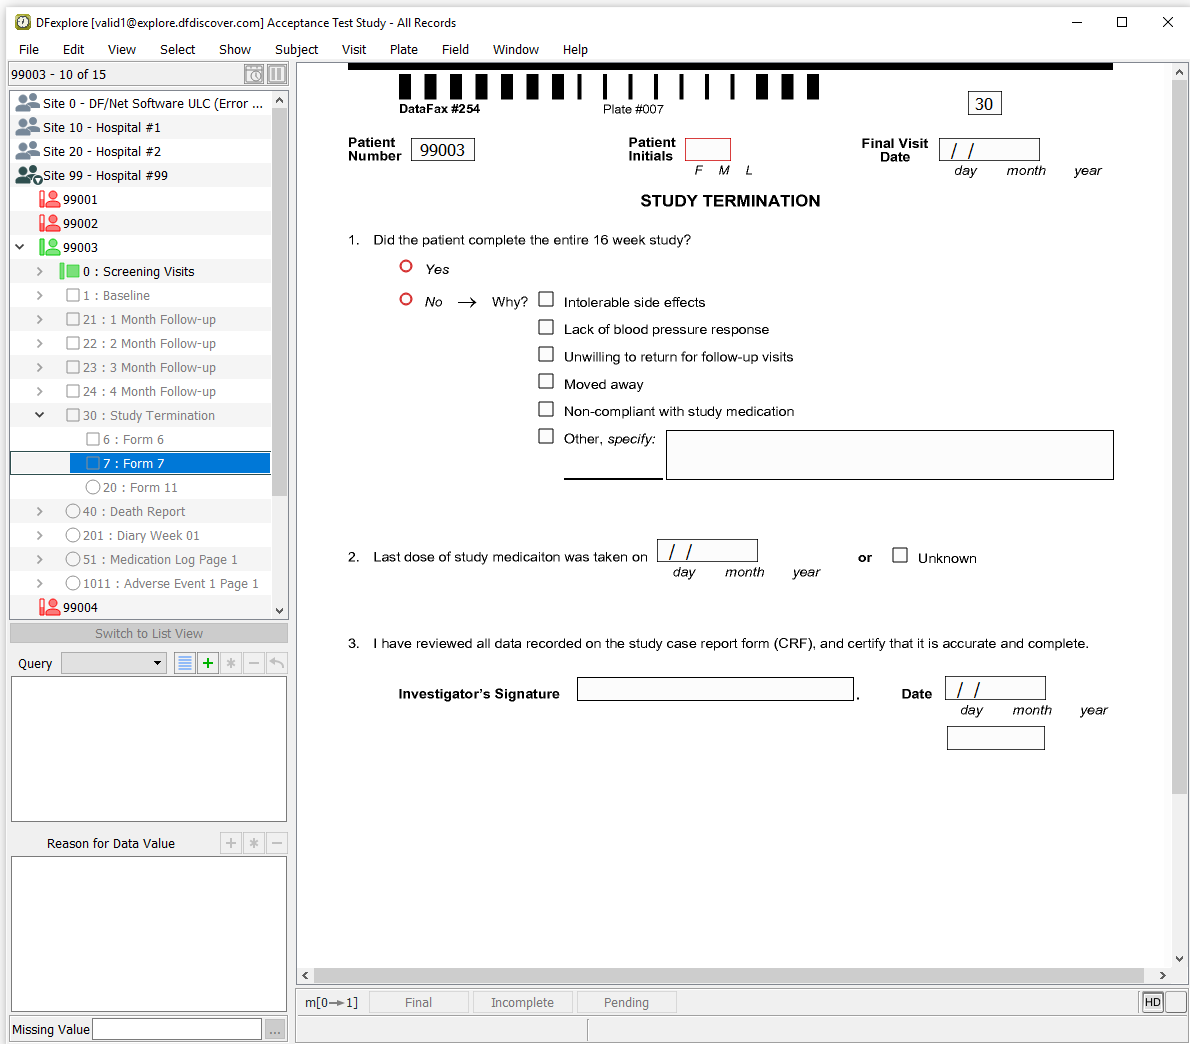
Double-click 30 : Study Termination. Select 7: Form 7 to open a new study termination form.
-
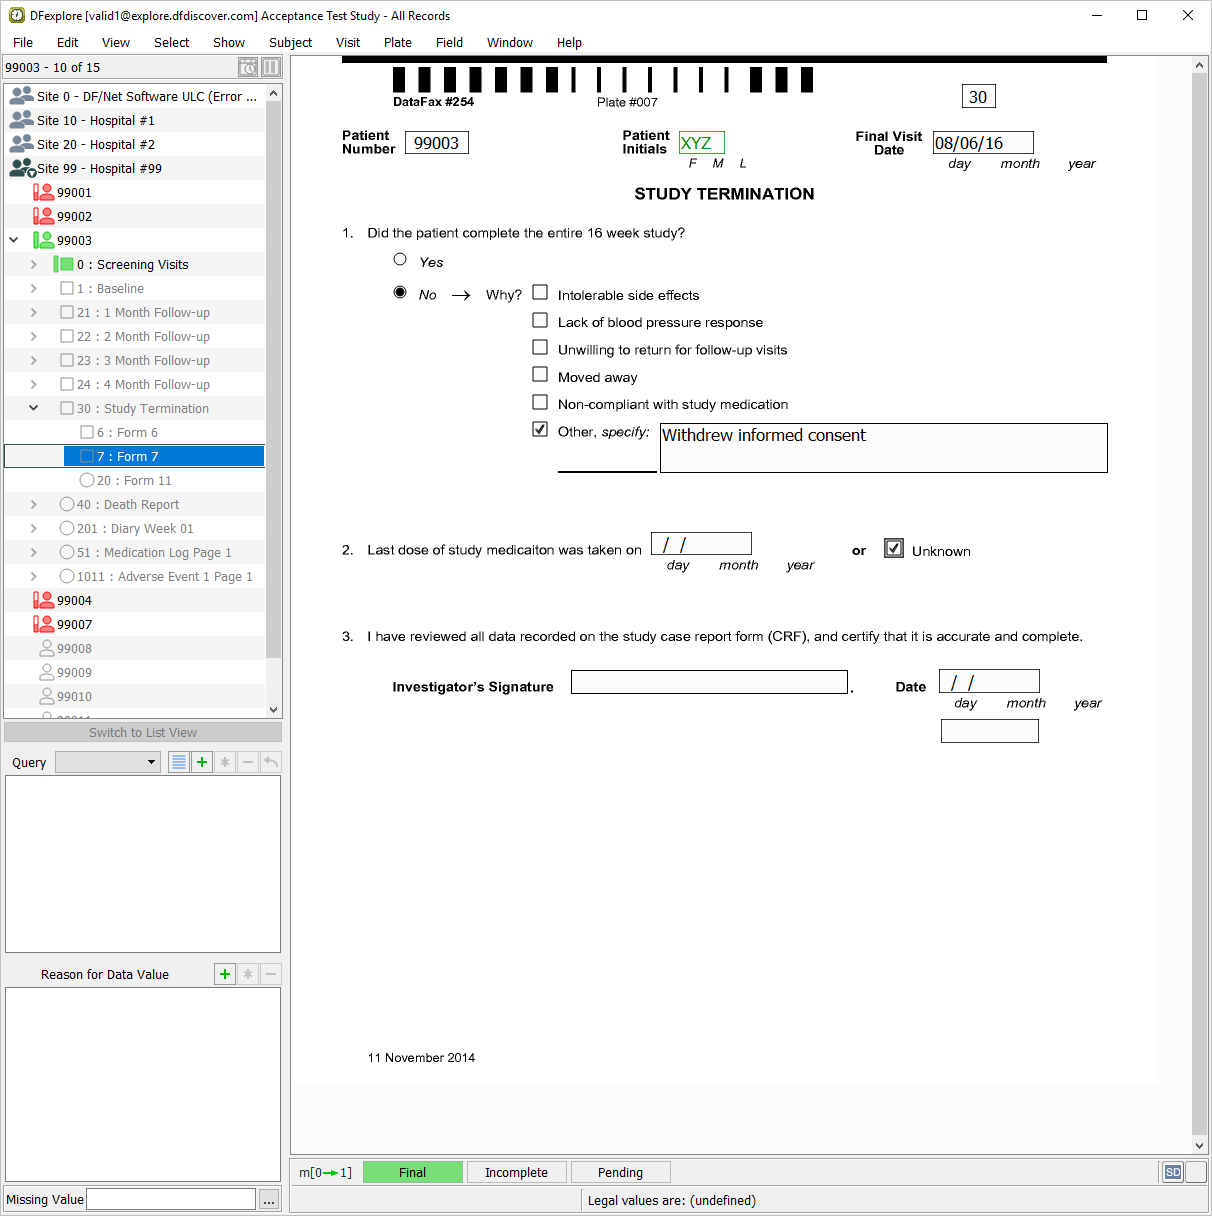
Click anywhere in the screen background to begin data entry. Press Tab to advance to the Patient Number field. Using the printed form for Subject 99003, enter all field values up to and including the 2. Last dose of study medication - Unknown question.
-
Press Tab to advance to the Investigator's Signature field. This field and the remaining fields on the page are used to capture eSignature name, date and time, respectively. Attempt to enter any name in the Investigator's Signature field.
-
Press Tab to advance to the remaining 2 eSignature fields. Again attempt to manually enter data into each of these fields. Press Tab to exit the last field on the page (eSignature time) to make the save buttons active.
-
Click to save and eSign the Study Termination form.
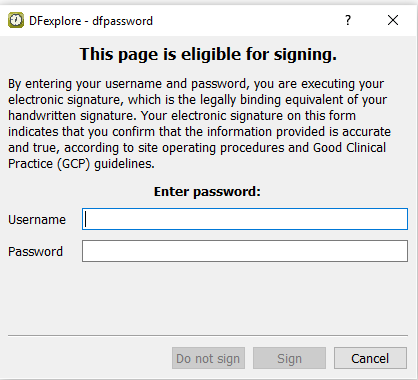
-
In the dfpassword confirmation dialog enter the user name
valid1and the corresponding password used for login in Section 11.6, “Add an Electronic Signature (eSign) to a set of completed subject records.”. Click to apply the electronic signature to the current Study Termination page.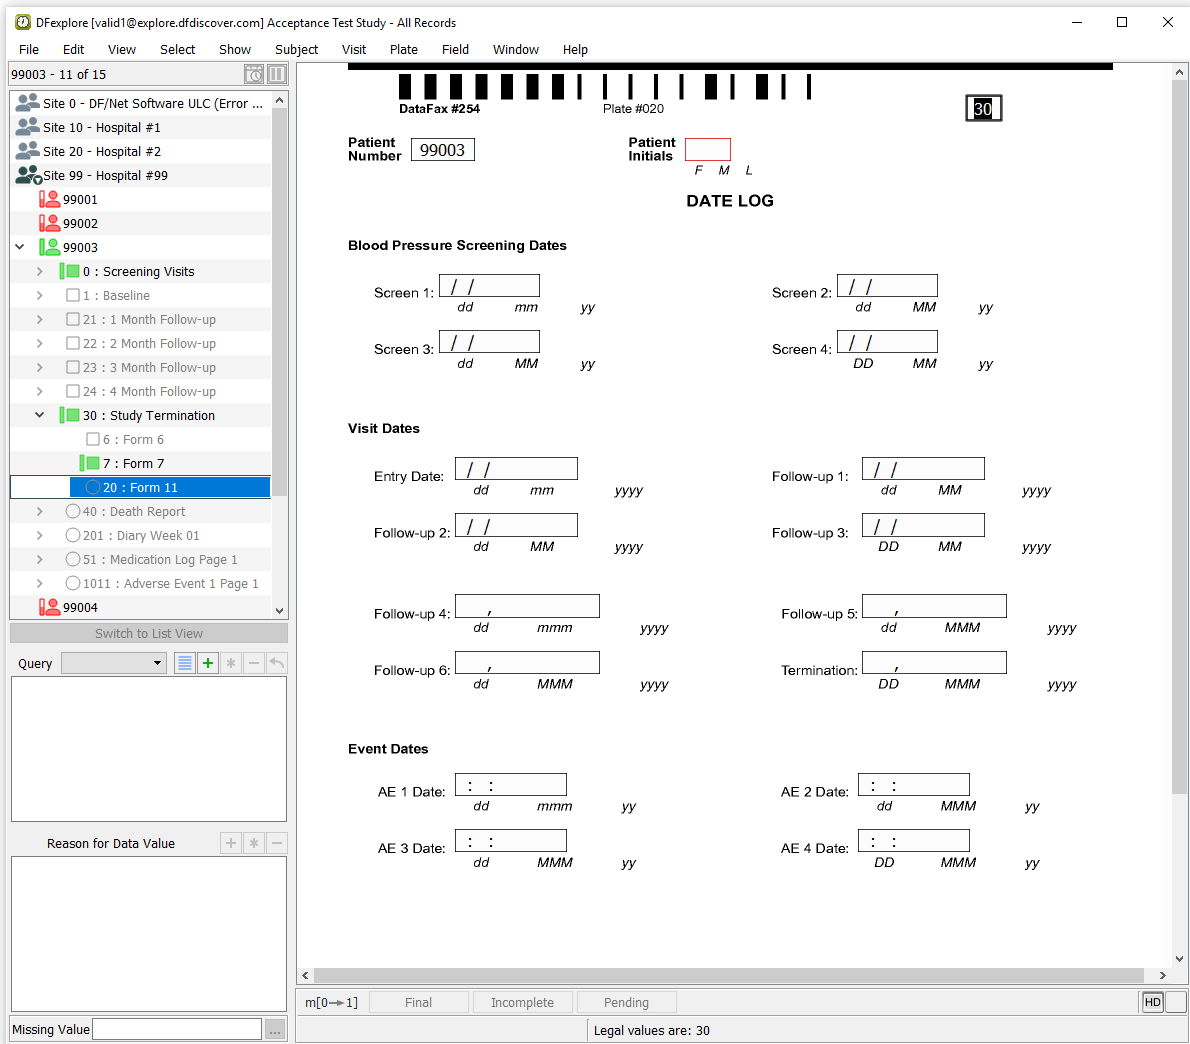
-
Return to the signed Study Termination form by selecting the 7: Form 7 entry for Subject 99003. Examine the 3 eSignature fields at the bottom of the page.
-
Select > to close and exit DFexplore.