Table of Contents
- 17.1. Introduction
- 17.2. Tests & Requirements
- 17.3. Begin Module 17.
- 17.4. Modify
valid1user permissions for DFcollect entry. - 17.5. Installation, App preferences and initial DFcollect login.
- 17.6. Online data record creation.
- 17.7. Download subject data for offline use.
- 17.8. Create data records in offline mode, query resolution and adding reasons for data values.
- 17.9. Sync data collected offline to your DFdiscover server.
- 17.10. Clearing DFcollect cache.
- 17.11. Adding, reviewing and downloading subject documents.
- 17.12. Confirming data sent to the server using DFexplore.
- 17.13. End Module 17.
![[Warning]](../../imagedata/warning.png) | Warning |
|---|---|
Optional Module. The DFweb Data Entry module requires the DFWS feature (web services API). If your DFdiscover server is not licensed for this feature, do not complete this module. DFcollect is compatible with the following mobile device operating systems:
|
Modify
valid1user permissions for DFcollect entry.Installation, App preferences and initial DFcollect login.
Online data record creation.
Download subject data for offline use.
Create data records in offline mode, query resolution and adding reasons for data values.
Sync data collected offline to your DFdiscover server.
Clearing DFcollect cache.
Adding, reviewing and downloading subject documents.
Confirming data sent to the server using DFexplore.
Estimate of Time Required: 20 Minutes
-
Start DFATK as described in Module 1 (Installation & Initialization).

-
Click followed by to begin this module.
![[Note]](../../imagedata/note.png) | Note |
|---|---|
If Chapter 16, Module 16: DFweb Data Entry was the last DFATK module completed proceed to Section 17.5, “Installation, App preferences and initial DFcollect login.” as the permissions for |
-
As user
datafaxopen the login dialog for DFadmin as described in (Section 1.5, “Define Acceptance Test Study to the DFdiscover server.”). Enter the login name and password for userdatafaxand select Login. Click to login.
-
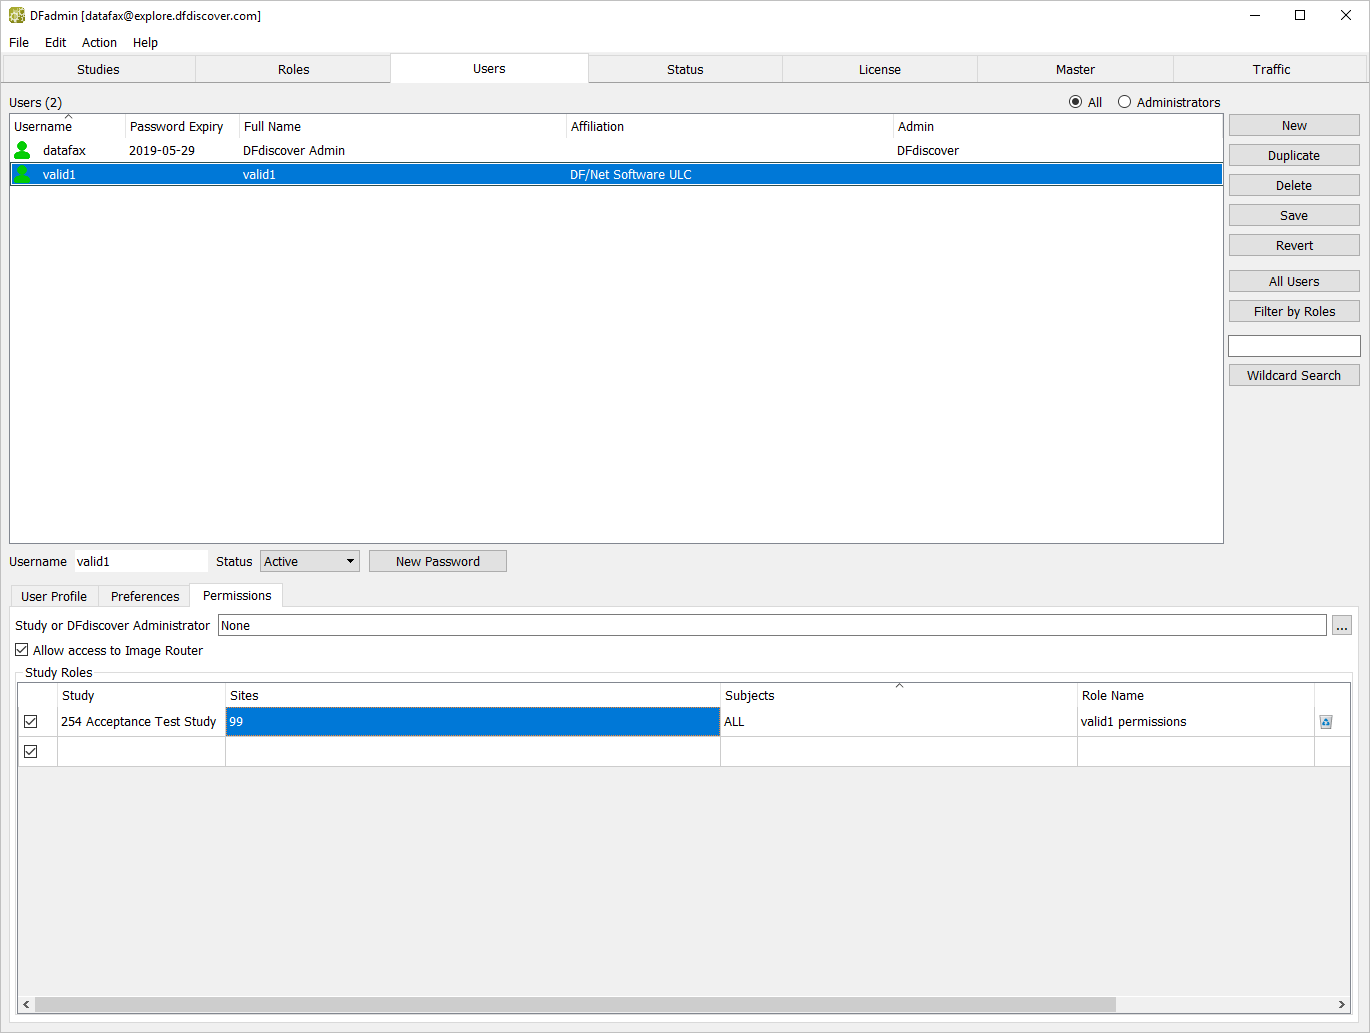
In DFadmin, click Users tab. Choose the entry for
valid1from the list of users.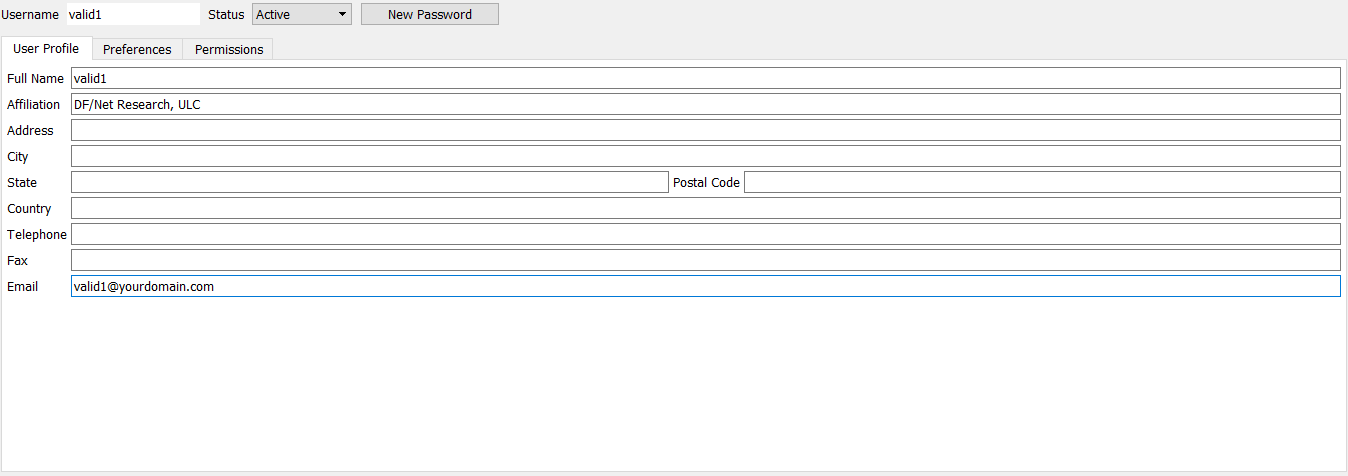
-
Select Permissions tab, confirm/modify the existing Sites permissions by replacing Sites 'ALL' with '99'.
-
Select > or click to apply and save the modifications to the role. Select > to exit DFadmin.
-
Download and install DFcollect from either Google Play Store or Apple App Store to your mobile device or tablet.
Open DFcollect.
-
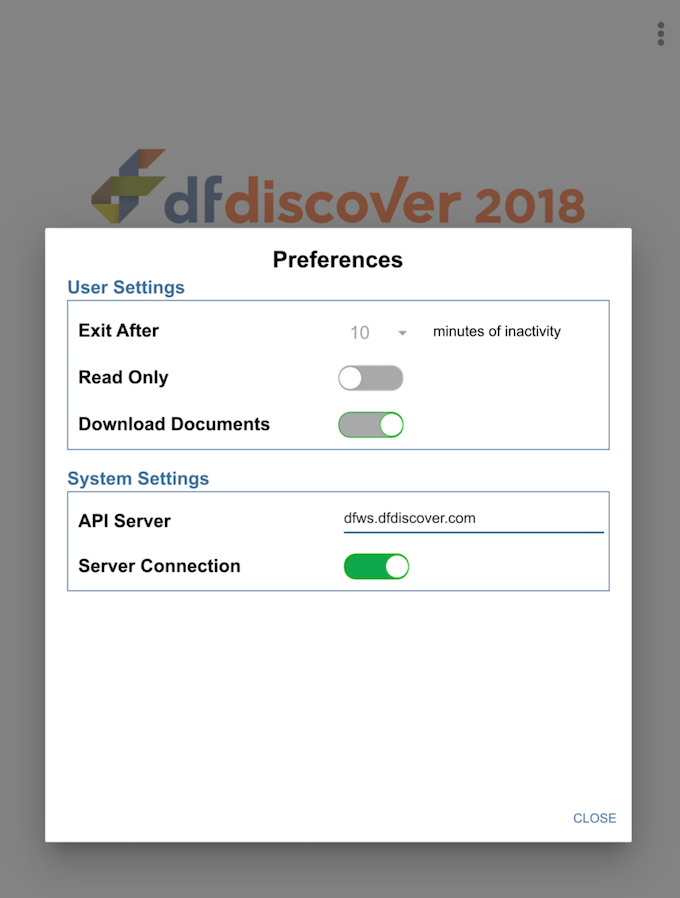
System Setting
API Server =
your API servernameServer Connection = enabled (green)
Click to apply settings.
-
Click
 > to display version information. Click to return to the DFcollect login screen.

-
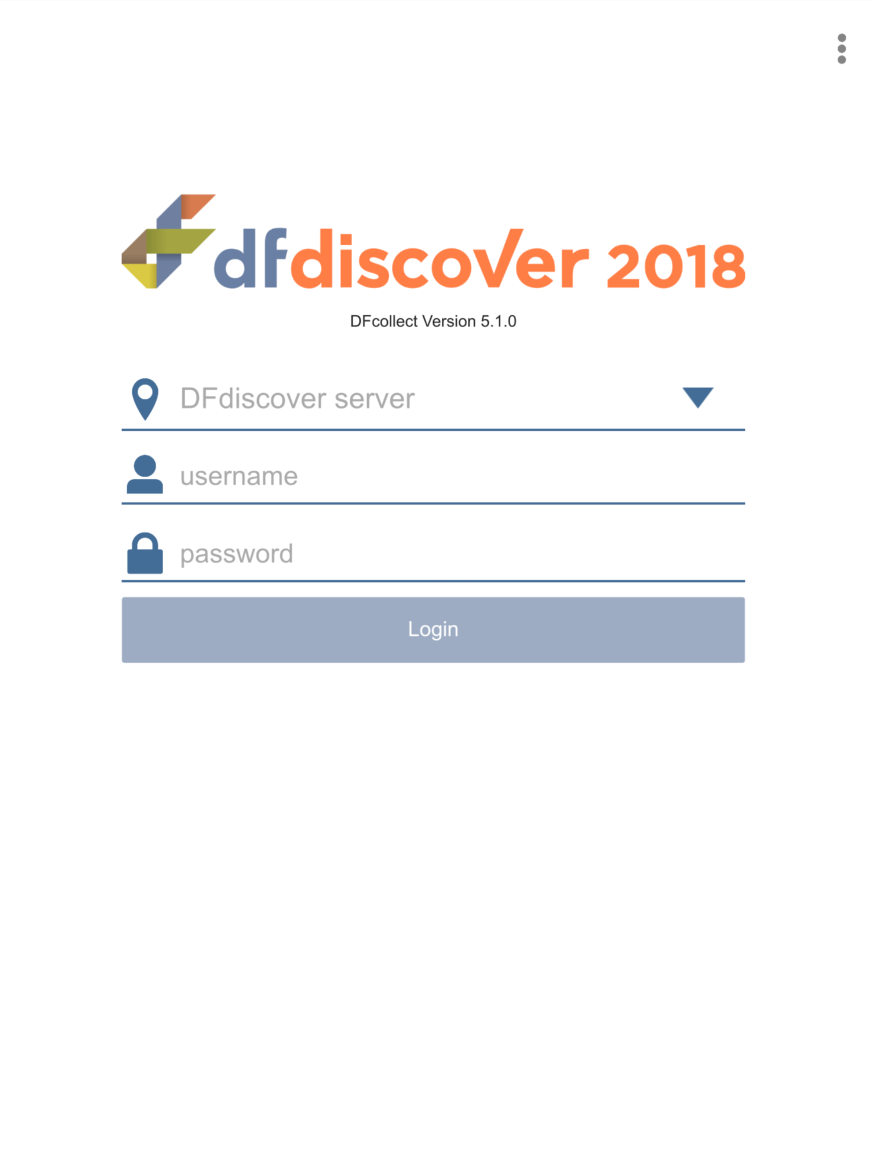
In the DFcollect login dialog, enter the name for DFdiscover Server that has been provided by your administrator. Enter
valid1in the Username field and the previously assigned password in the Password field. Click to login.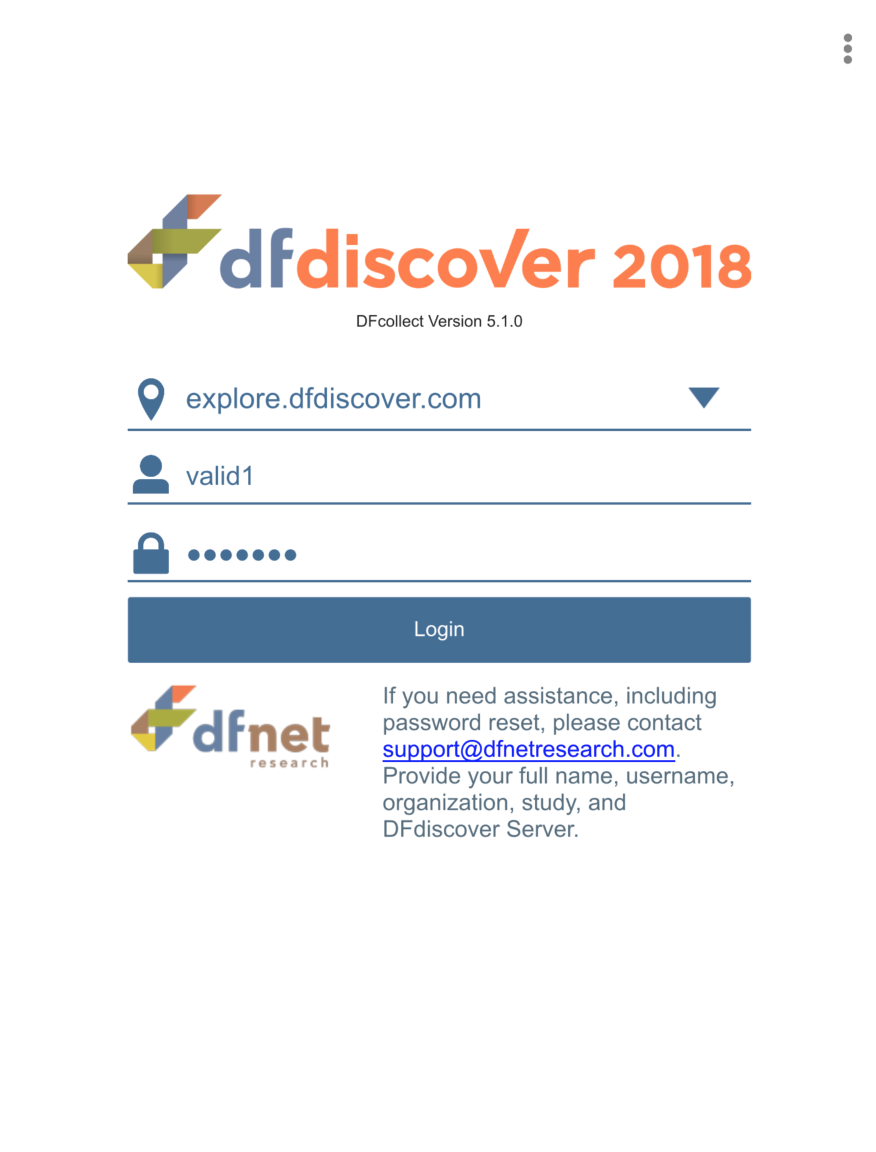
-
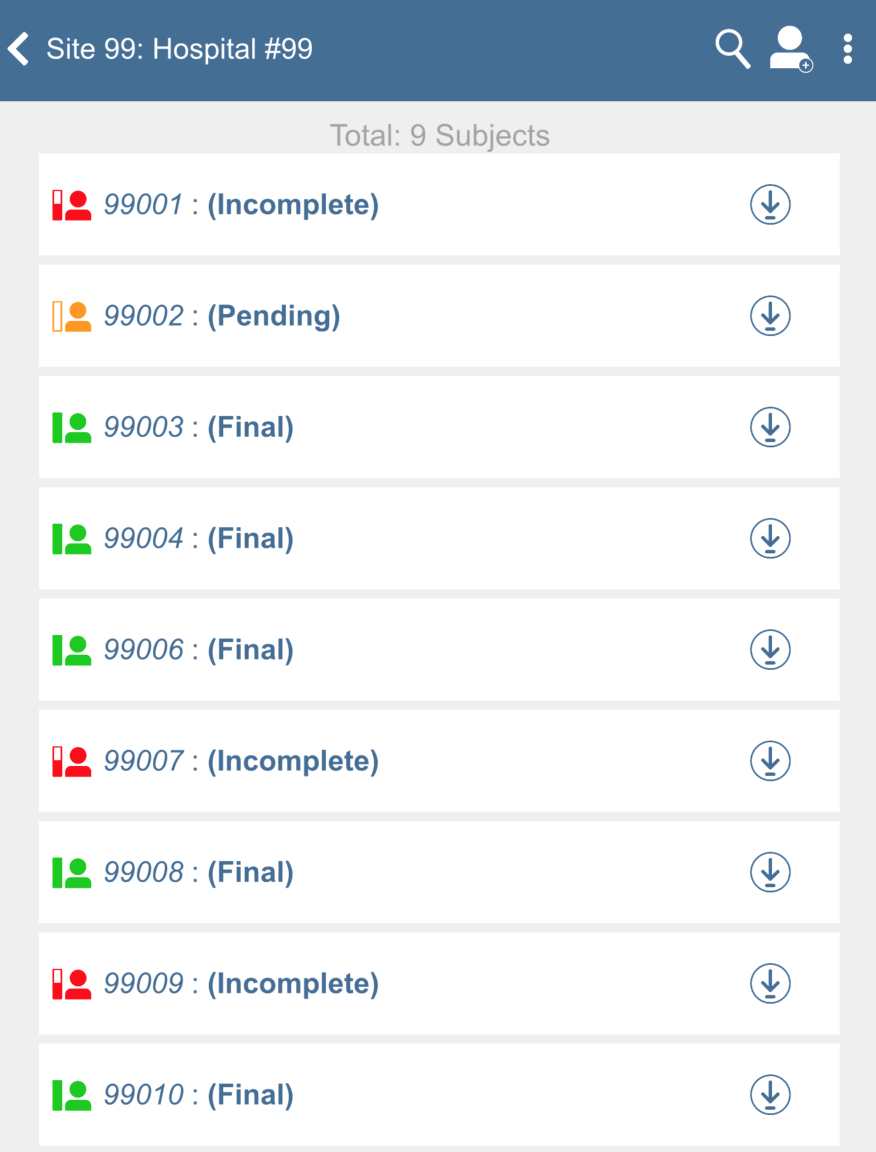
From the list of available studies, click the 254 Acceptance Test Study to open its database.
Note If
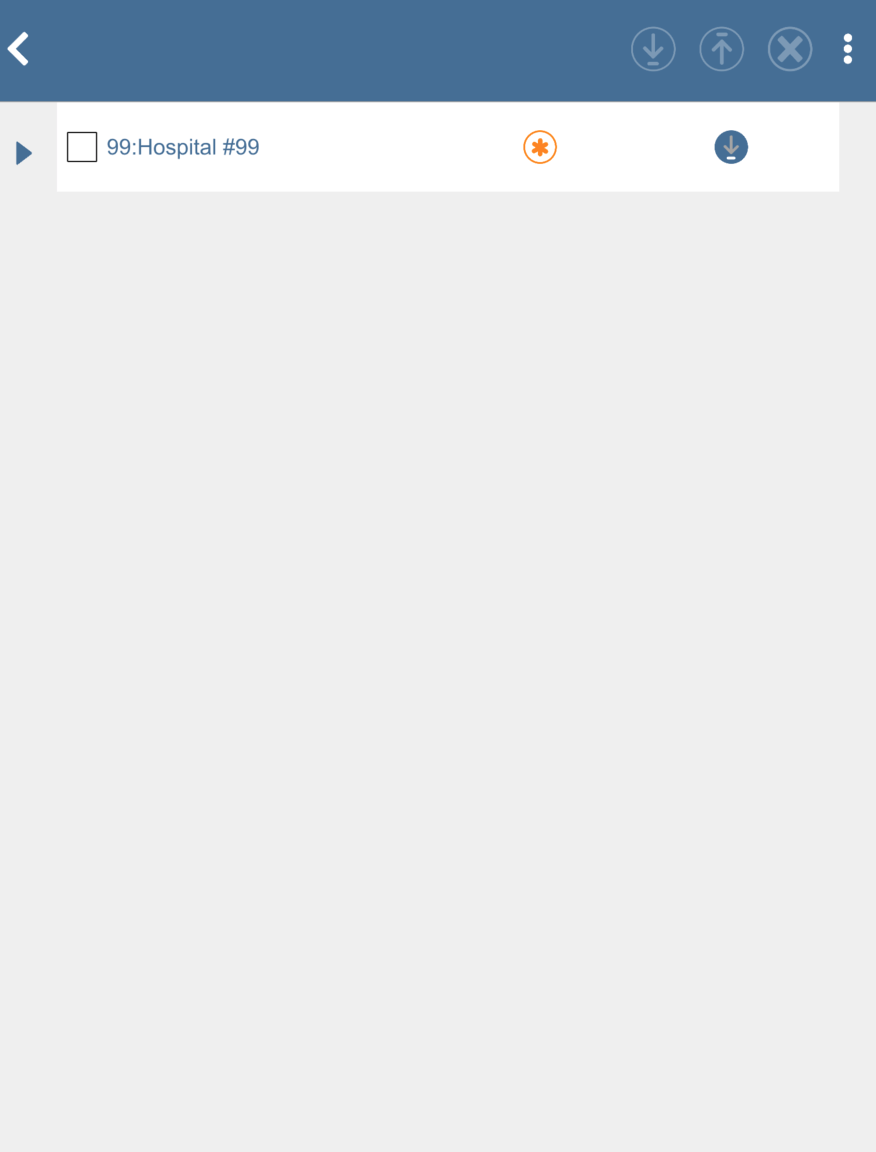
valid1only has access to DFATK you will be taken directly to the study sites view. Site 99: Hospital #99 opens displaying a list of available subjects.
-
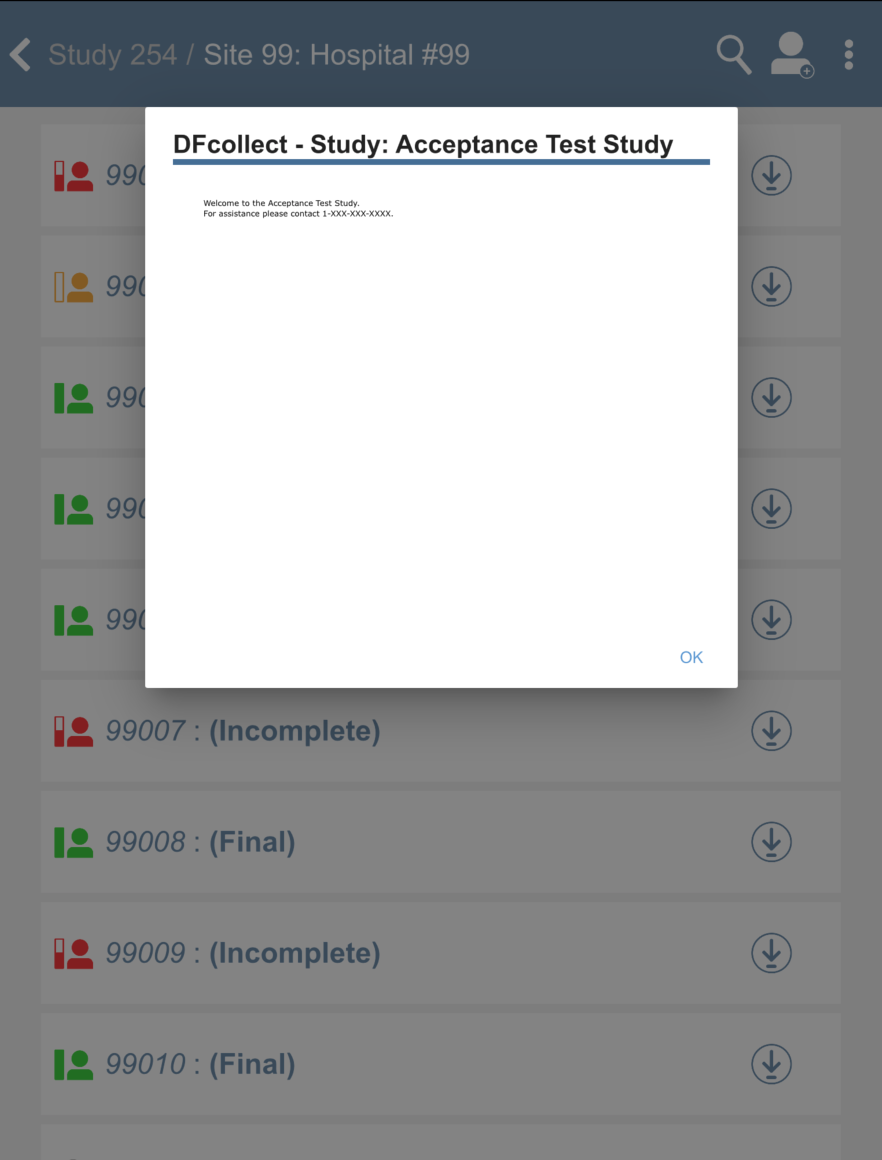
Click
> to view any study related help messages. Click to close the Study Help window.
-
Click
 to search for a subject ID number, enter
 99010for the subject ID number. Click, subject 99010 becomes the focus.

-
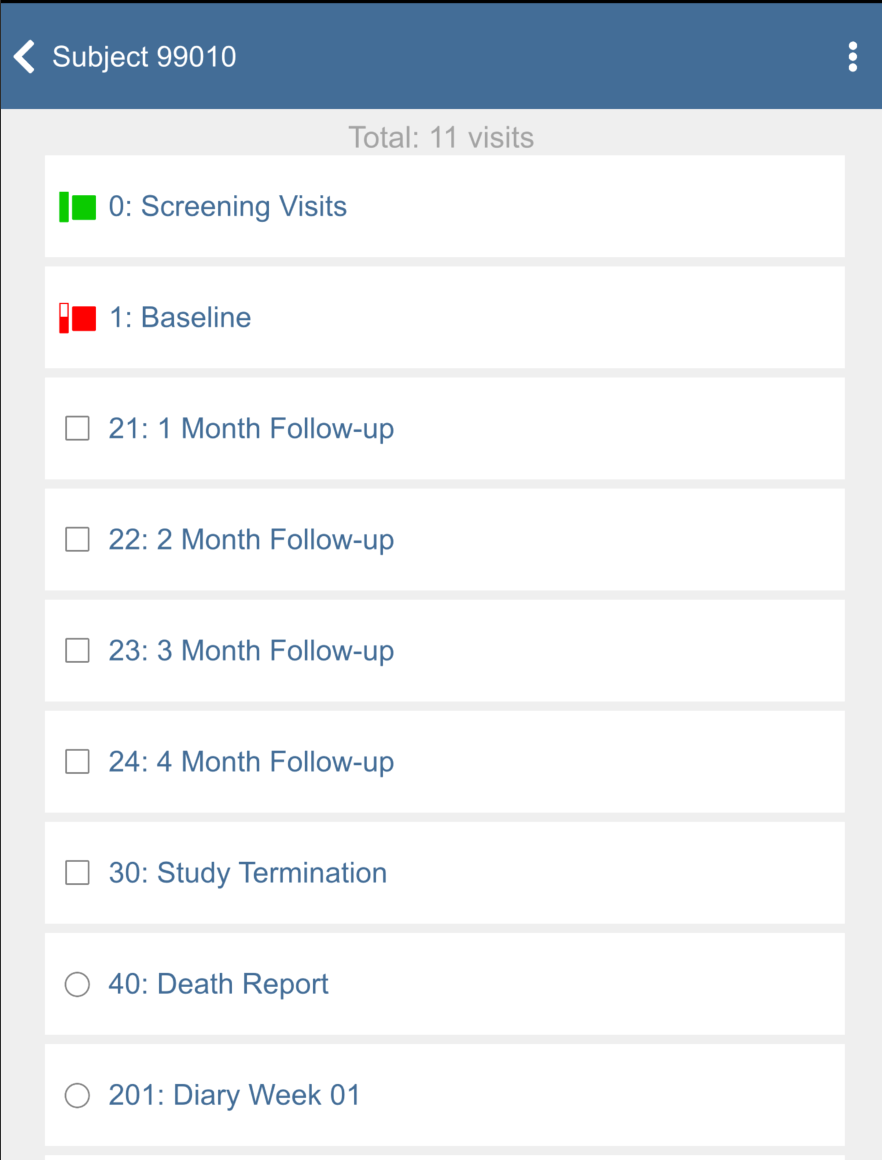
Click subject 99010 to view the list of study visits.
-
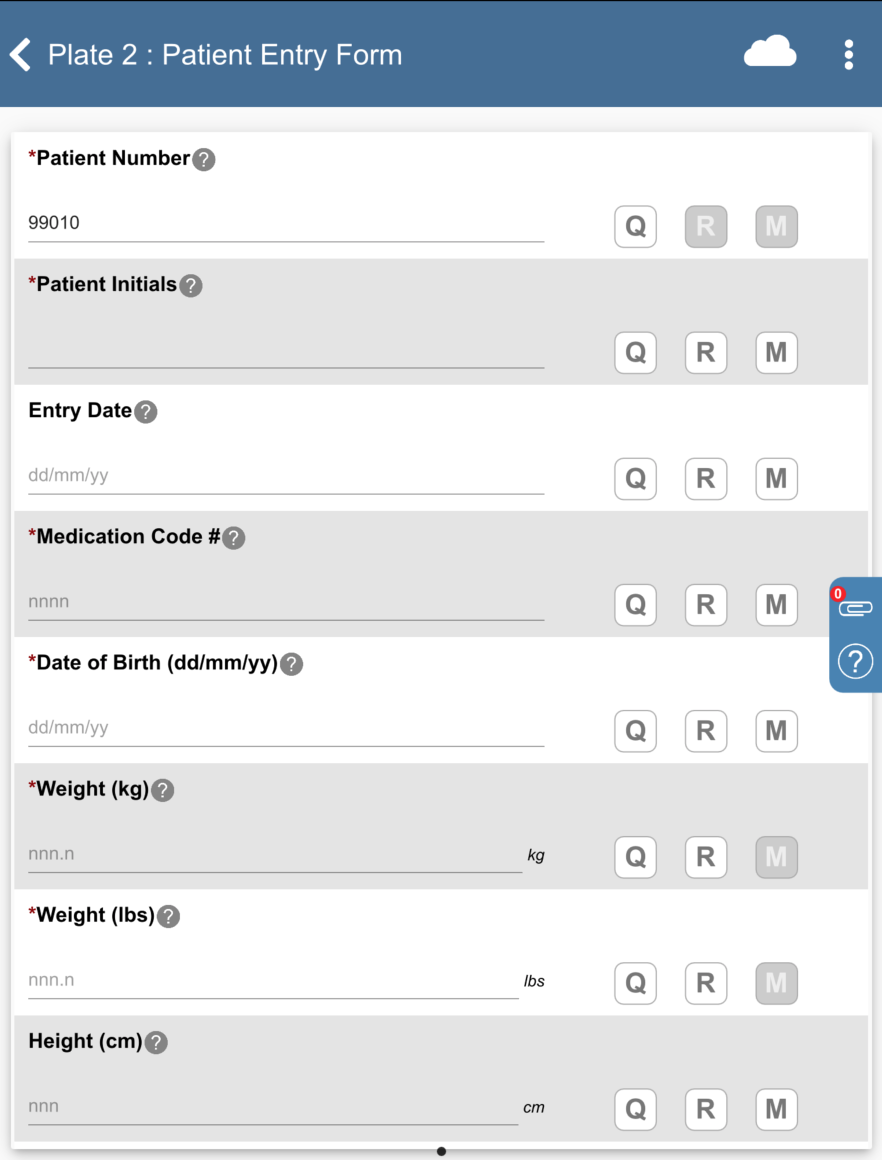
Click 1: Baseline > 2: Form 2, Plate 2: Patient Entry Form becomes the active page.
-
Click Patient Initials the initials automatically occupy this field as a result of the edit check
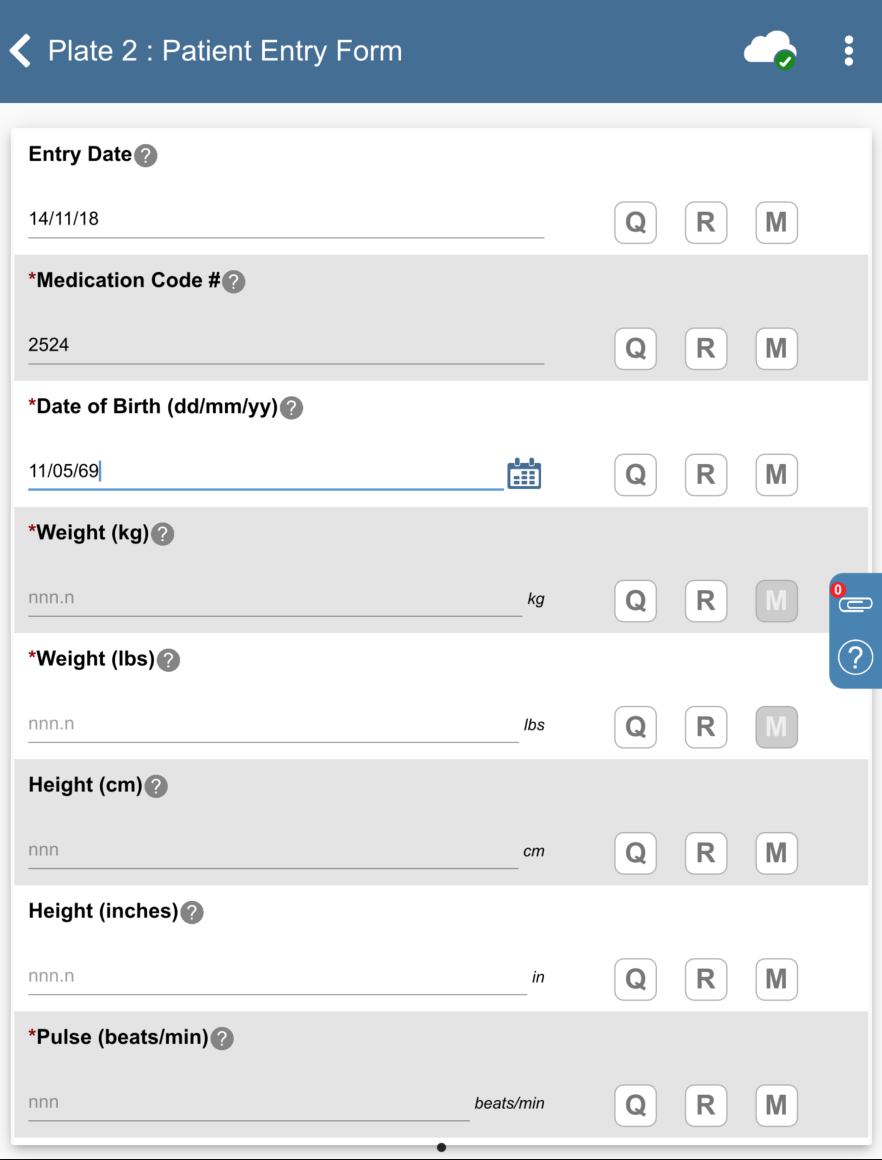
SetInitdescribed in Module 5: Fax Data Entry, Set:Entry Date = Click
 , select 14/11/18.
 Medication Code # = 2524
Date of Birth = Click
, select 11/05/69.
Click
 .
.
-
Click
 > > Subject 99009 > 21: 1 Month Follow-up > 5: Form 5, 1 Month.
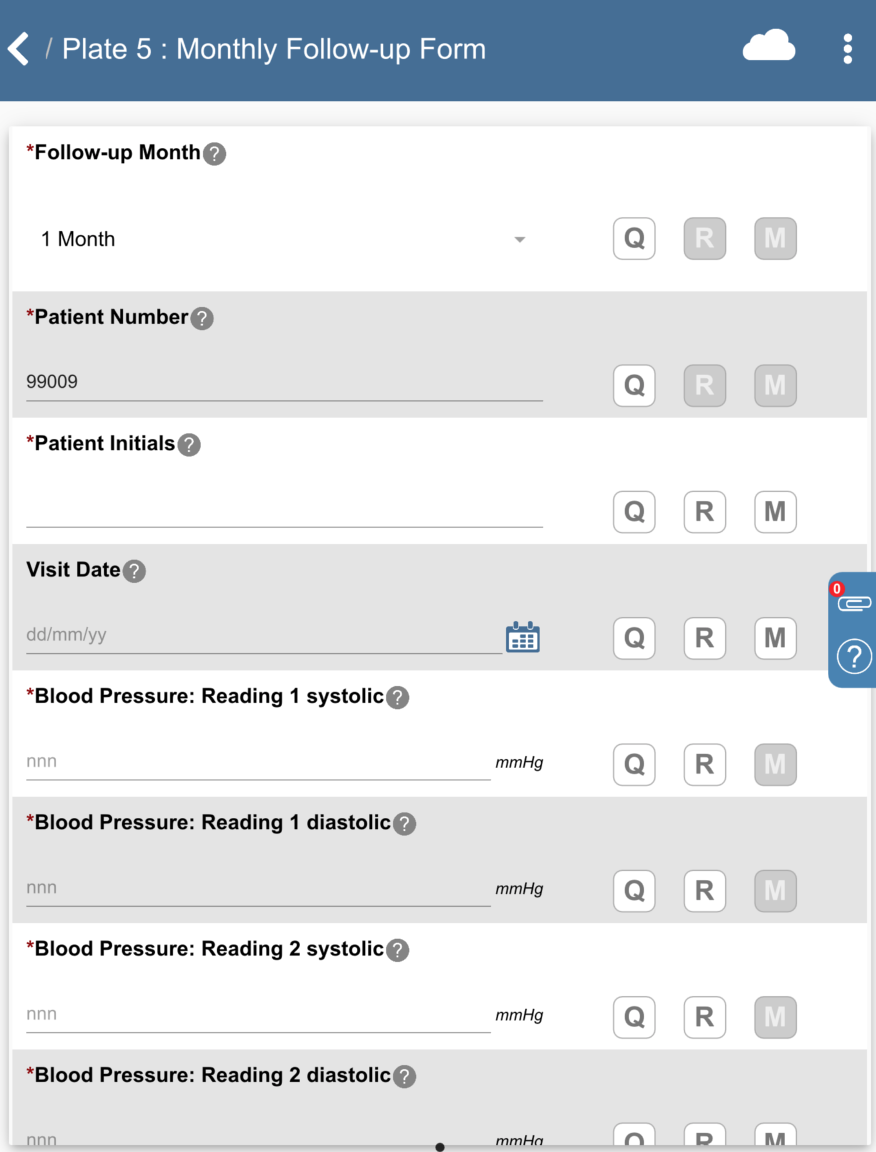
-
Click Patient Initials the initials automatically occupy this field as a result of the edit check
SetInitdescribed in Module 5: Fax Data Entry, Set:Visit Date = Click
, select 14/11/18.
Click
.
-
Click
> .
-
Click
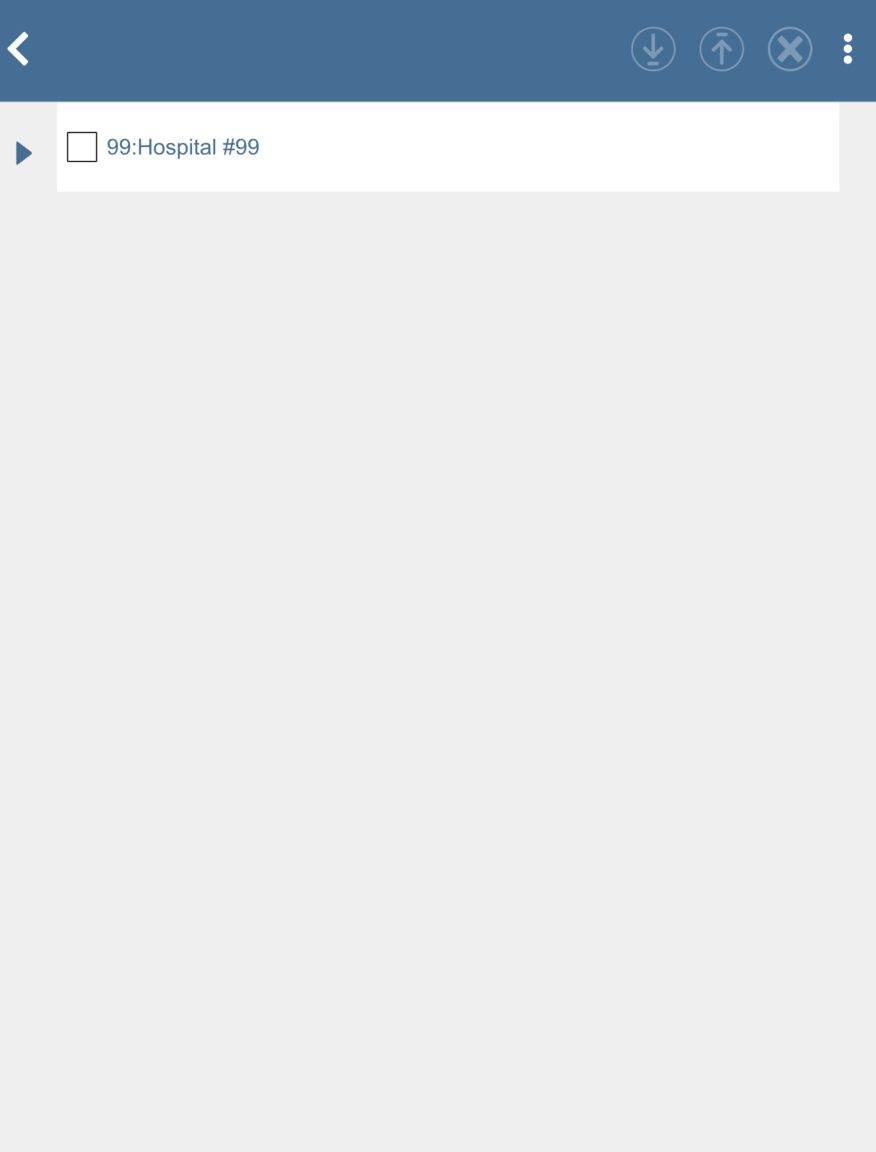
 to show sites 99: Hospital #99 subject listing.
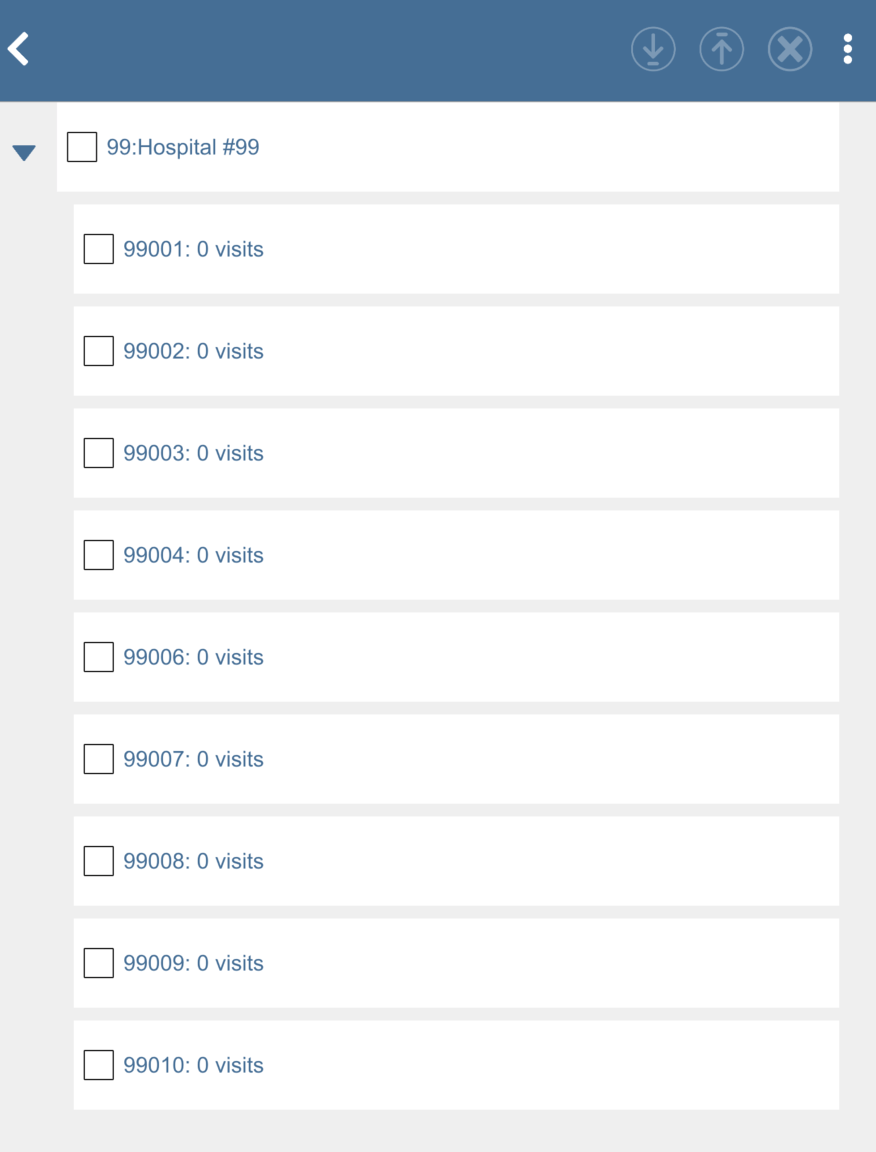
-
Check (enable) subjects 99008: 0 visits, 99009: 0 visits and 99010: 0 visits.
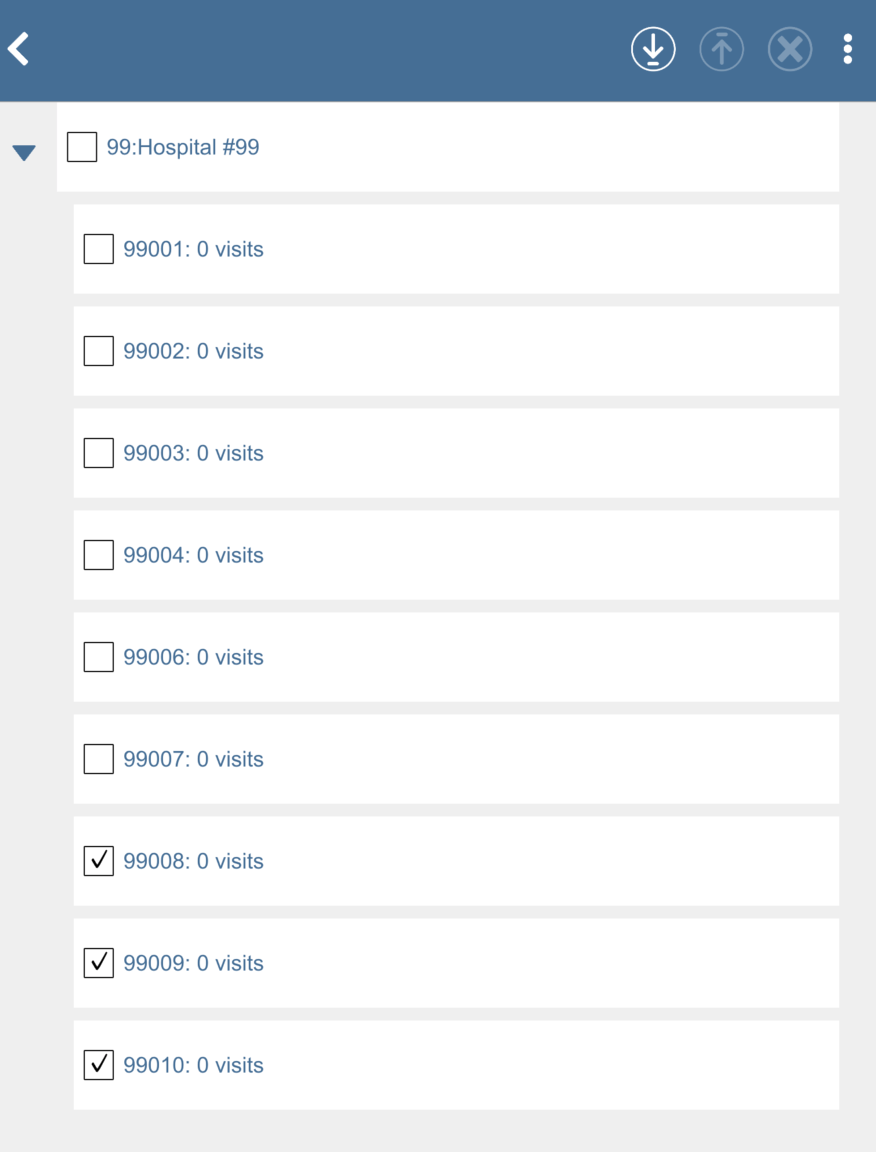
Click
 icon to download the subjects. Upon successful download there will be an
  icon showing the date and time the download was performed.
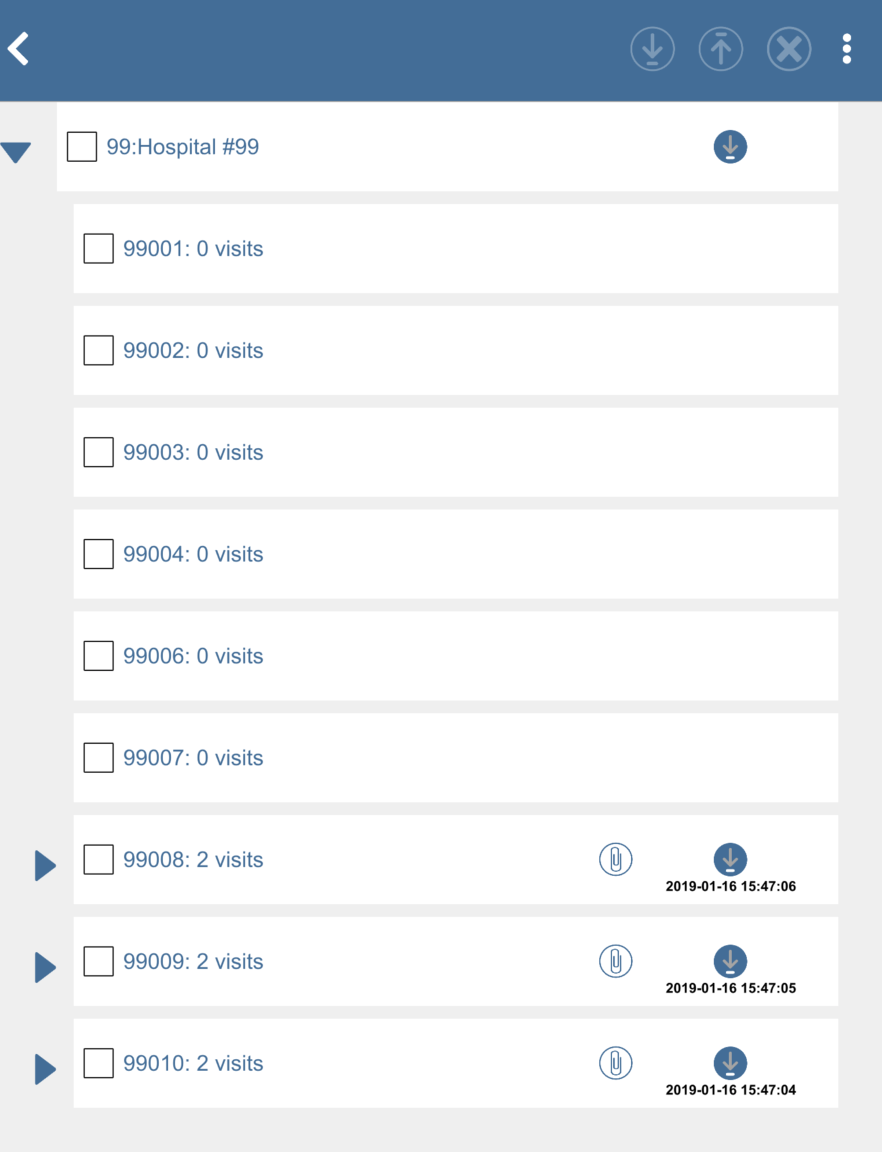
-
Click
> to logout of DFcollect.
-
Click
> Preferences > Server Connection toggle button to disable the server connection (becomes greyed out). Click .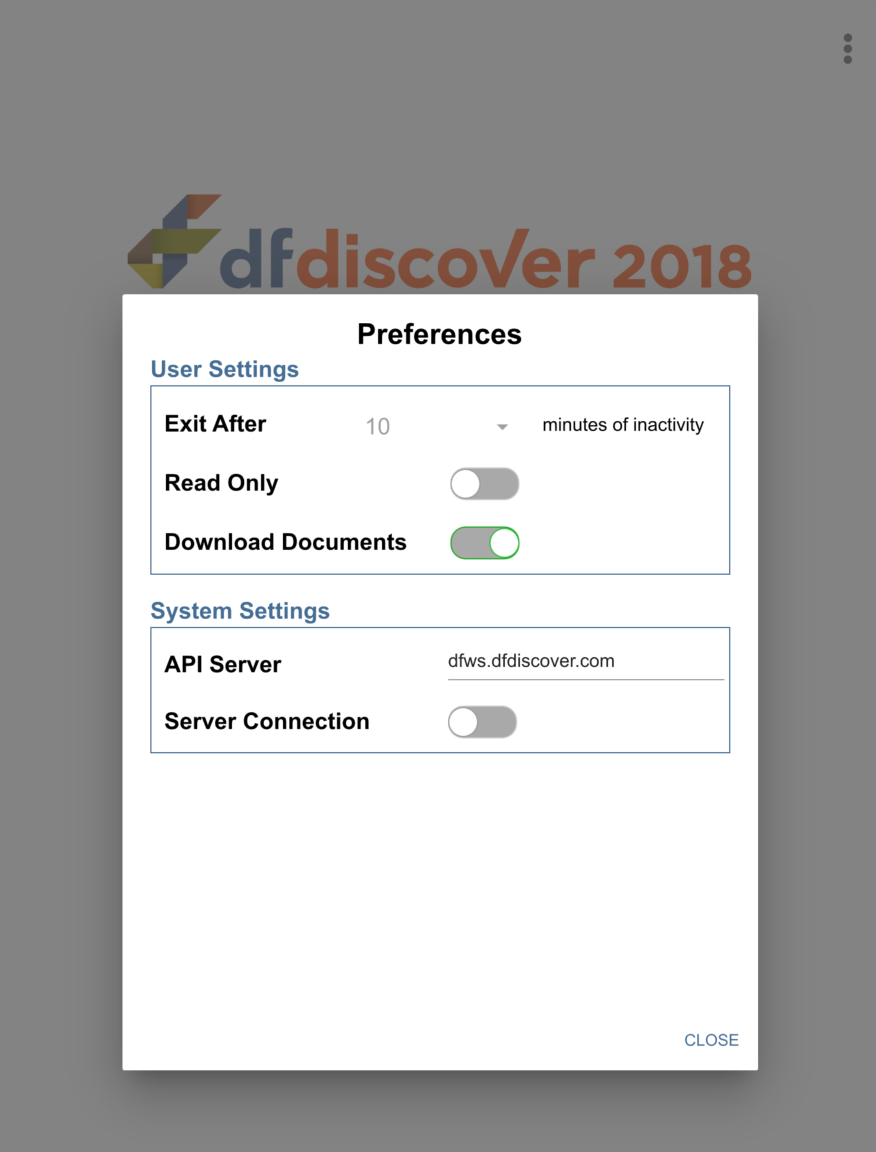
-
In the DFcollect login dialog, enter the name for DFdiscover Server that has been provided by your administrator. Enter
valid1in the Username field and the previously assigned password in the Password field. Click to login. -
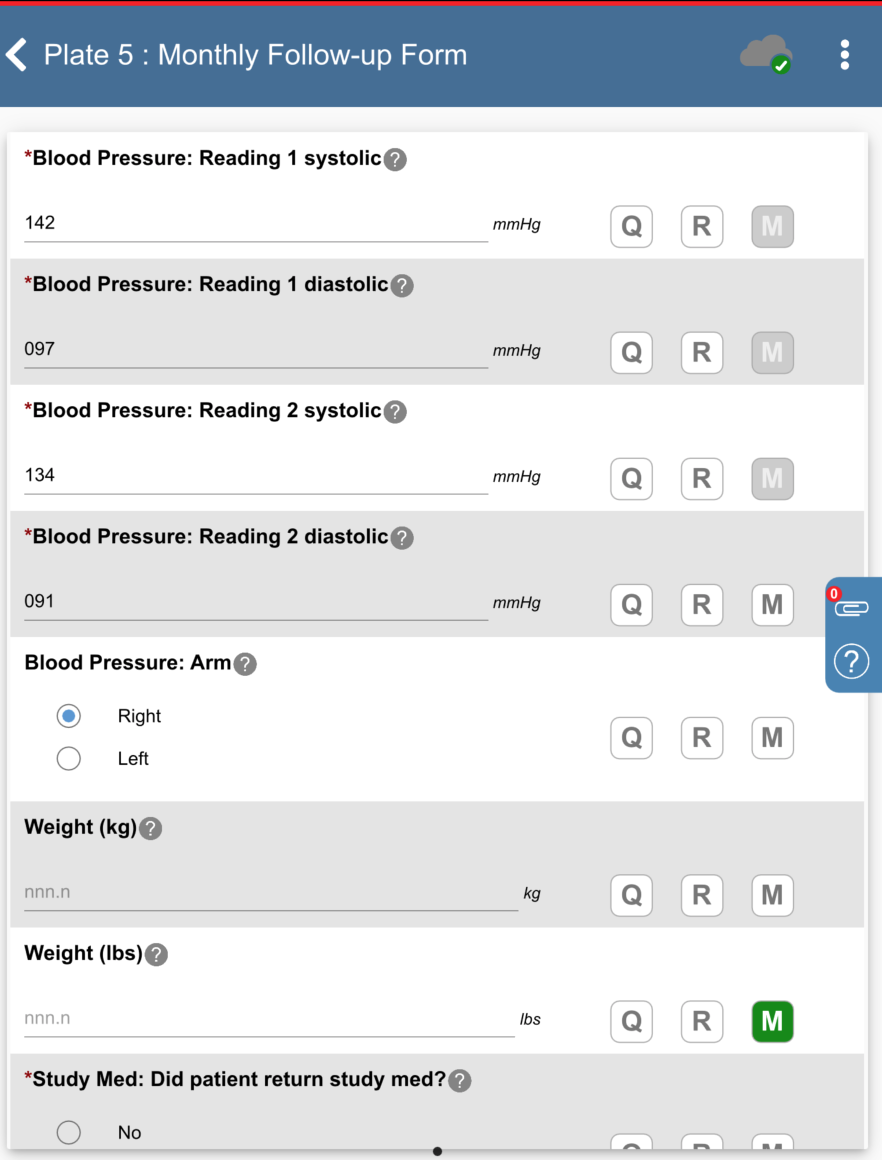
Click Site 99: Hospital #99 > 99009 : (incomplete) > Visit 21: 1 Month Follow-up > 5: Monthly Follow-up Form. Set:
Blood Pressure: Reading 1: systolic = 142, diastolic = 097
Blood Pressure: Reading 2: systolic = 134, diastolic = 091
Blood Pressure: Arm = Right
Weight (lbs) = Click
 , select Missing Value from the Code drop-down list. Click . Click in the resulting Add Query dialog.
Click
 .
.
-
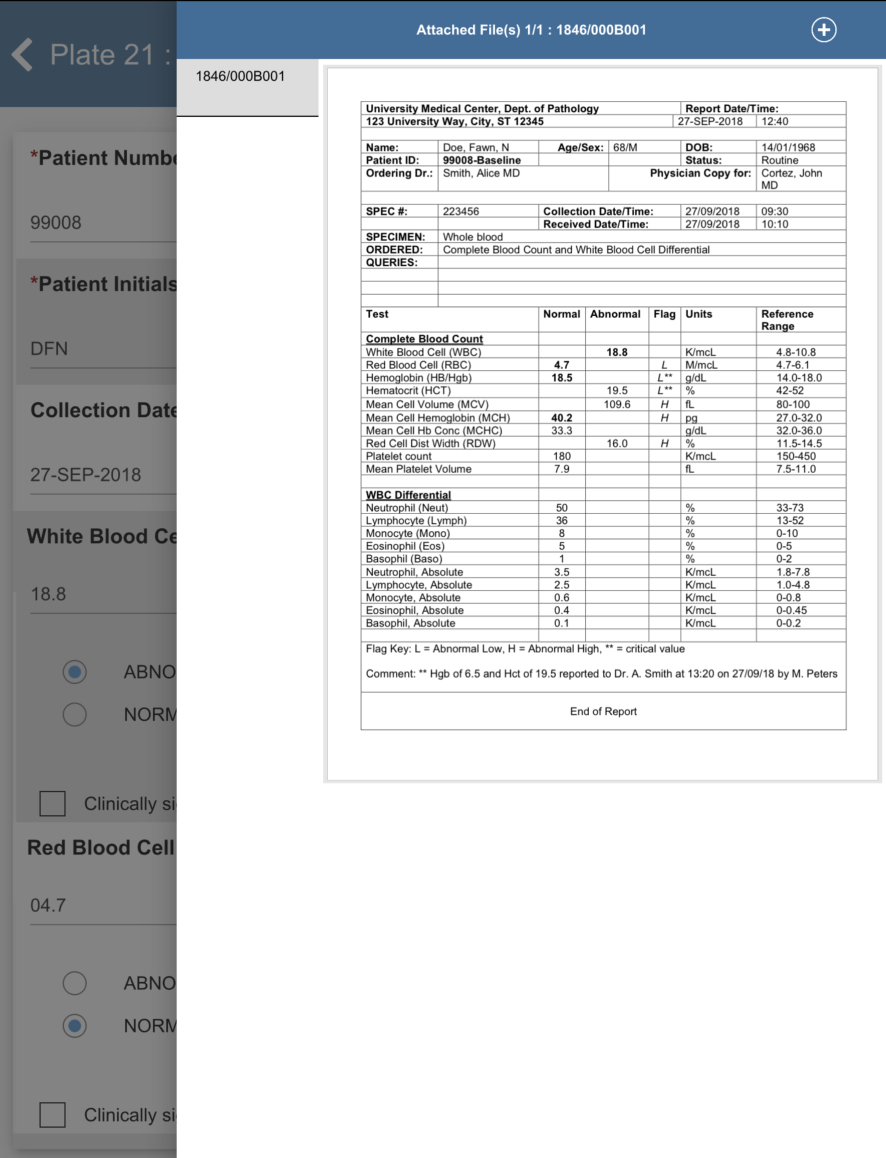
Click
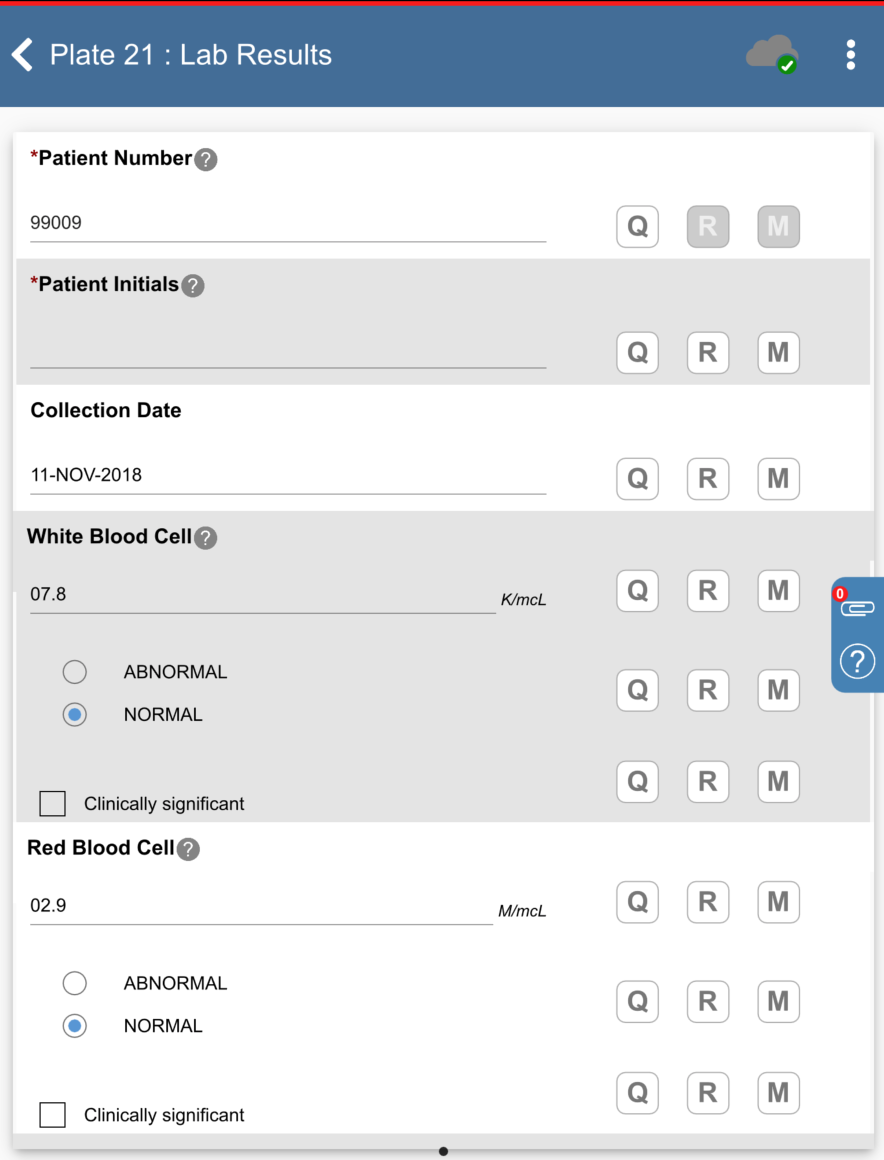
> Plate 21: Lab Results.

-
Click Patient Initials the initials automatically occupy this field as a result of the edit check
SetInitdescribed in Module 5: Fax Data Entry, Set:Collection Date = Click
, select 11-NOV-2018.White Blood Cell = 07.8, check (enable) NORMAL
Red Blood Cell = 02.9 check (enable) NORMAL
Hemoglobin = 06.5, check (enable) ABNORMAL
Mean Cell Hemoglobin Conc = 14.1, check (enable) NORMAL
Click
.
-
Click
> 1: Baseline > 2: Patient Entry Form. 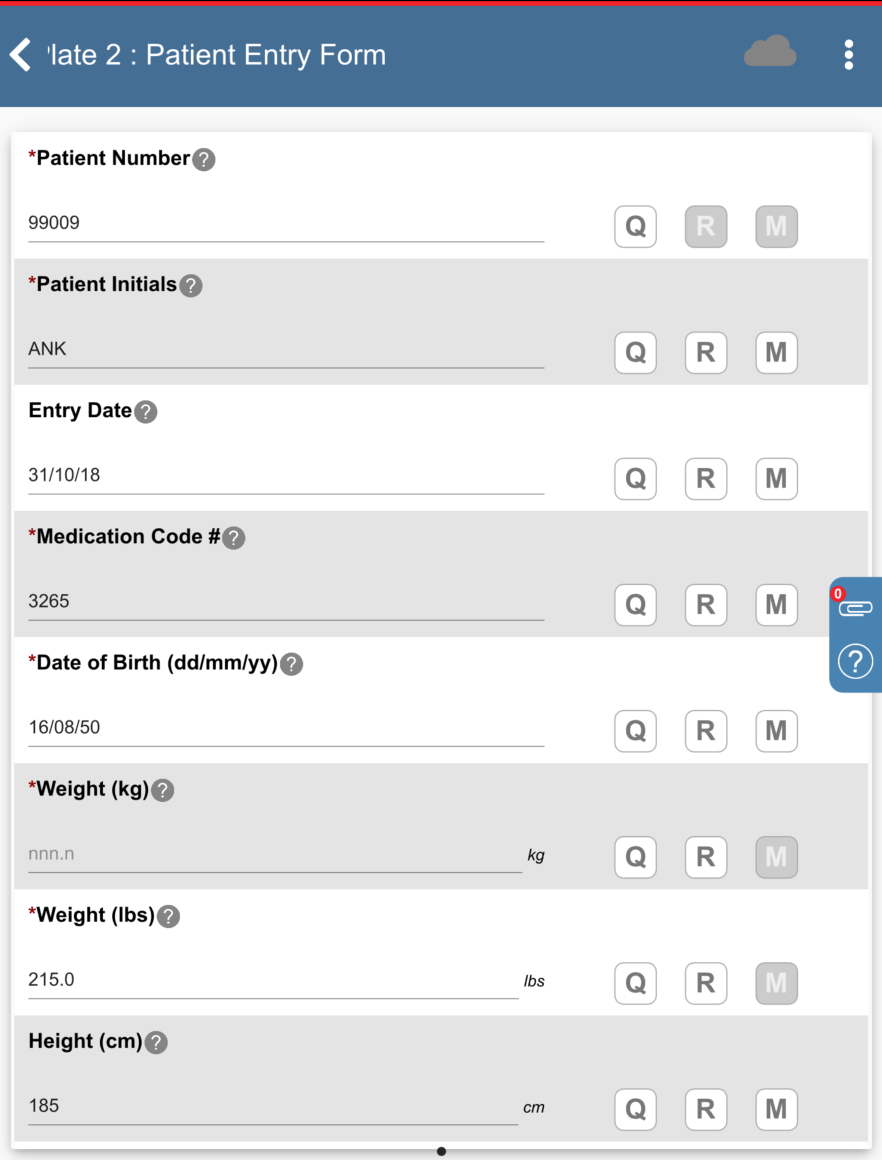
-
Click
 next to the Pulse field. In the Reason field specify
 Value of 95 for pulse is confirmed.. Click >. 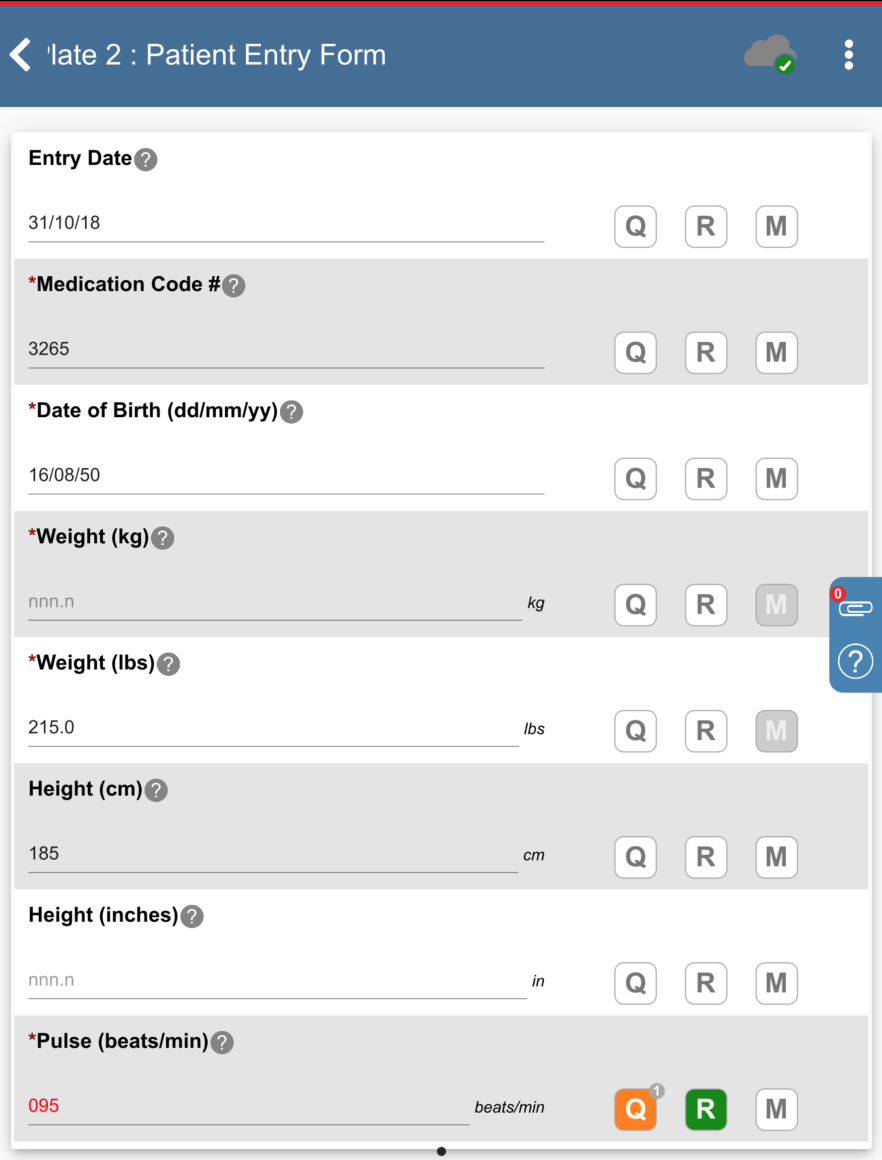
-
Click
> > Subject 99008 > 1: Baseline > 2: Patient Entry Form. in the Date of First Study Follow-up field click , select 14/11/18. 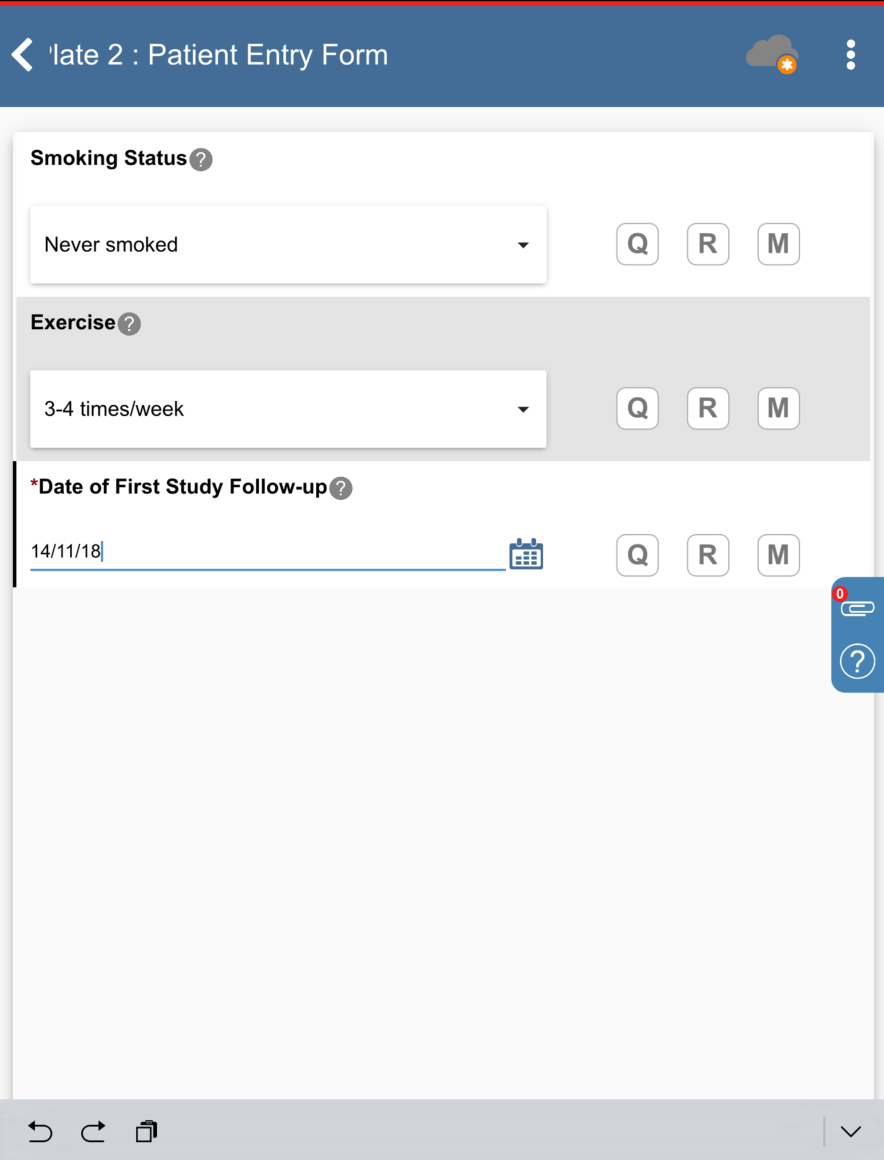
-
Click
in the Reason field specify Subject has to reschedule due to conflict. Click >. 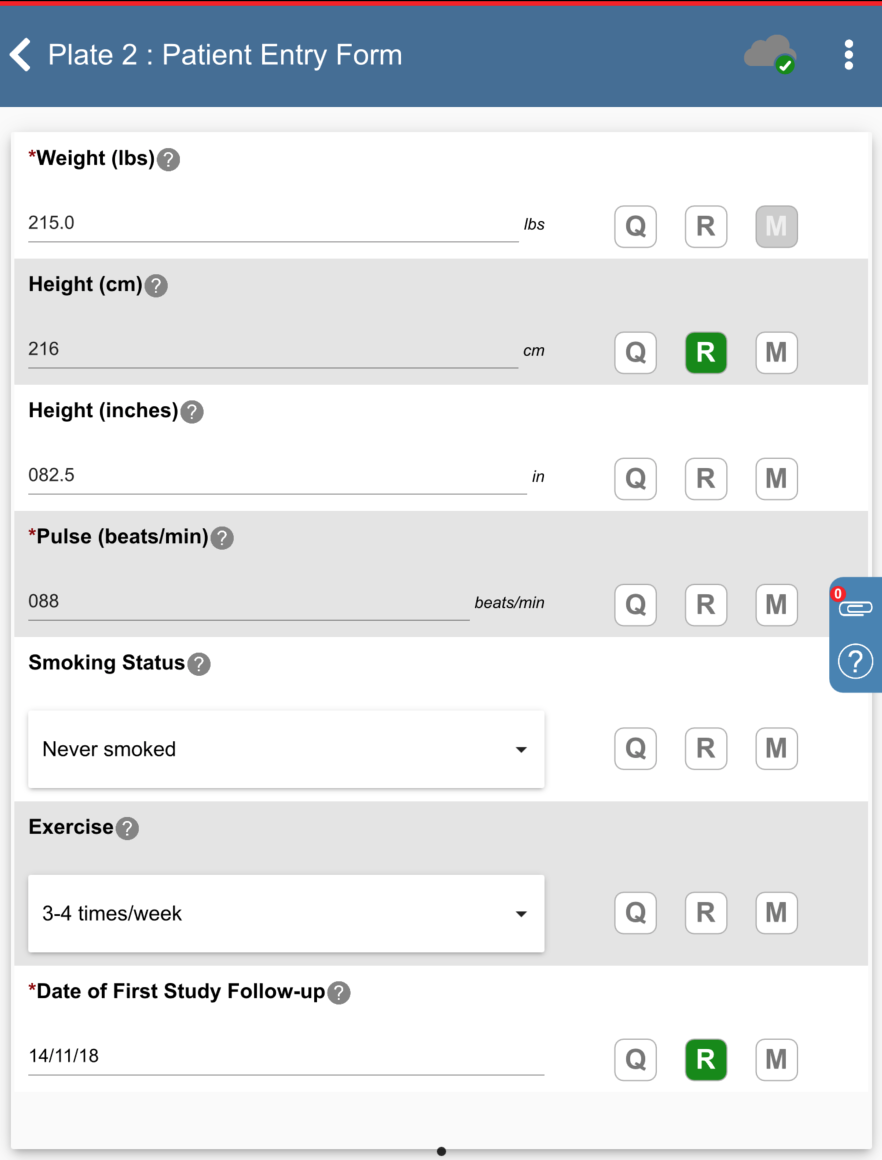
-
Click
> > Subject 99009 > 0: Screening Visits > 1: Blood Pressure Screening Visits.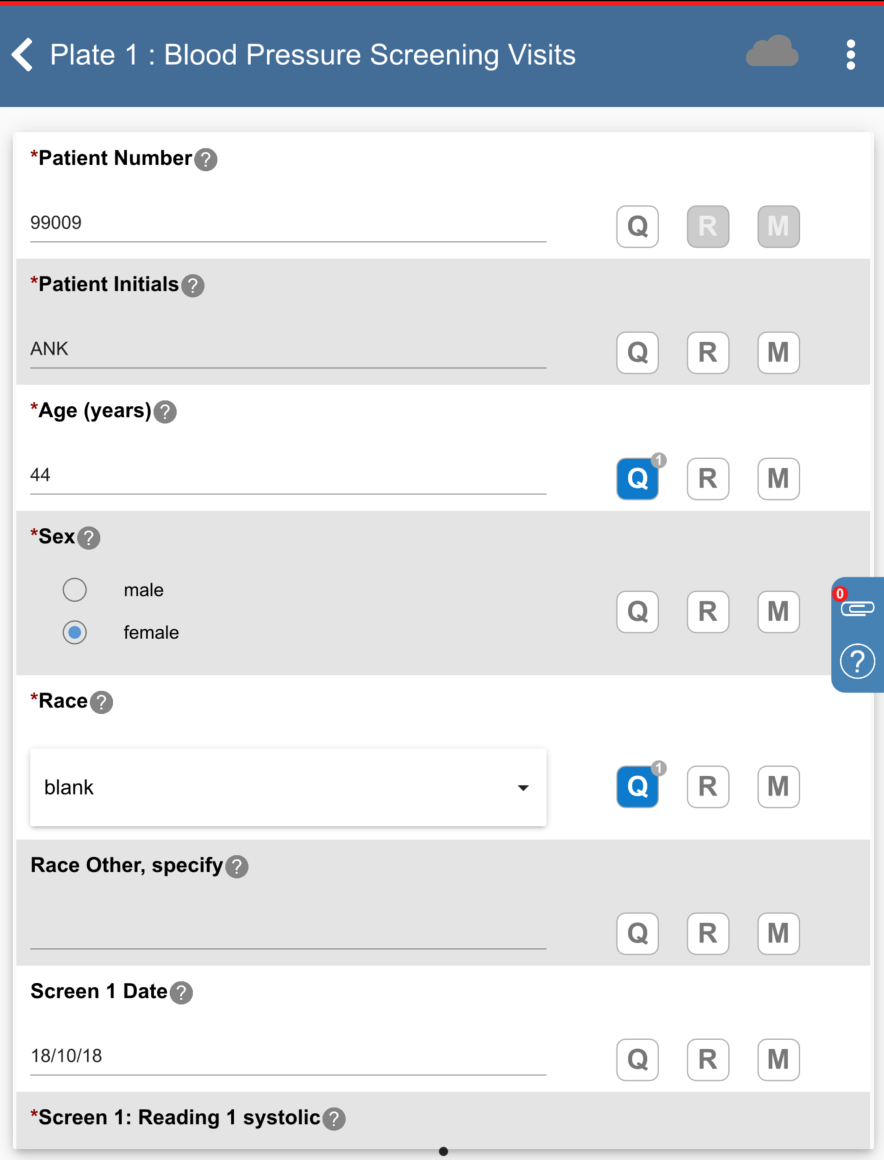
-
Correct Age (years) from
44to68. Click >
>  , select Resolved from the Status drop-down list. Click > .
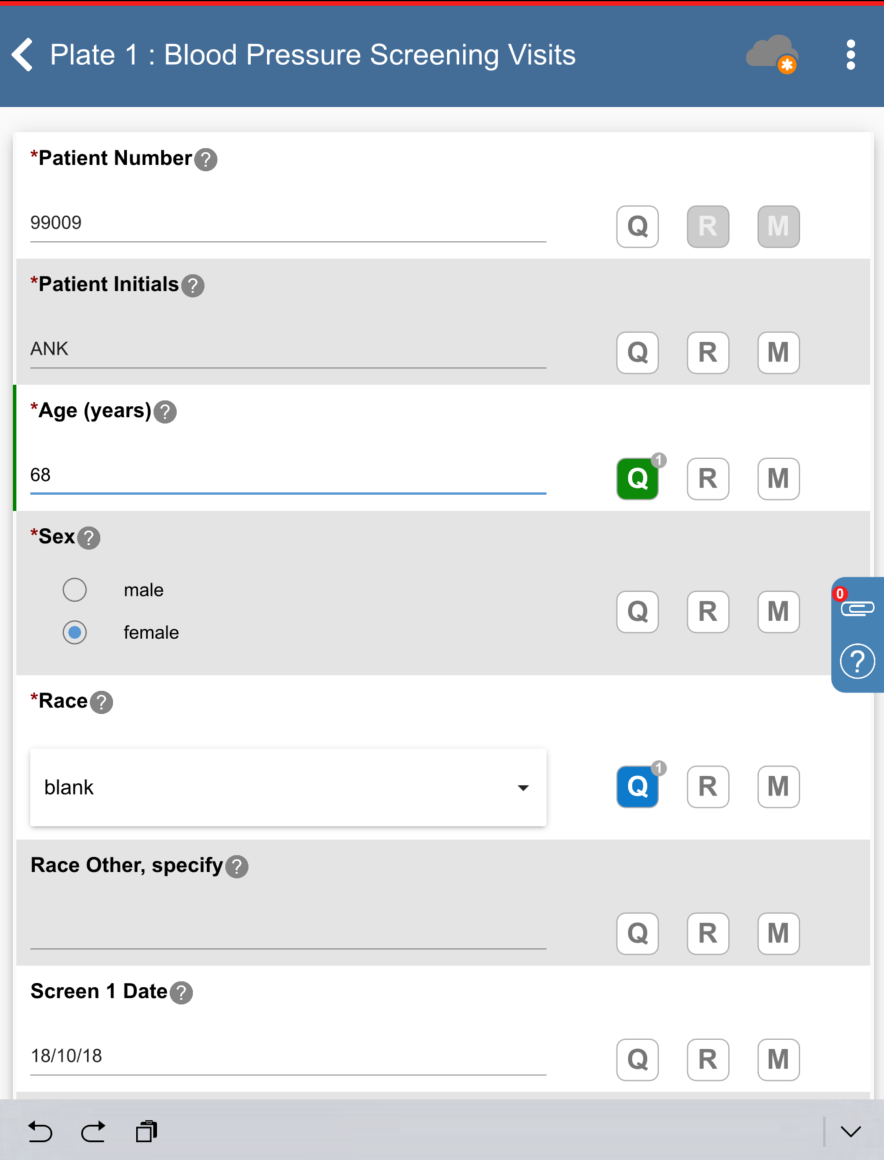
-
Click Race select african american from the drop-down list. Click
> , select Resolved from the Status drop-down list Click > > . 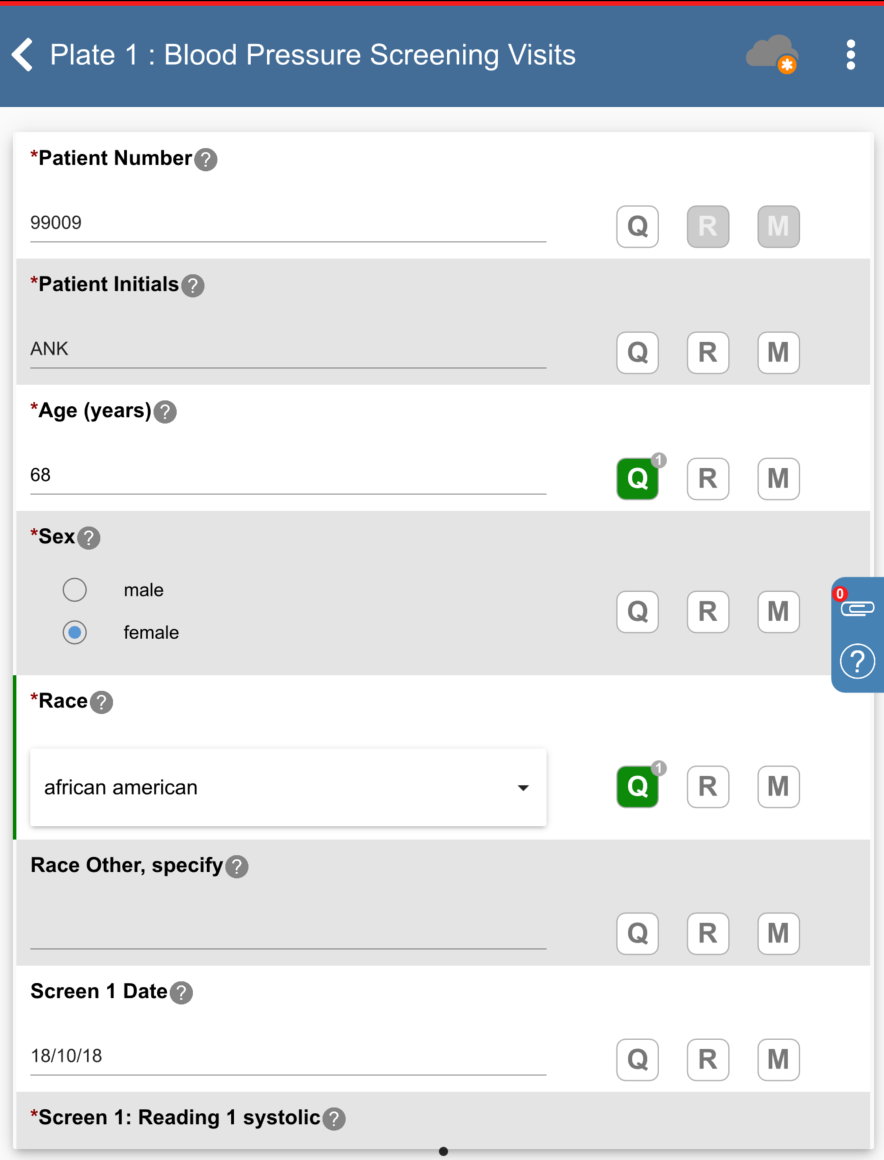
-
Click
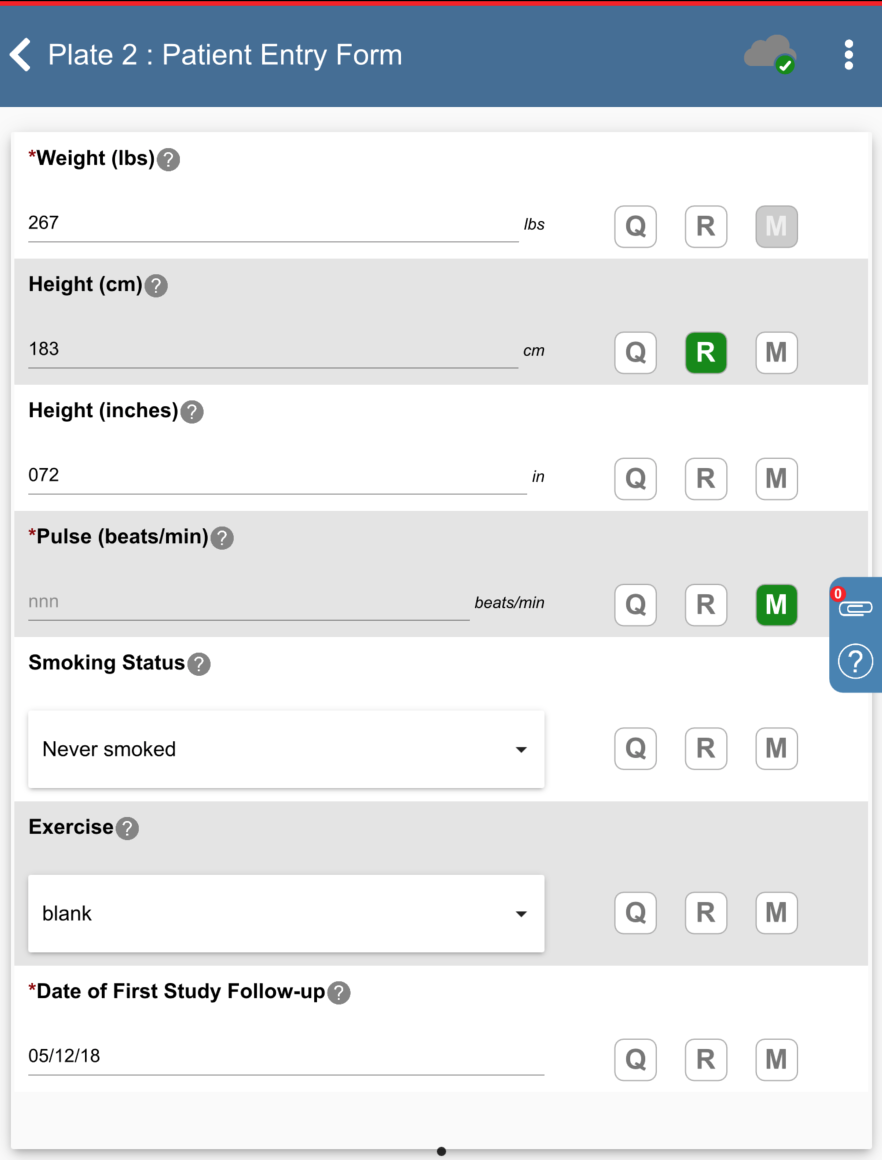
> > Subject 99010 > 1: Baseline > 2: Patient Entry Form. Set:
Weight (lbs) = 267
Height (in) = 072.8
Pulse = click
, select Missing Value from the Code drop-down list. Smoking Status = Never smoked
Date of First Study Follow-up = Click
, select 05/12/18.
Click
. Note The Weight (kgs) and Height (cm) fields become auto-populated as a result of edit checks.
-
Click
> , to logout of DFcollect.
-
Click
> Preferences > Server Connection toggle button to enable the server connection (turns green). Click .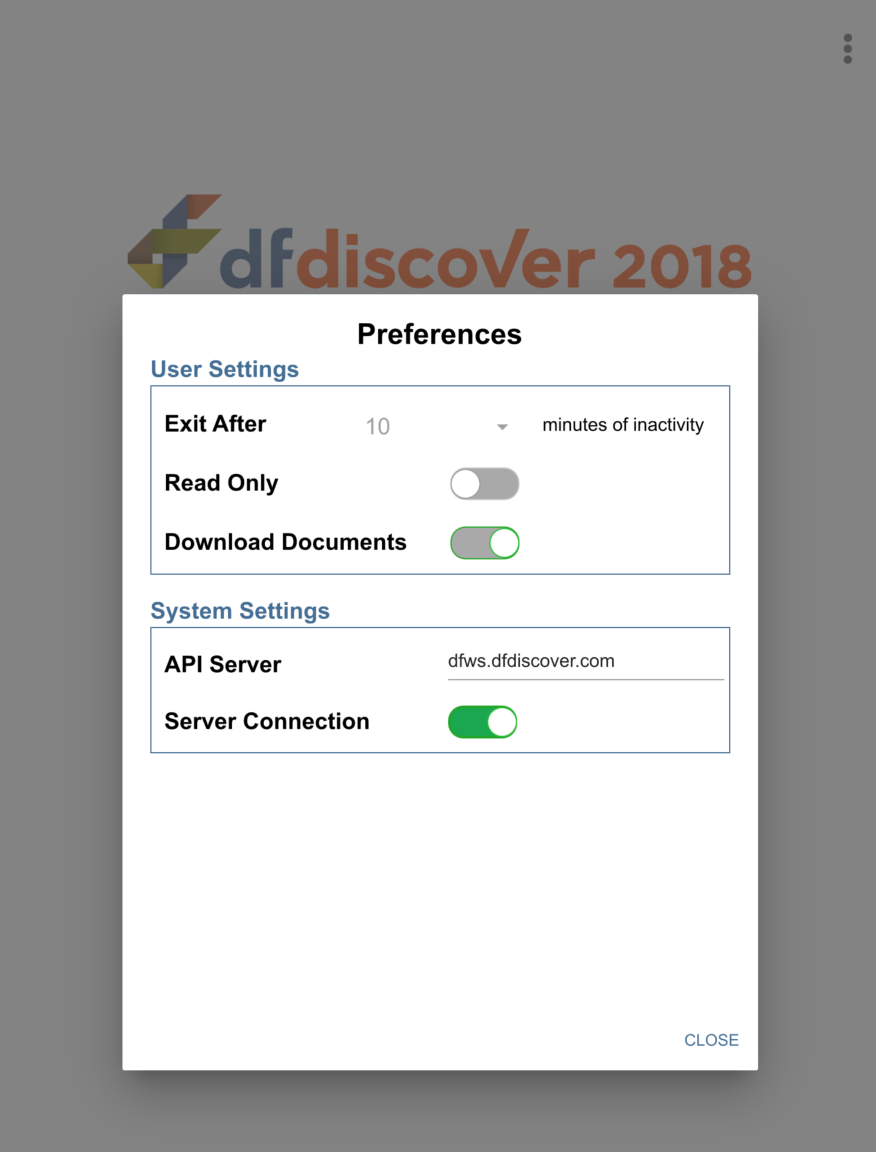
-
In the DFcollect login dialog, enter the name for DFdiscover Server that has been provided by your administrator. Enter
valid1in the Username field and the previously assigned password in the Password field. Click to login. -
Upon logging into DFcollect, the
 icon is displayed next 99: Hospital #99 study site indicating there are cached changes in the DFcollect application that have not been saved to the DFdiscover database.
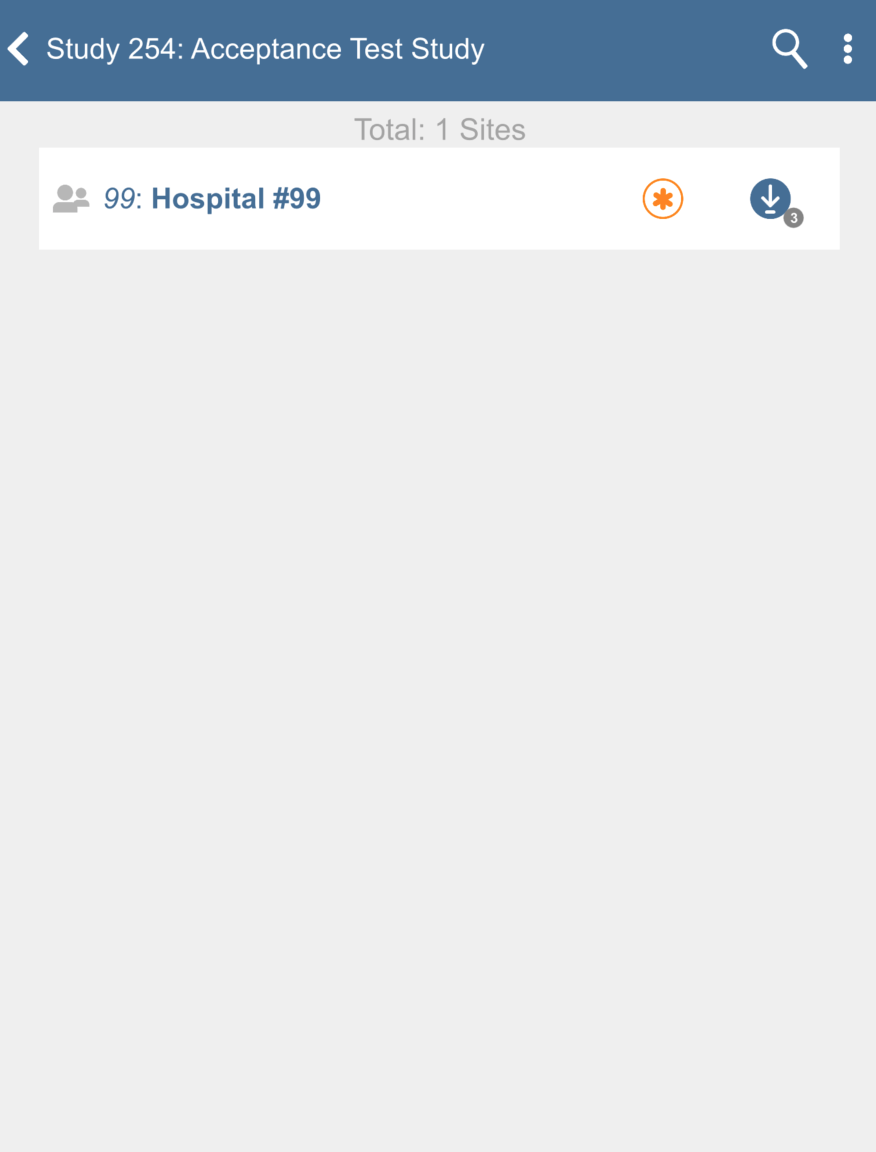
-
-
Click
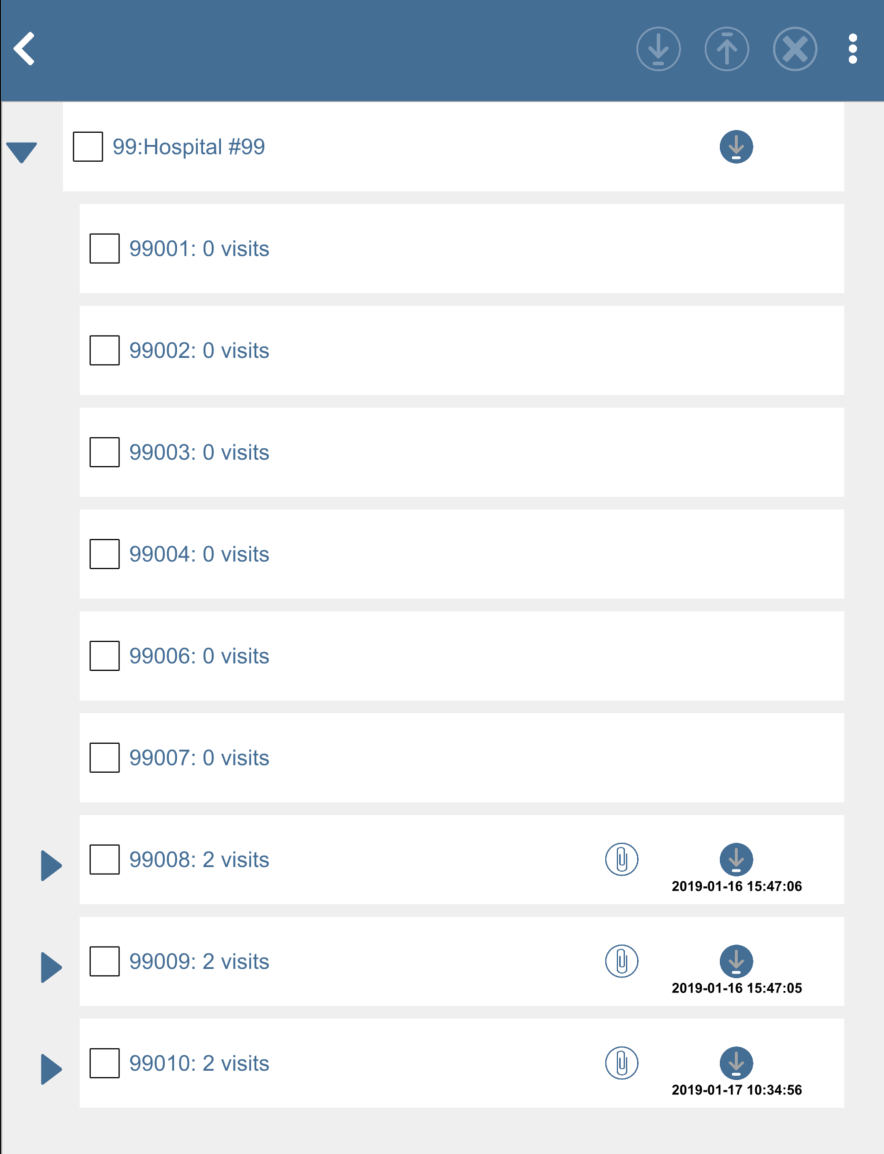
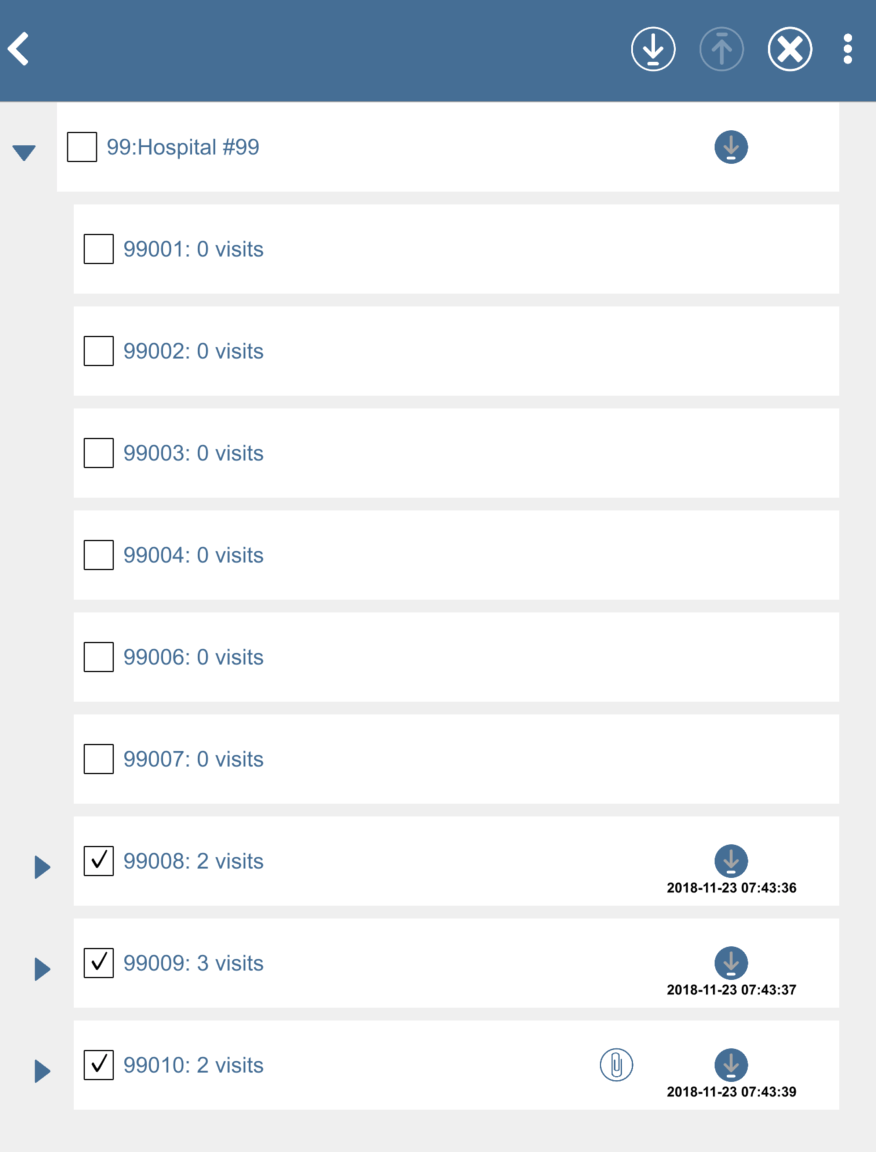
to expand list of subjects. Check (enable) subjects 99008: 2 Visits, 99009: 3 visits and 99010: 2 visits.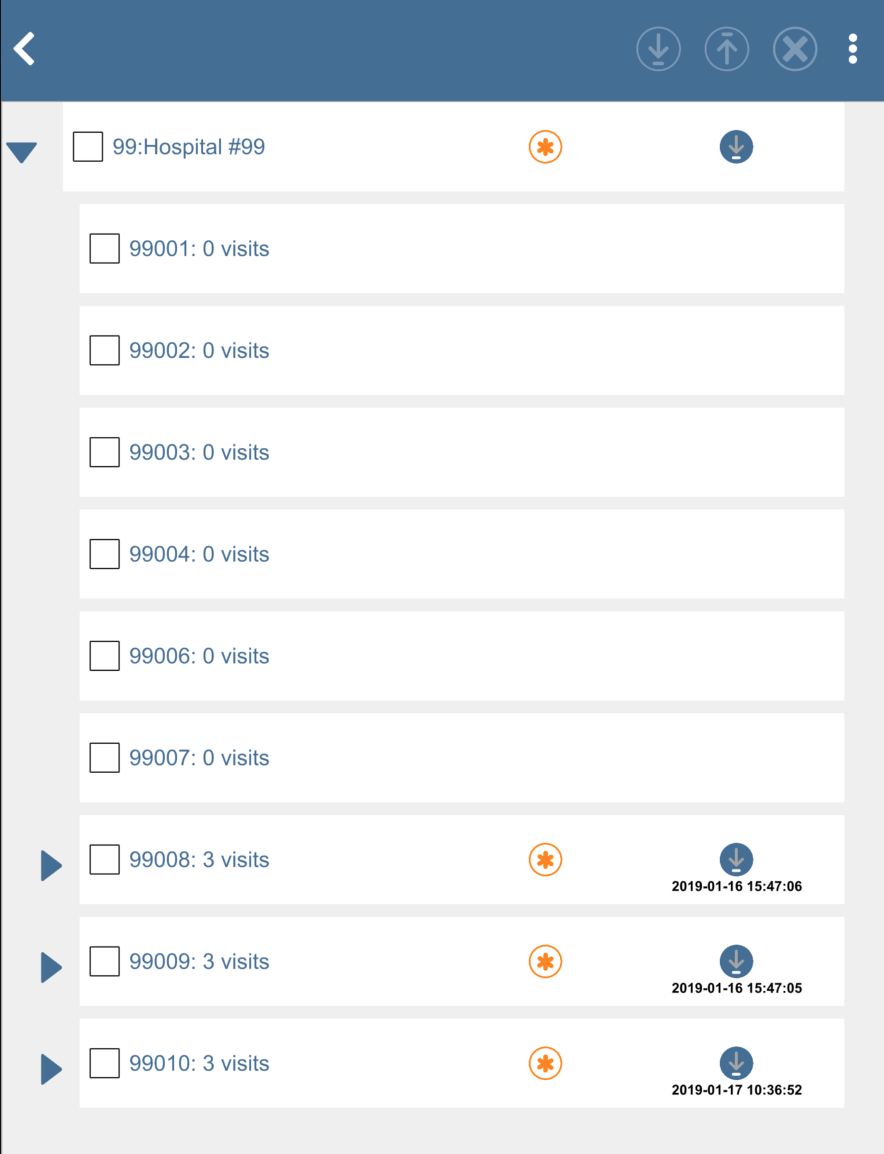
-
Click
 to upload the newly entered subject data. When the upload is completed the icon is removed, the icon showing the date and time of successful upload is updated.


-
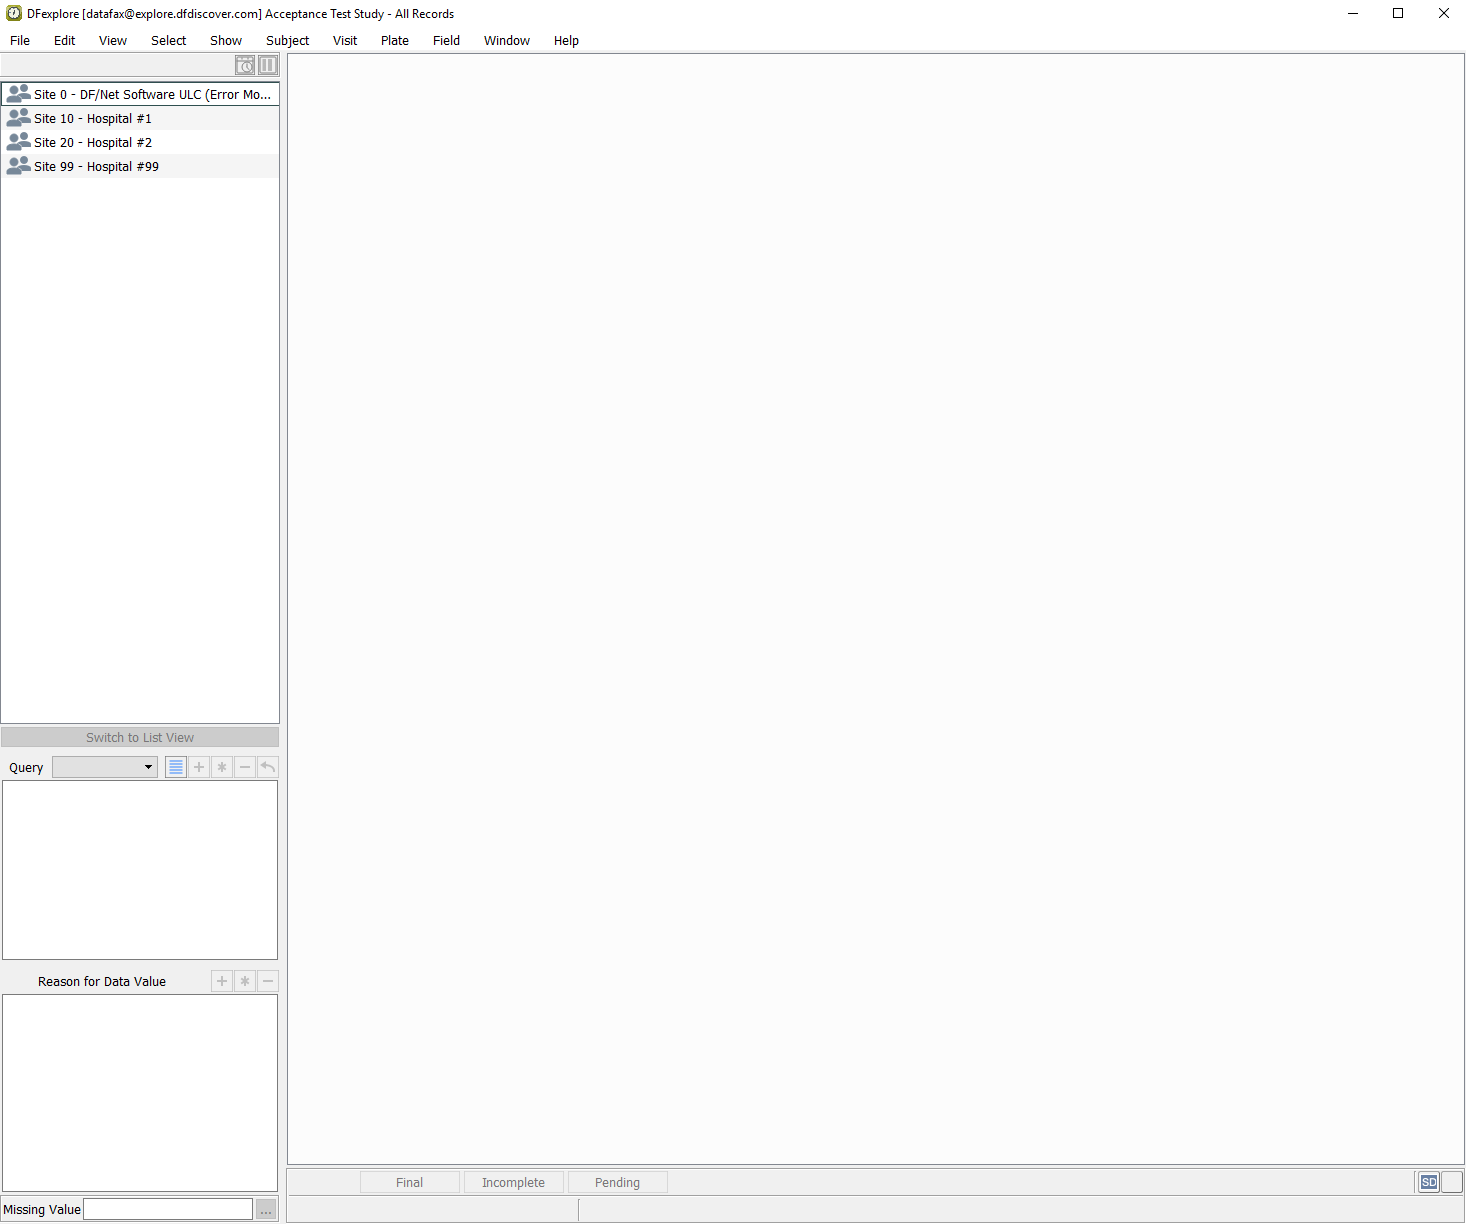
Open DFexplore.

-
In the DFexplore login dialog, enter the name for DFdiscover Server that has been provided by your administrator. Enter
valid1in the Username field and the previously assigned password in the Password field. Click to login. The DFdiscover Server value will be the name of your DFdiscover server. This will differ from the value shown here.
-
From the list of available studies, select the 254 Acceptance Test Study click to open its database.
Note If
valid1does not have any other study permissions you will be taken directly to the sites view. -
Select Site 99: Hospital #99 > subject 99009 > 0: Screening Visits > 1: Blood Pressure Screening Visits. Verify and review the data uploaded is correct.
Age (years) = 68 with a resolved corrected query.
Race = 2 (african american) with a resolved corrected query.
-
Select > to close DFexplore.