Table of Contents
- 3.1. Tests & Requirements
- 3.2. Begin Module 3.
- 3.3. Permitted users can gain exclusive access to DFsetup to modify a study setup.
- 3.4. Define Global study preferences and apply settings to DFsetup.
- 3.5. Create and modify a new style (Comment).
- 3.6. Create and modify a new module (Death).
- 3.7. Assign Field definitions to a newly created module.
- 3.8. Assign a module's field definitions to a plate.
- 3.9. Correct field ordering on the current plate to set fixed field traversal order for data entry.
- 3.10. Use copy and paste to create repeating module and field references on a plate.
- 3.11. Create user-defined query category codes.
- 3.12. Submit a copy of the newly setup Plate 11 into the study database and retrieve the page in DFexplore Image View.
- 3.13. Enter and save all data on the submitted plate 11.
- 3.14. End Module 3.
Permitted users can gain exclusive access to DFsetup to modify a study setup.
Define Global study preferences and apply settings to DFsetup.
Create and modify a new style (Comment).
Create and modify a new module (Death).
Assign Field definitions to a newly created module.
Assign a module's field definitions to a plate.
Correct field ordering on the current plate to set fixed field traversal order for data entry.
Use copy and paste to create repeating module and field references on a plate.
Create user-defined query category codes.
Submit a copy of the newly setup Plate 11 into the study database and retrieve the page in DFexplore Image View.
Enter and save all data on the submitted plate 11.
Estimate of Time Required: 20 Minutes
-
Start DFATK as described in Module 1 (Installation & Initialization).
-
Click followed by to begin this module.
-
This module requires user
valid1to have exclusive access to the 254 Acceptance Test Study database, the Control Panel must be closed. Click . -
Start DFsetup.
-
In the DFsetup login dialog, enter the name for DFdiscover Server that has been provided by your administrator. Enter
valid1in the Username field and the previously assigned password in the Password field. Click to login.
Highlight 254 Acceptance Test Study and click . Choose Exclusive Access and click . Exclusive Access allows you to create and modify plates, styles and fields, and to define all setup configuration files.

-
Select > to open the Preferences dialog. Set:
Exit after __ minutes of inactivity = 5
Background Color = Color
Click to save and close the dialog.

-
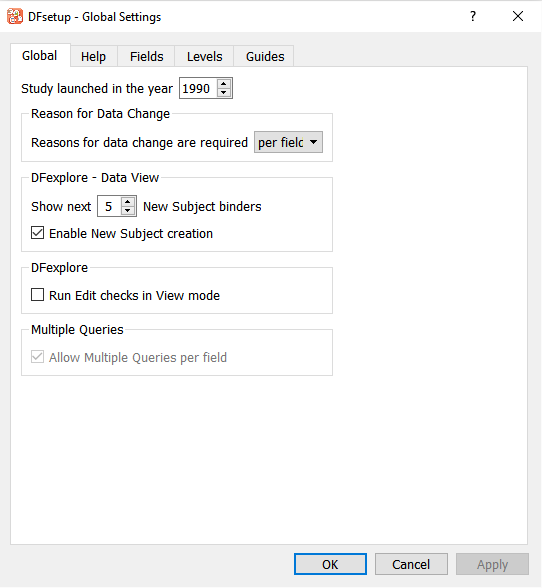
Select > to open the Global Settings dialog. Click Global tab. Confirm that:
Study launched in the year = 1990
Reasons for data change are required = per field
Show next __ New Subject binders = 5
Check (enable) Enable New Subject creation
Uncheck (disable) Run Edit checks in View mode
If these options are not set this way, modify them now and click .
-
Click enter
Welcome to the Acceptance Test Study. For assistance please contact 1-XXX-XXX-XXXX.. Click .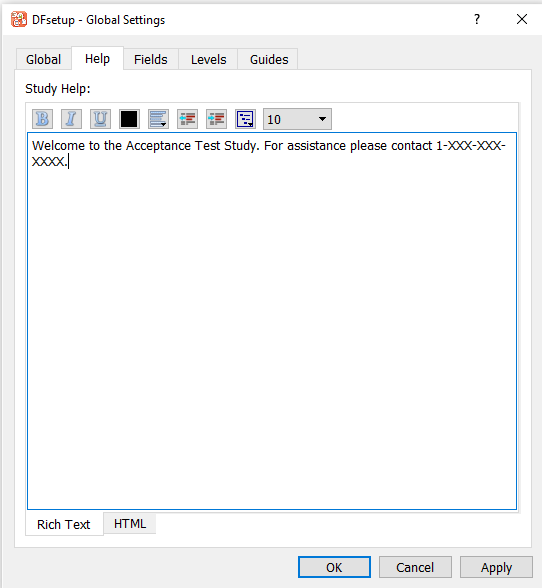
-
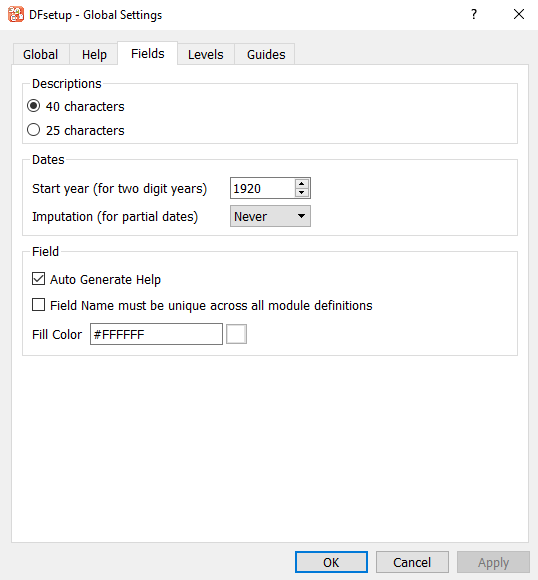
Click Fields tab, and set:
Descriptions = 40 characters
Start year (for two digit years) = 1920
Imputation (for partial dates) = Never
Check (enable) Auto Generate Help
Uncheck (disable) Field Name must be unique across all module definitions
Do not edit Fill Color
-
Click Levels tab. Confirm that the workflow labels of
Level 0,Level 1, and through toLevel 7are used.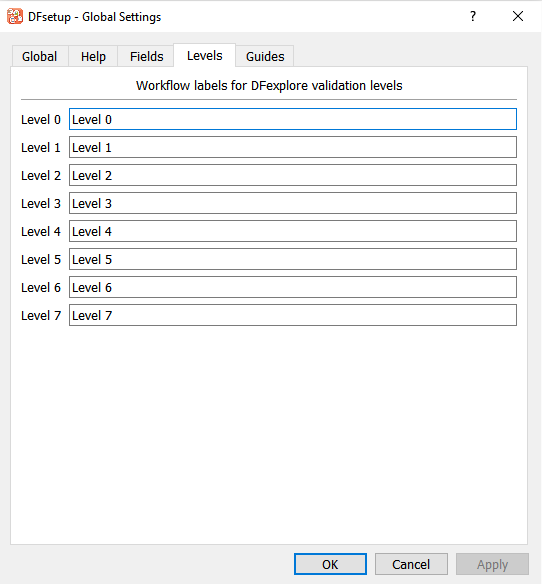
-
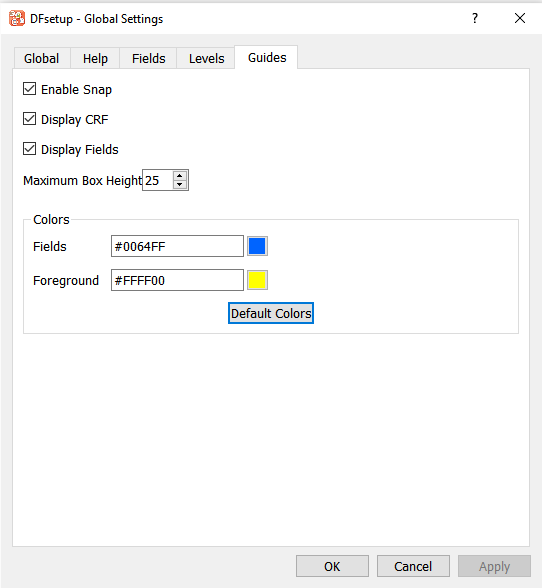
Click Guides tab. Confirm/change:
Check (enable) Enable Snap
Check (enable) Display CRF
Check (enable) Display Fields
Set Maximum Box Height = 25
No changes are required to Colors Fields or Foreground
-
Click to save changes and exit the dialog.
-
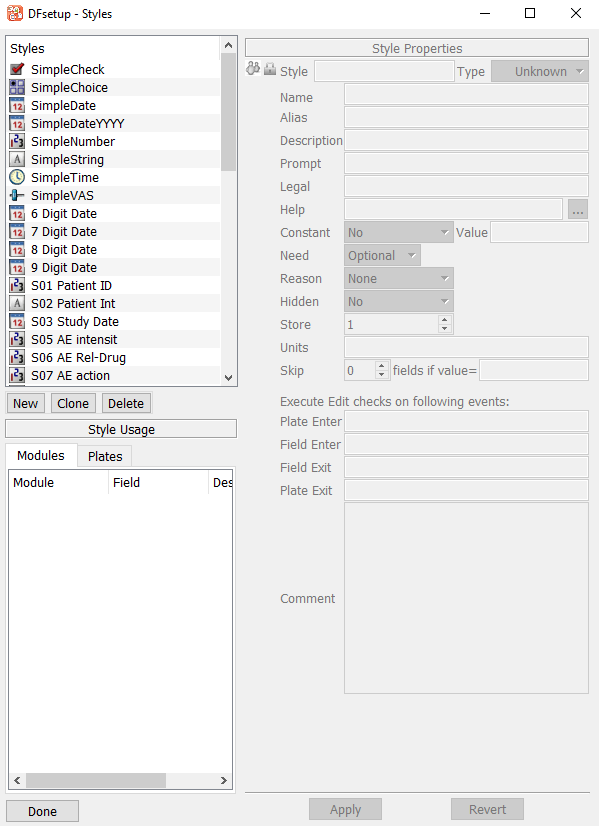
![[Note]](../../imagedata/note.png)
Note The style names and information appearing in your Styles dialog may be different from those shown here. You should see the standard DFdiscover Simple styles.
-
Within the DFsetup-Styles dialog, locate the style name SimpleString. Click SimpleString to select it as the current style. Click to duplicate this style.
-
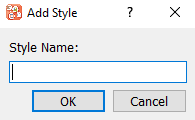
Provide a Style name of
Commentin the Style dialog and click . -
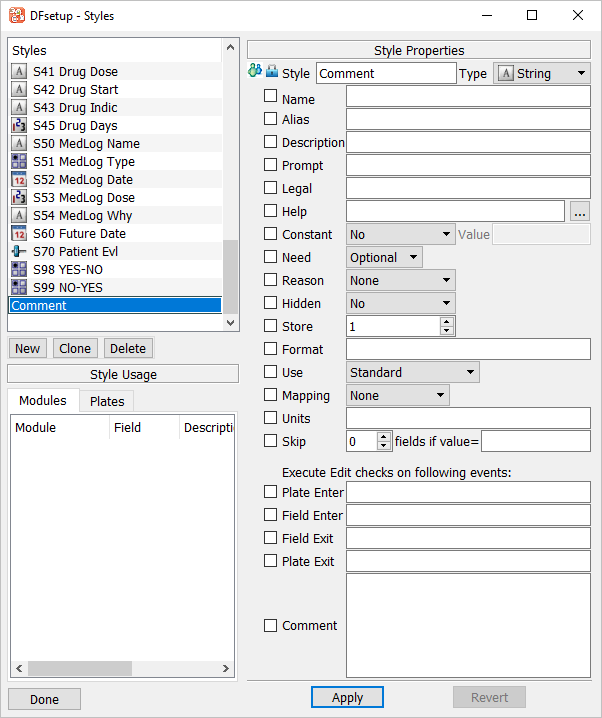
Click new style of Comment to make it active, confirm the Style Properties dialog displays the style properties as shown.
-
Change the Store property from
1to200. Check (enable) the to the left of the Store property to lock this setting in the Comment style. Click to apply the modifications. Click to close the Style Properties dialog.
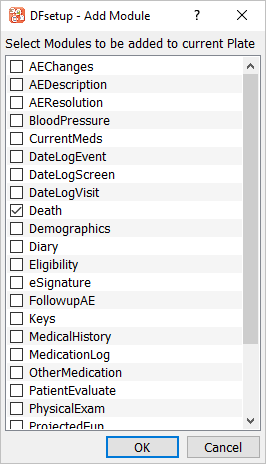
Choose 10 - Death Report entry from the Plates-Modules-Fields list panel to make plate 10 the active plate. Select > to open the module definition dialog.

Click Module options .
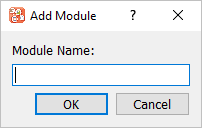
Enter a name of
Deathin the Add Module dialog. Click to save.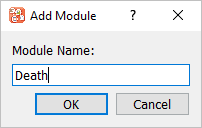
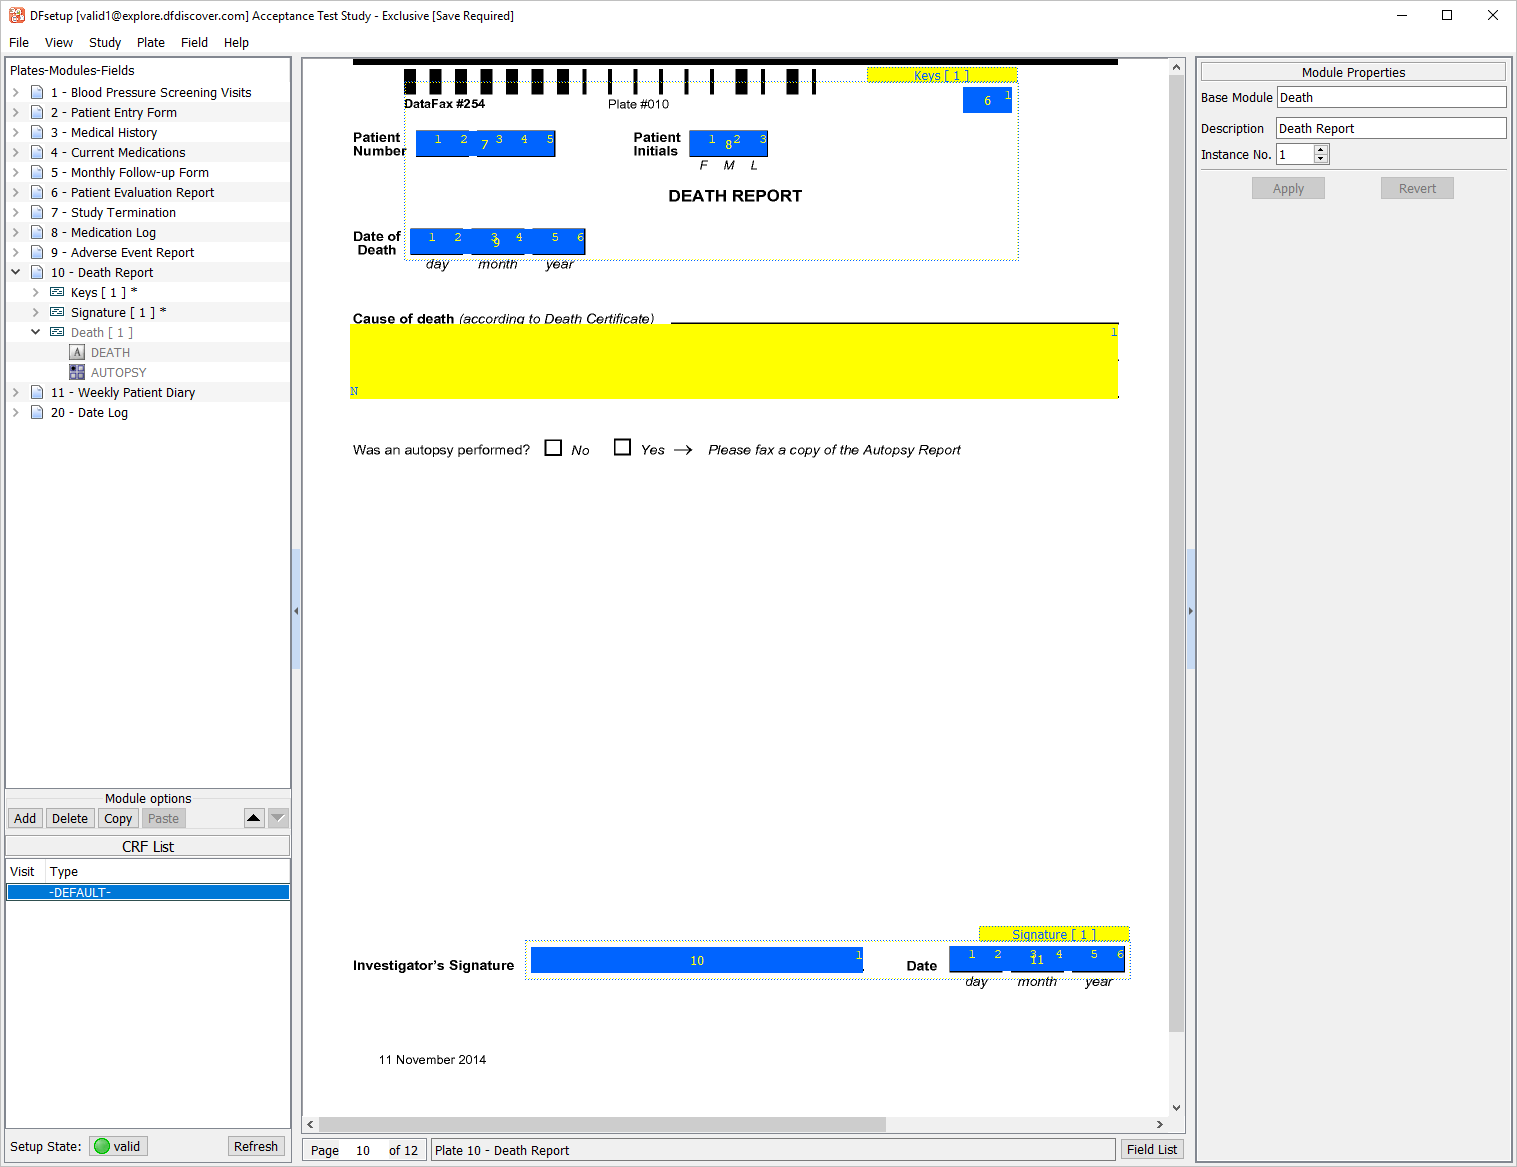
With the Death module selected as the active module, confirm that the Name
Deathappears in the Module Properties window. In the Description field, enterDeath Reportas shown below. Click , then click .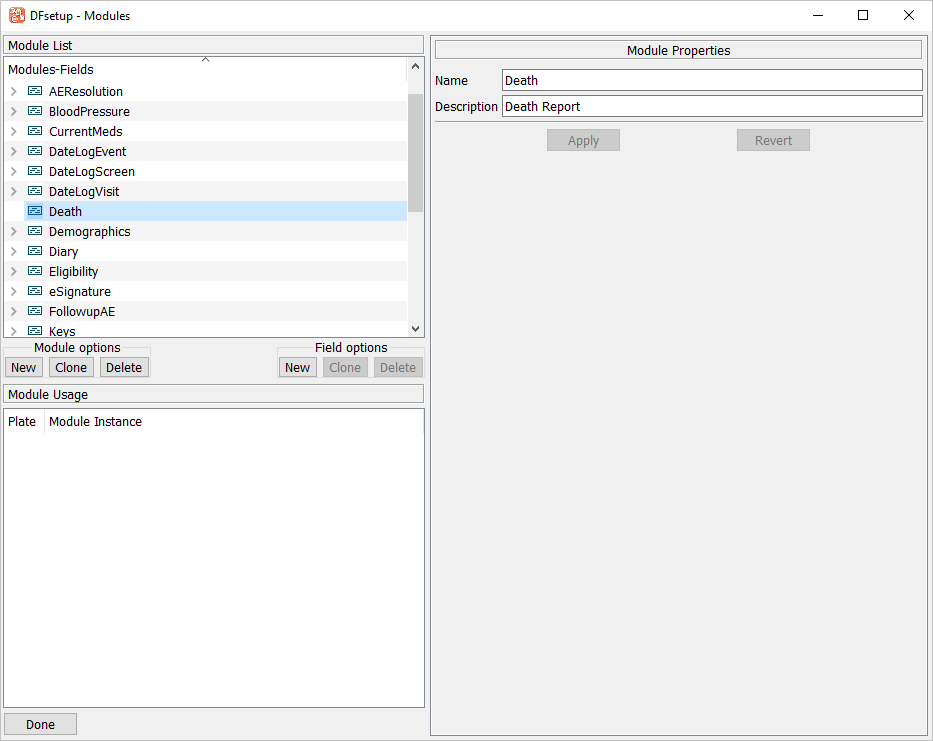
-
Choose Death module defined in Section 3.6, “Create and modify a new module (Death).” to make it the active module. Click Field options .
-
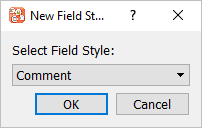
To create a field definition for “Cause of death”, choose Comment from the Style pull-down list, click .
-
Enter the name
DEATHfor the Field Name: and click .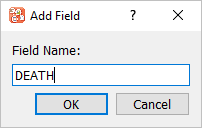
-
Enter the properties for the new DEATH field within the Field Properties window as shown below. Enter a Description of
Cause of Death?and check the box for each of the remaining properties as shown, remove the Help Legal values are: $(legal)text check (enable) the properties style lock box. Click .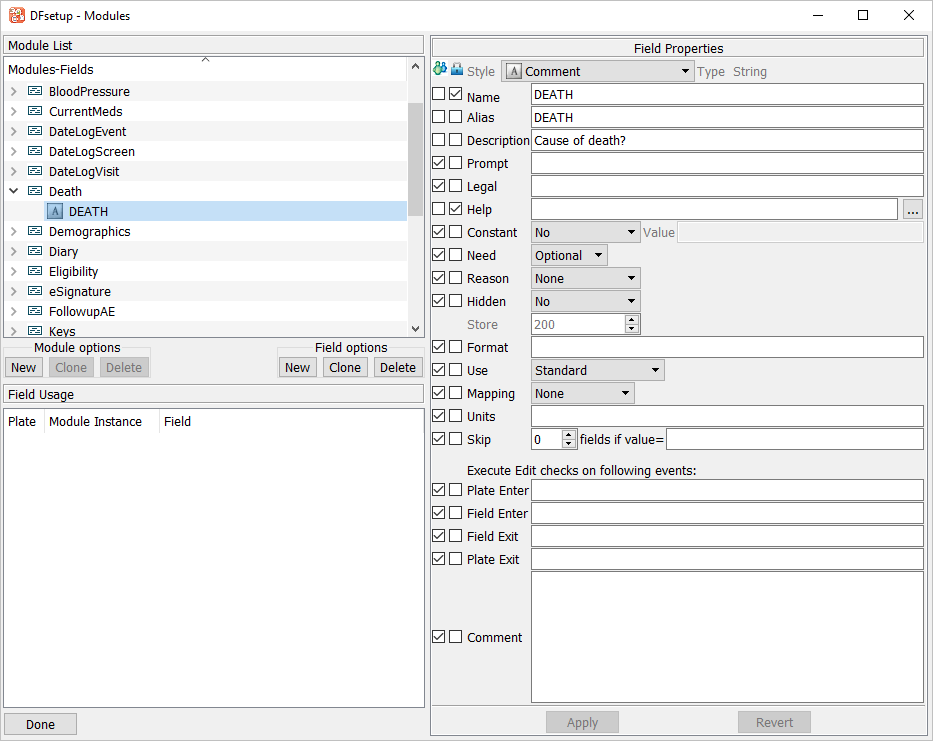
-
Click Field options . In the resulting New Field Style dialog, choose S99 NO-YES from the Styles pull-down list. Click .
-
Enter the name
AUTOPSYfor the Field Name: and click .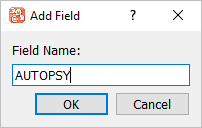
-
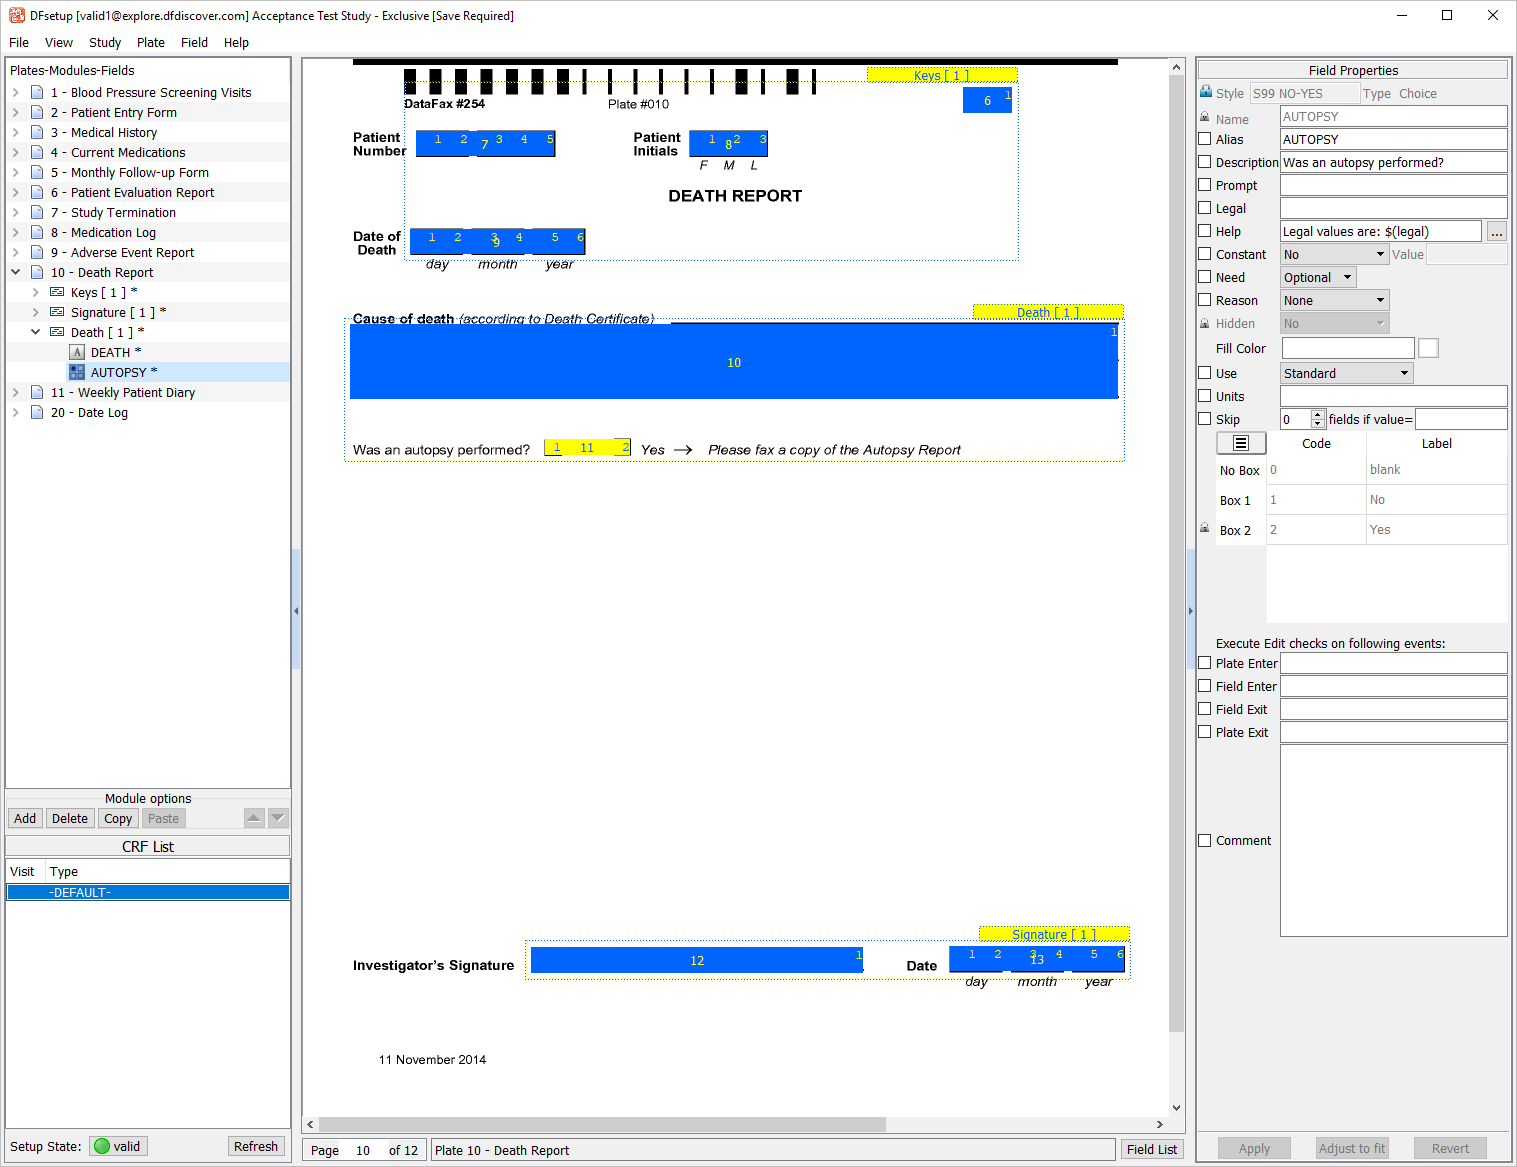
Within the Field Properties window enter a Description of
Was an autopsy performed?and check each of the remaining properties as shown. Click .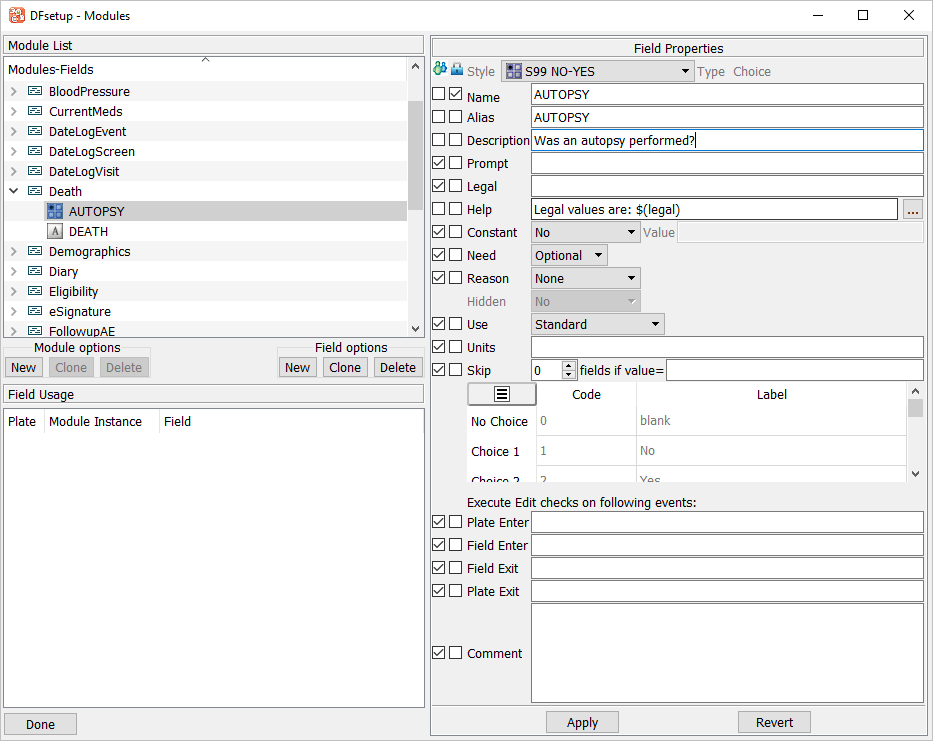
-
Click .
-
Still with 10 - Death Report as the active plate, create the field references (layouts) for the Cause of death and autopsy fields defined in Section 3.7, “Assign Field definitions to a newly created module.”. First add the Death module to plate 10-Death Report by clicking from the Module options. Locate then choose Death module from the list of modules.
Click to add the Death module to plate 10-Death Report.
-
Click
 the left of the Death [1] module entry in the Plates-Modules-Fields list to show all field definitions within the Death [1] module.
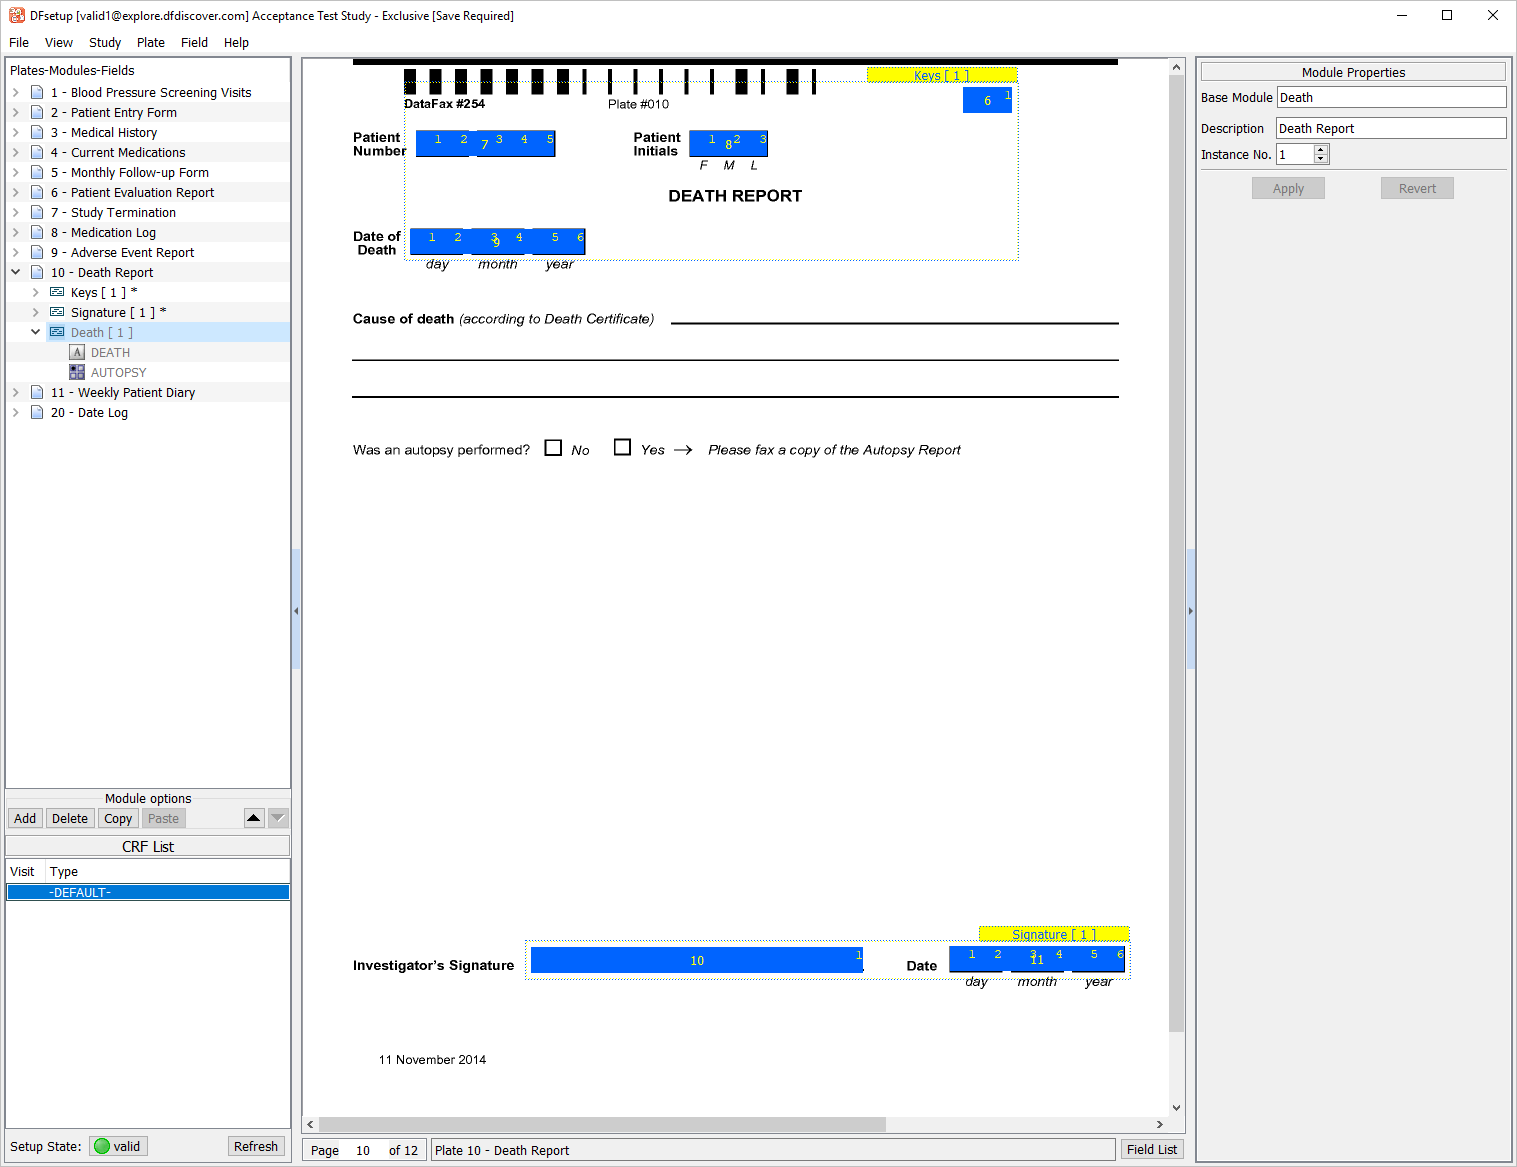
-
Create a field reference for the Cause of Death. Using the mouse, select the leftmost end of the second longest lines on the plate background. Holding down the mousebutton and Control, drag up and across to the rightmost end of the line. Release the mousebutton to create a string field widget.
-
Select the DEATH field in the Plates-Modules-Fields listing to assign a field definition.
-
Create a field reference for the Was an autopsy performed? field. Using the mouse, the middle of the No box on the plate background. Next the middle of the Yes box on the plate background. This defines the position of each response option for the AUTOPSY field.

-
Select the AUTOPSY field in the Plates-Modules-Fields listing to assign a field definition.

-
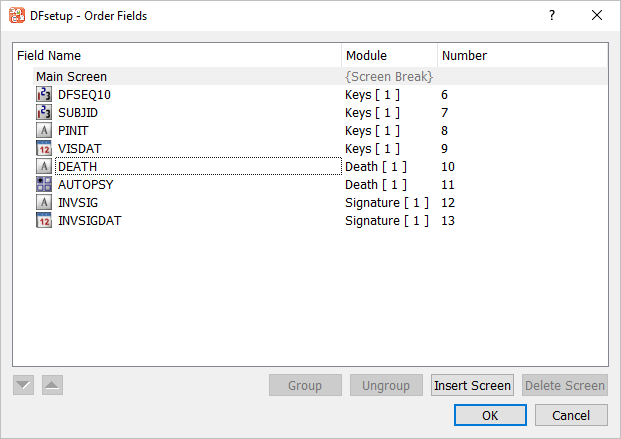
All fields are now defined on plate 10 - Death Report. Select > . In the dialog, sort the fields as shown below, by using the arrow buttons.
-
Click to apply the selected field order.
-
Click
to the left of the entry 10-Death Report in the Plates-Modules-Fields list to collapse all plate 10 - Death Report modules.
-
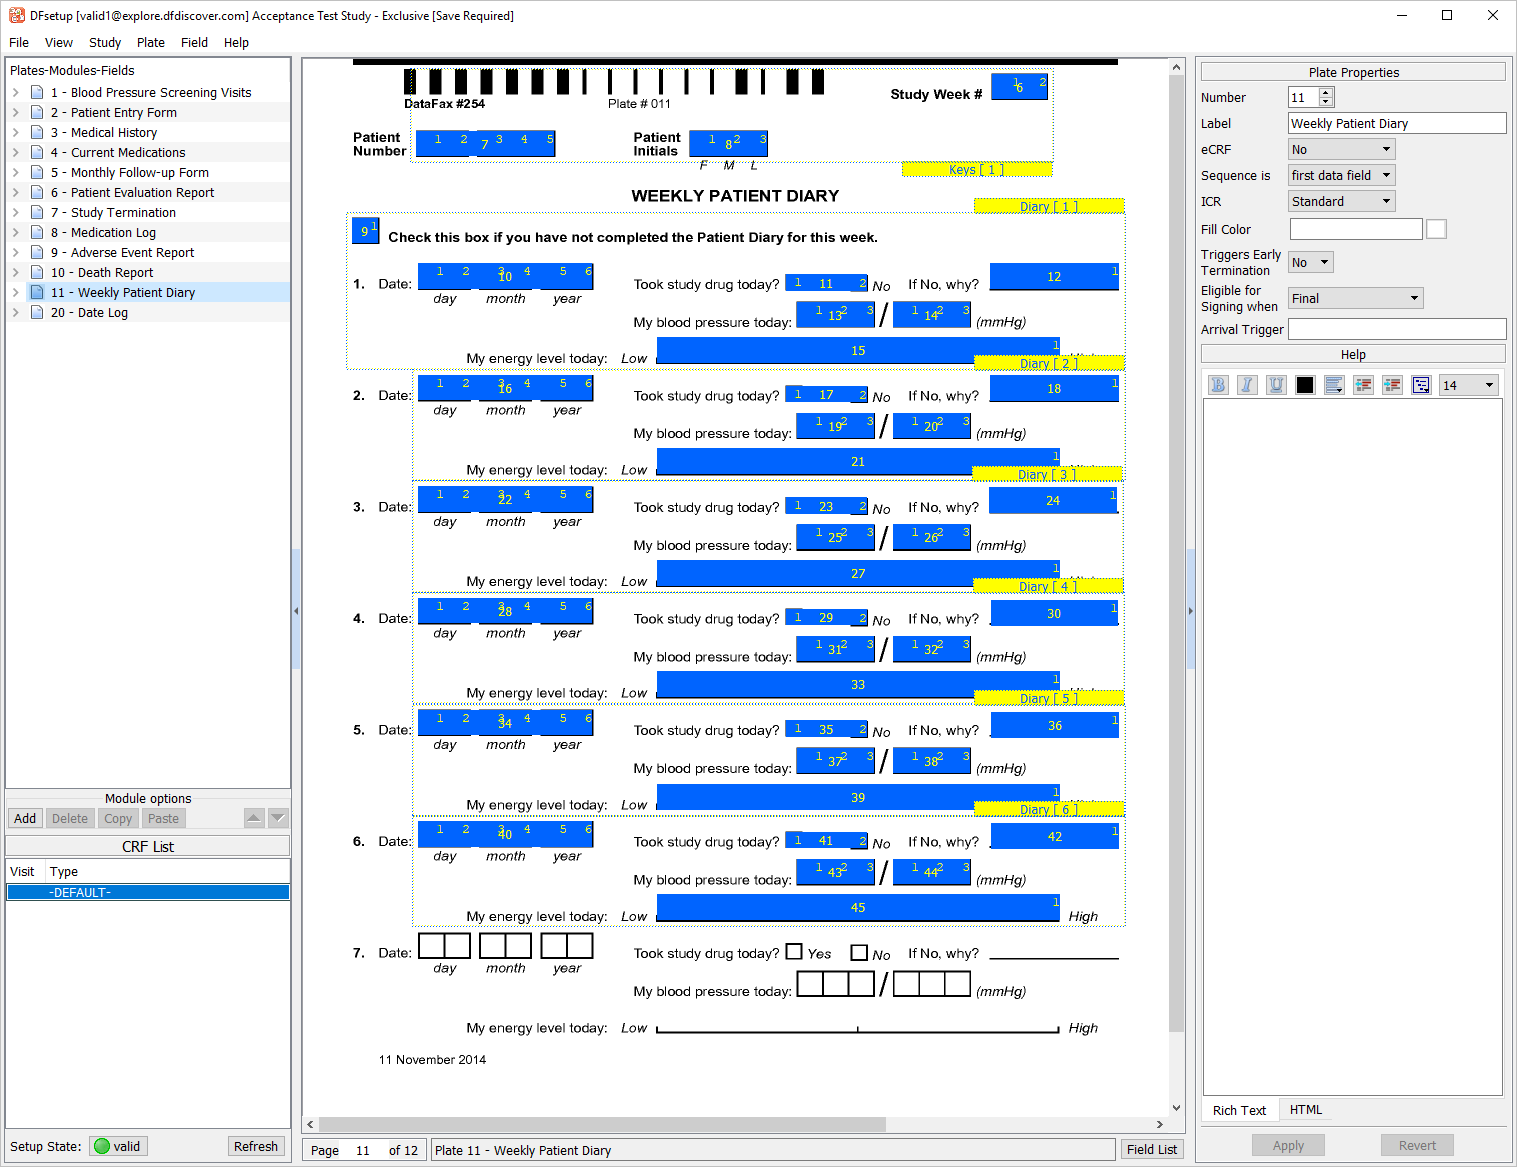
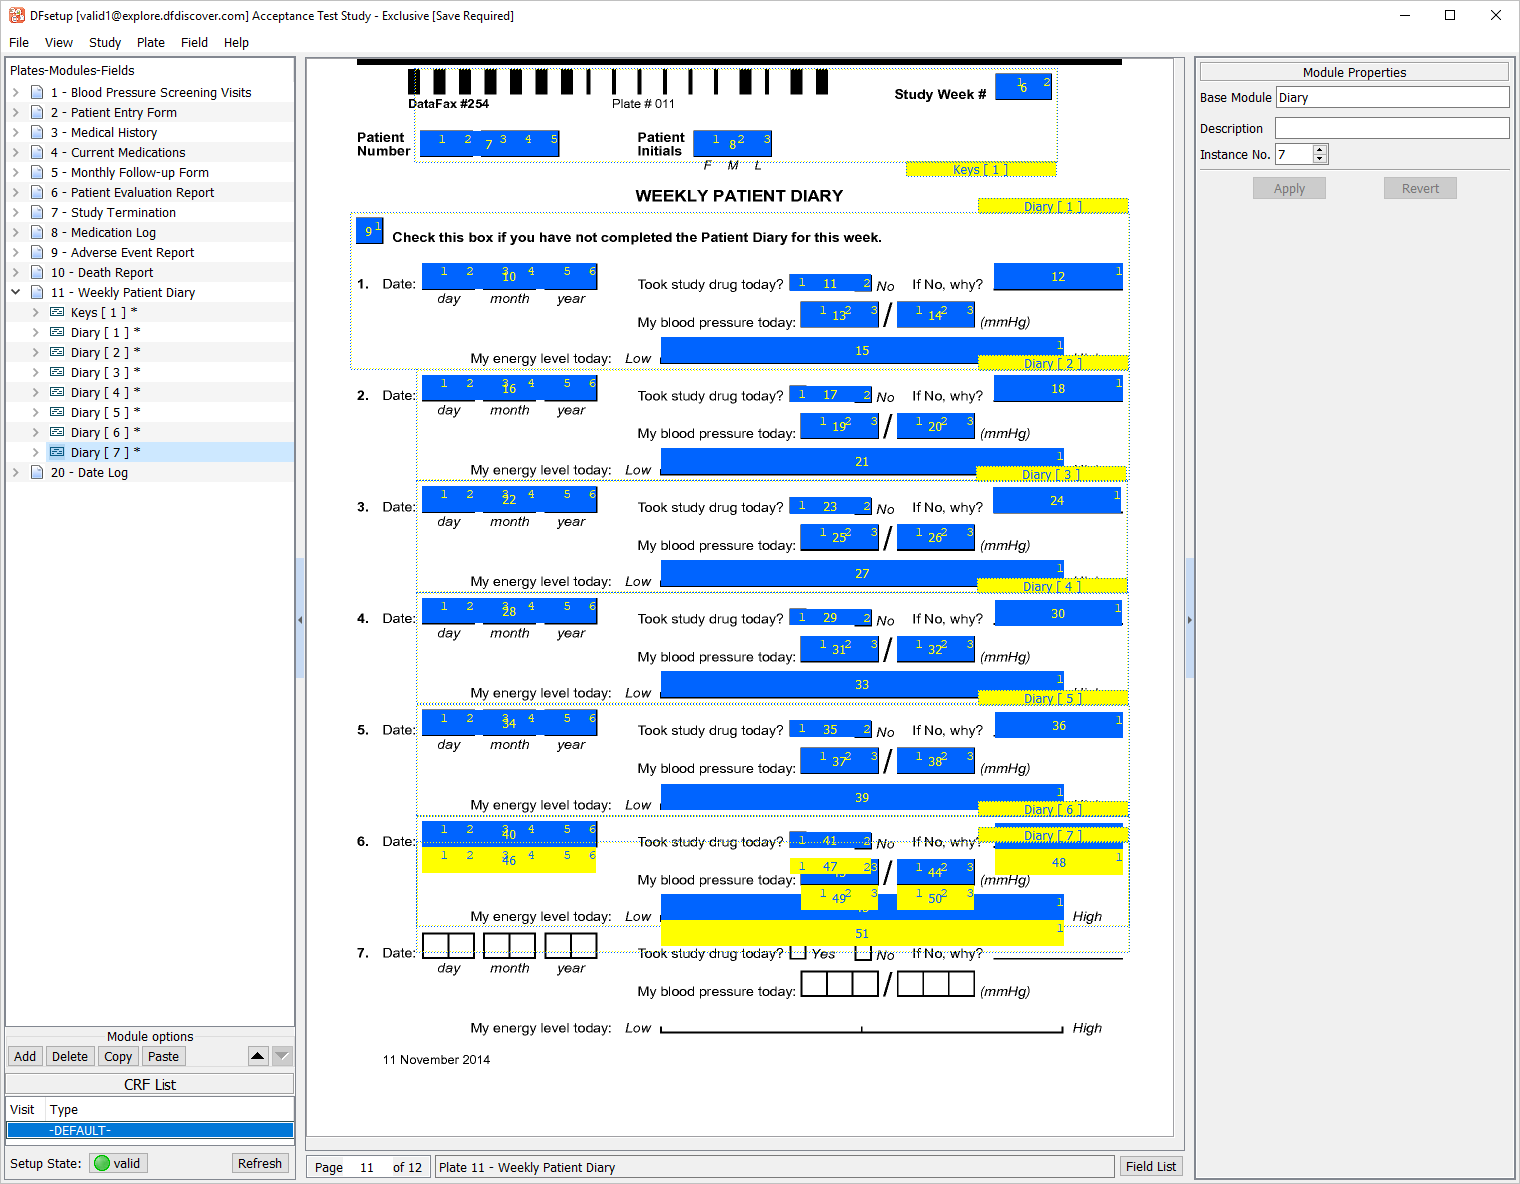
Click 11 - Weekly Patient Diary to make it the active plate. Scroll to view all module and field references on the plate.
-
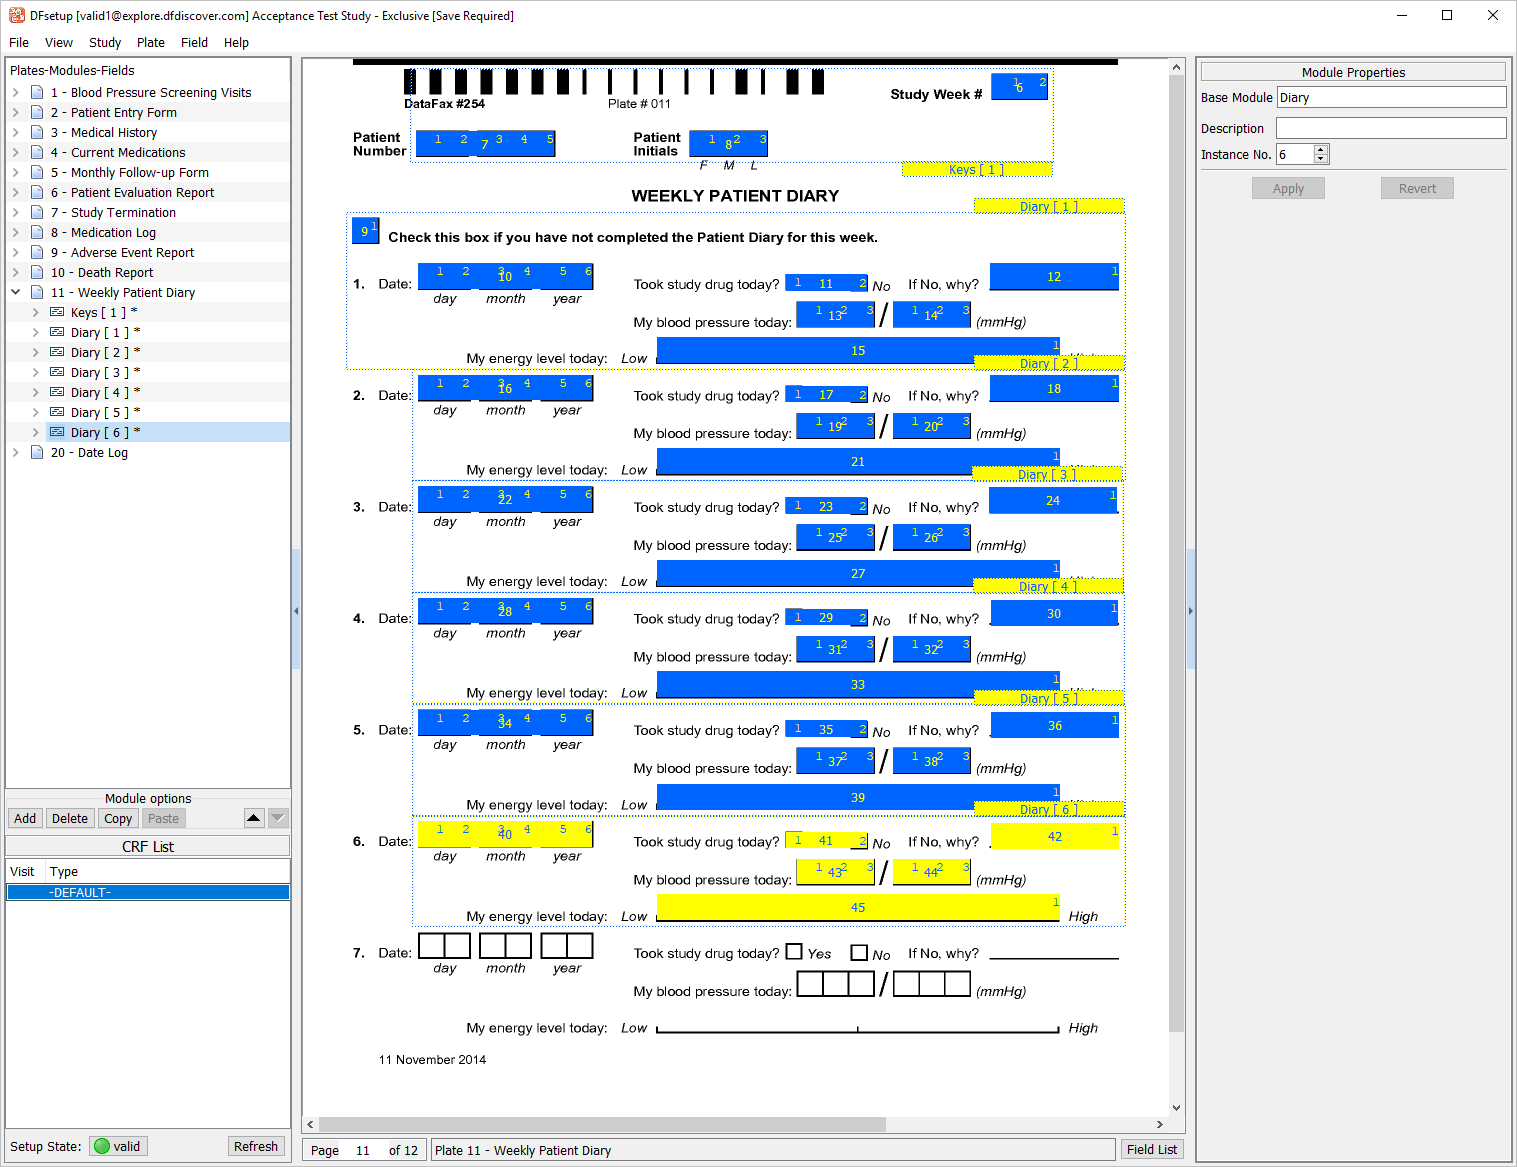
Click to the left of the entry 11-Weekly Patient Diary to expand the list of modules defined on the current plate. Choose Diary[6] from the list.
-
Click from the Module options.
-
Click from the Module options.
-
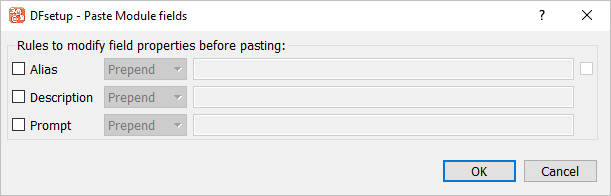
In the Paste-Module-fields dialog specify the substitution shown below in order to modify the Alias and Description fields.
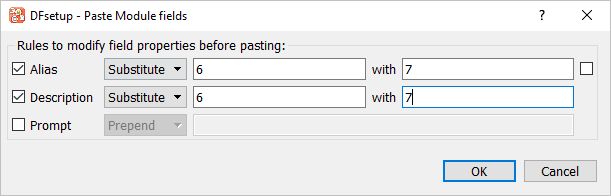
-
Click in the Paste-Module-fields dialog to perform the paste operation.
-
With the block of fields still highlighted, use the mouse to drag the block of field reference widgets and position them over top of their respective field outlines on the plate background. anywhere on the plate background to release the pasted block.
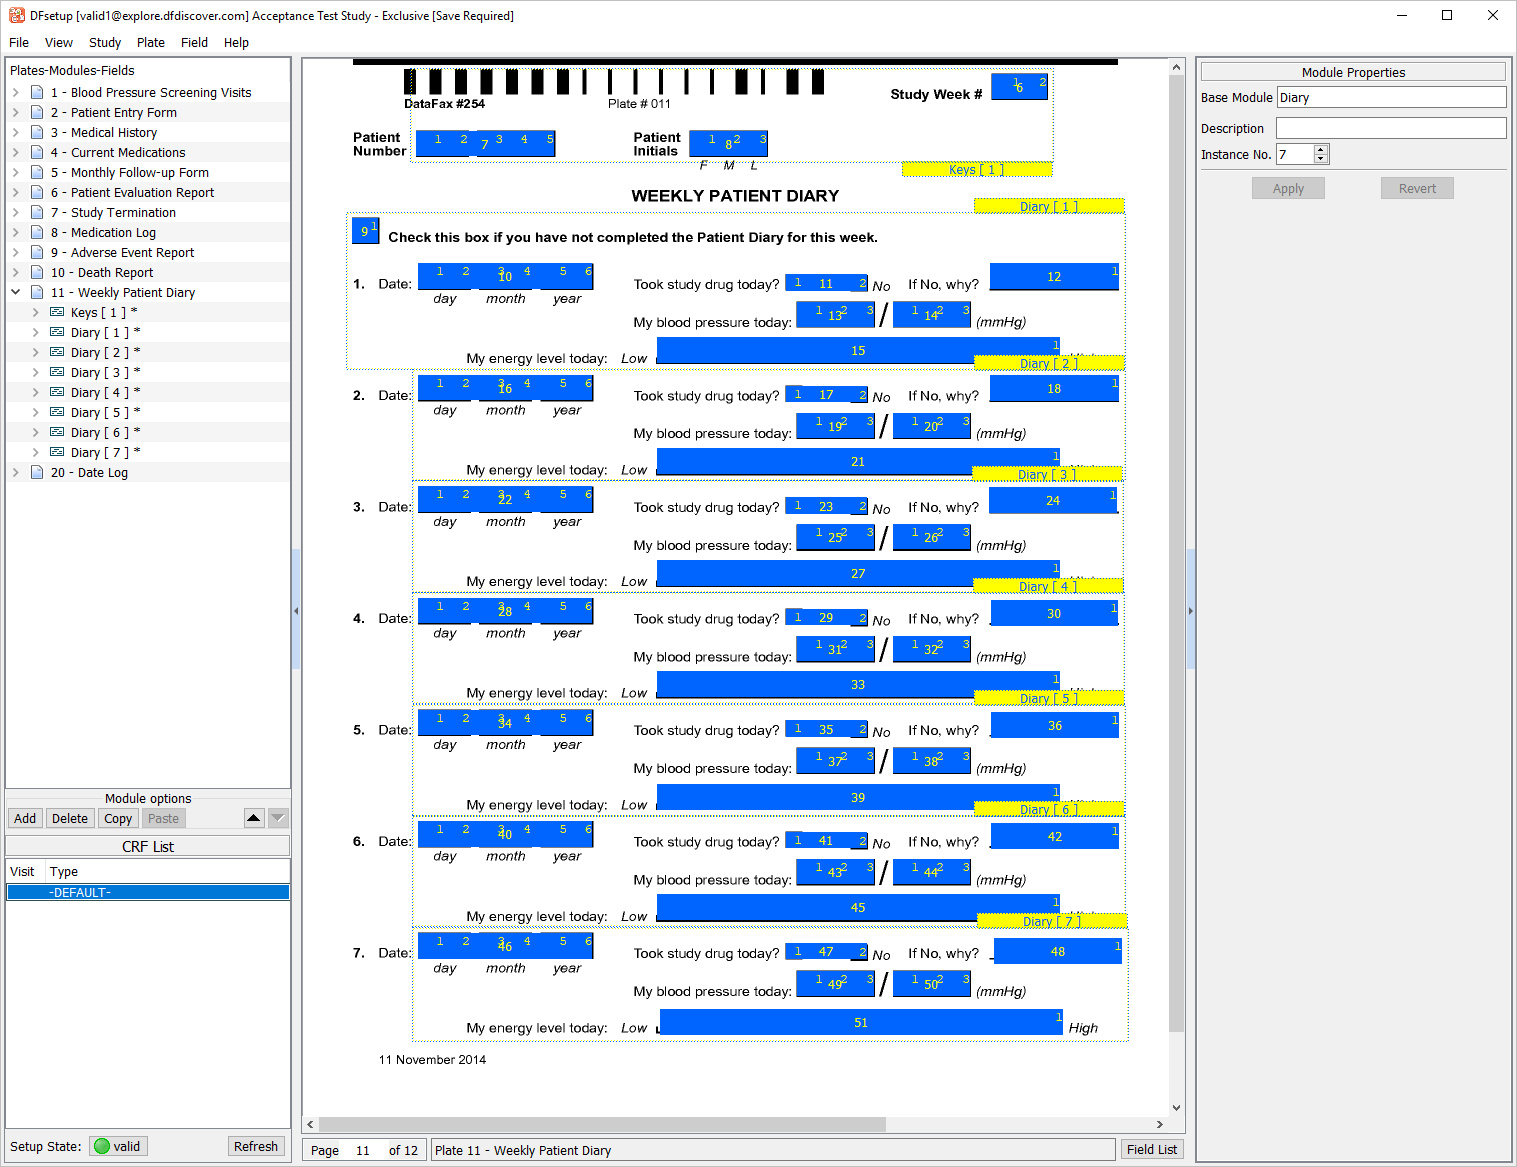
-
One by one select each Diary[7] field reference widget. Examine the Field Properties window for each and confirm that the Alias and Description properties contain the correct substitution character of
7.
-
Select > .
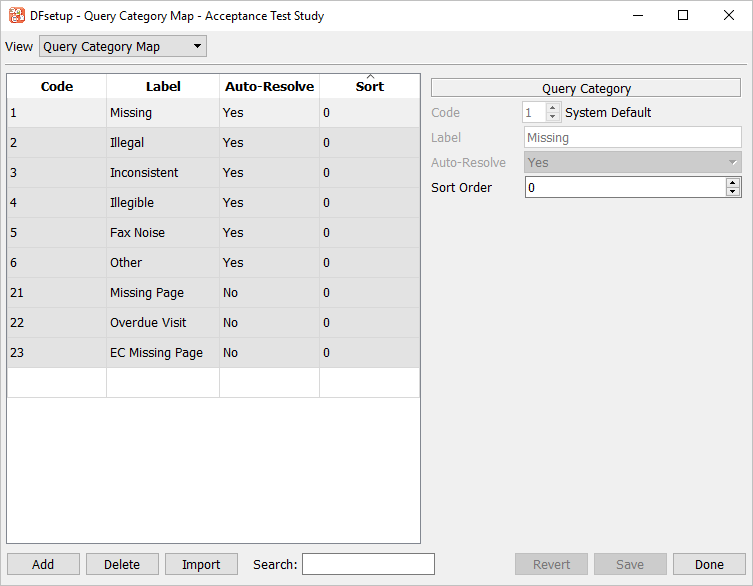
-
Click . The Code field is auto-filled with a value of
30. Press Tab to advance to the Label field. EnterTestfor the Label field. SelectYesfrom the Auto-Resolve drop-down. Set Sort Order to5.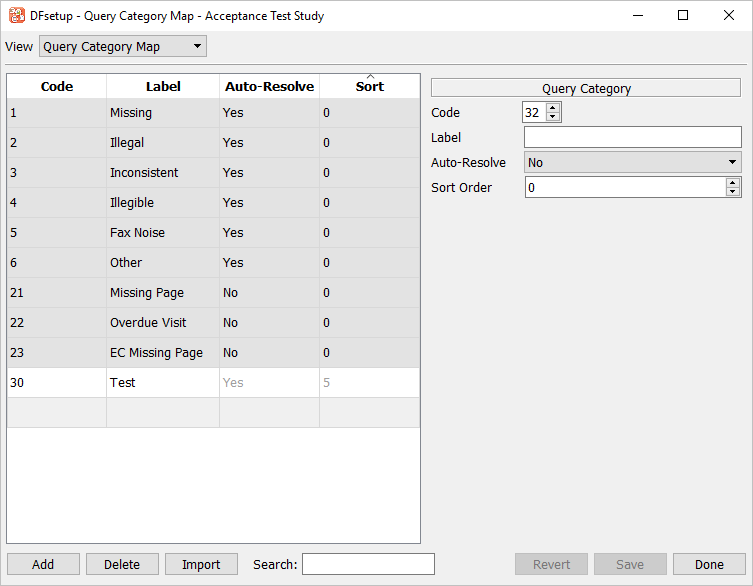
-
Click . The Code field is auto-filled with a value of
31. Without altering the code number, enterMonitorfor the Label field. SelectYesfrom the Auto-Resolve drop-down. Set Sort Order to3.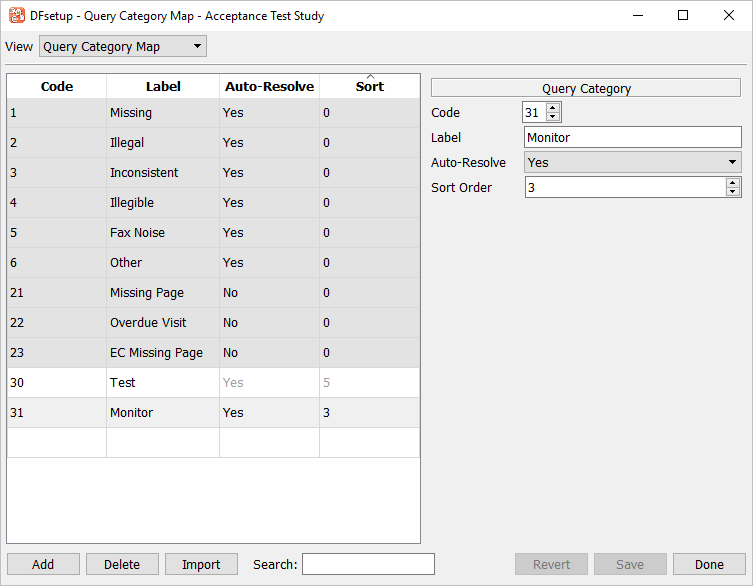
-
Click . Without altering the code number, enter
Clinical QCfor the Label field. SelectNofrom the Auto-Resolve drop-down. Set Sort Order to10.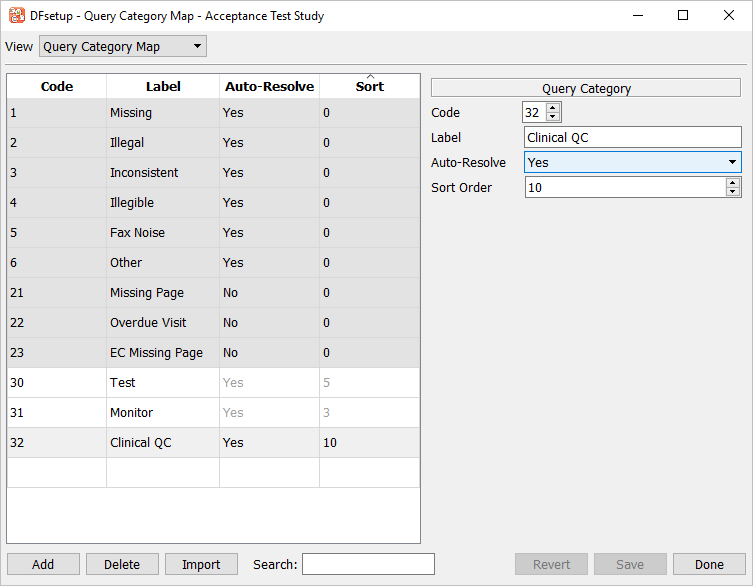
-
Click > to close the dialog.
-
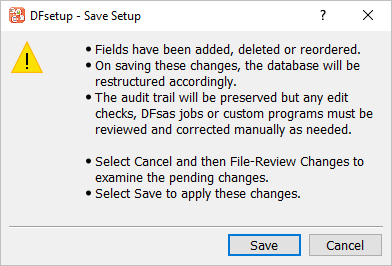
Select > from the menubar to save all modifications to the 254 Acceptance Test Study setup. Click in the warning dialog. Select > to close DFsetup.
-
In order to complete the remainder of Module 3, the Control Panel is needed. Start the Control Panel as
datafaxas described in Module 1 (Installation & Initialization).
-
Click to submit a completed copy of 11-Weekly Patient Diary into the study database. Clicking more than once will result in multiple pages arriving in the Image view queue. Wait 2-3 minutes to give the image time to arrive in the Image view queue, then start DFexplore application.
-
In the DFexplore login dialog, enter the name for DFdiscover Server that has been provided by your administrator. Enter
valid1in the Username field and the previously assigned password in the Password field. Click to login.
-
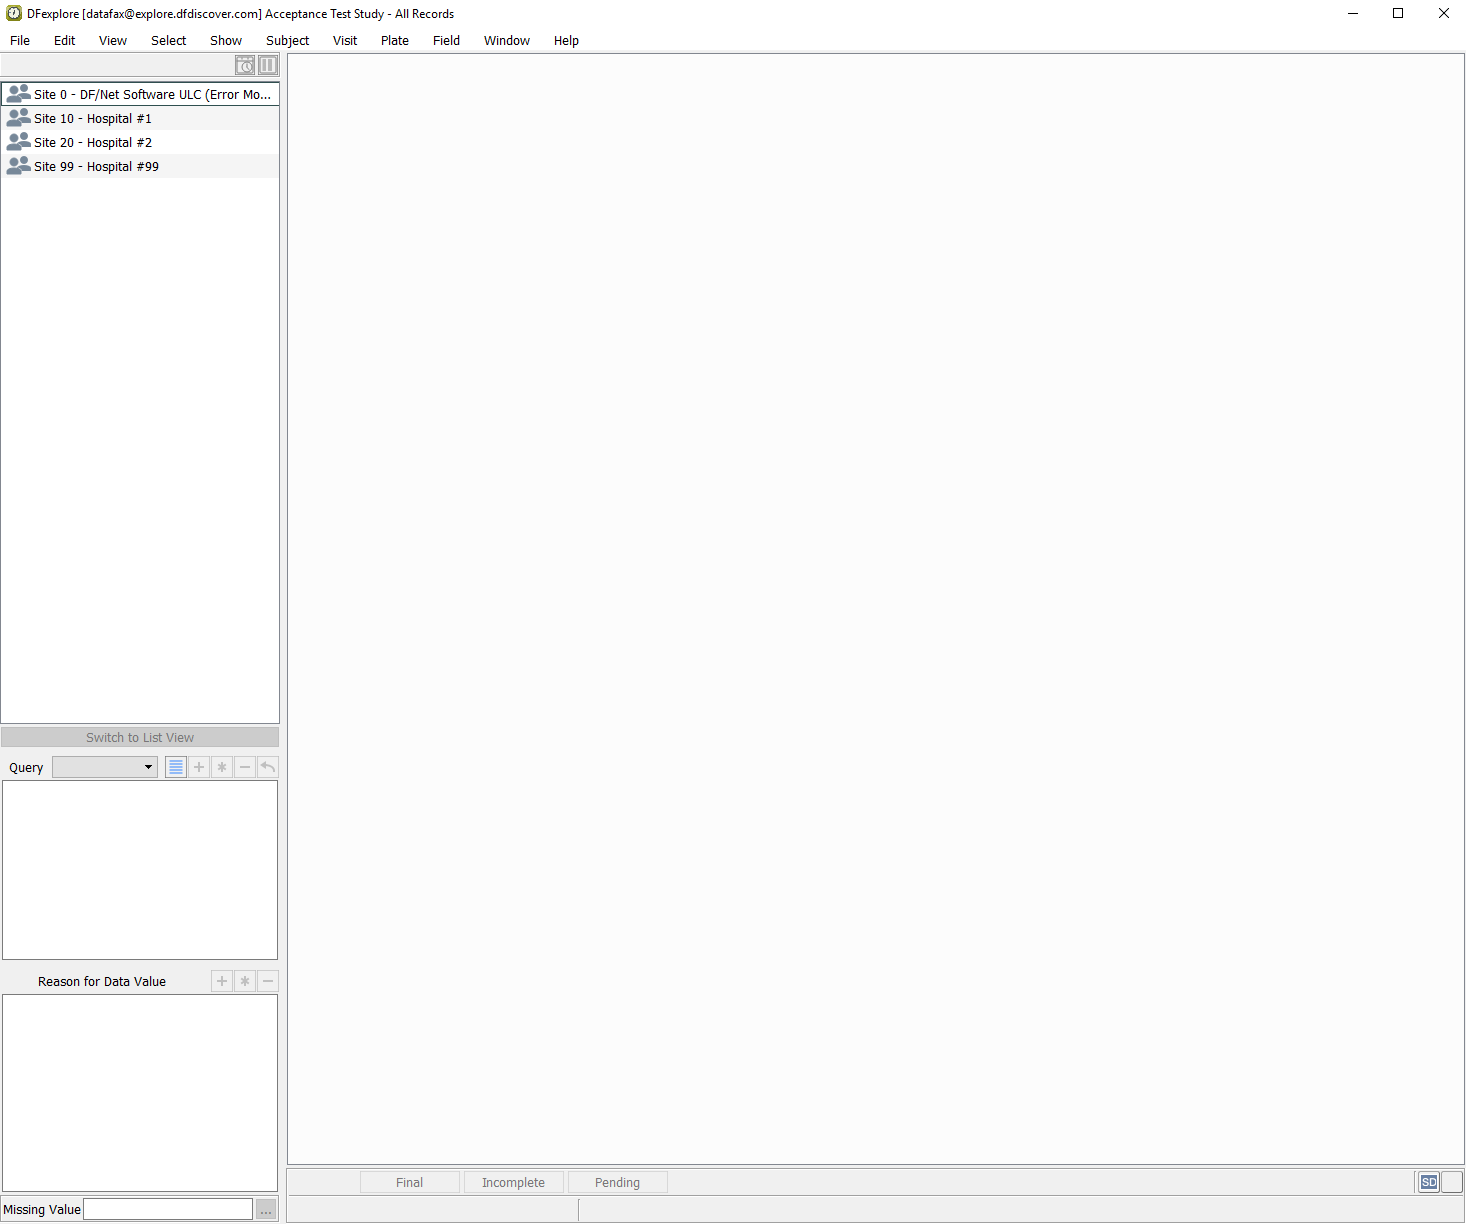
Select 254 Acceptance Test Study in the list of studies. Click .
-
Select > .
-
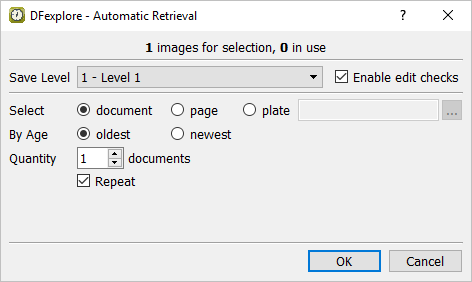
Do not change any settings in the Automatic Retrieval dialog, click to retrieve the image.
-
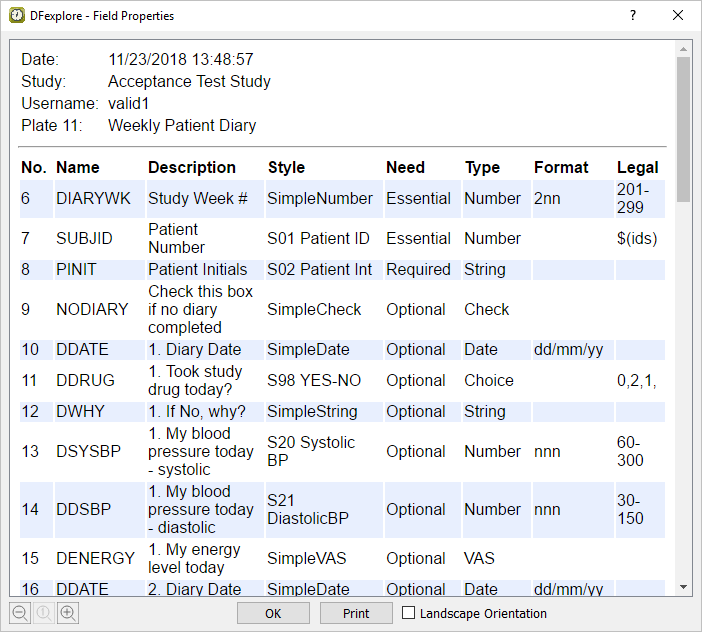
Select > to display a listing of properties for all fields on the current page. Locate field numbers 46 to 51 that were created in Section 3.10, “Use copy and paste to create repeating module and field references on a plate.”. Verify the settings click .
-
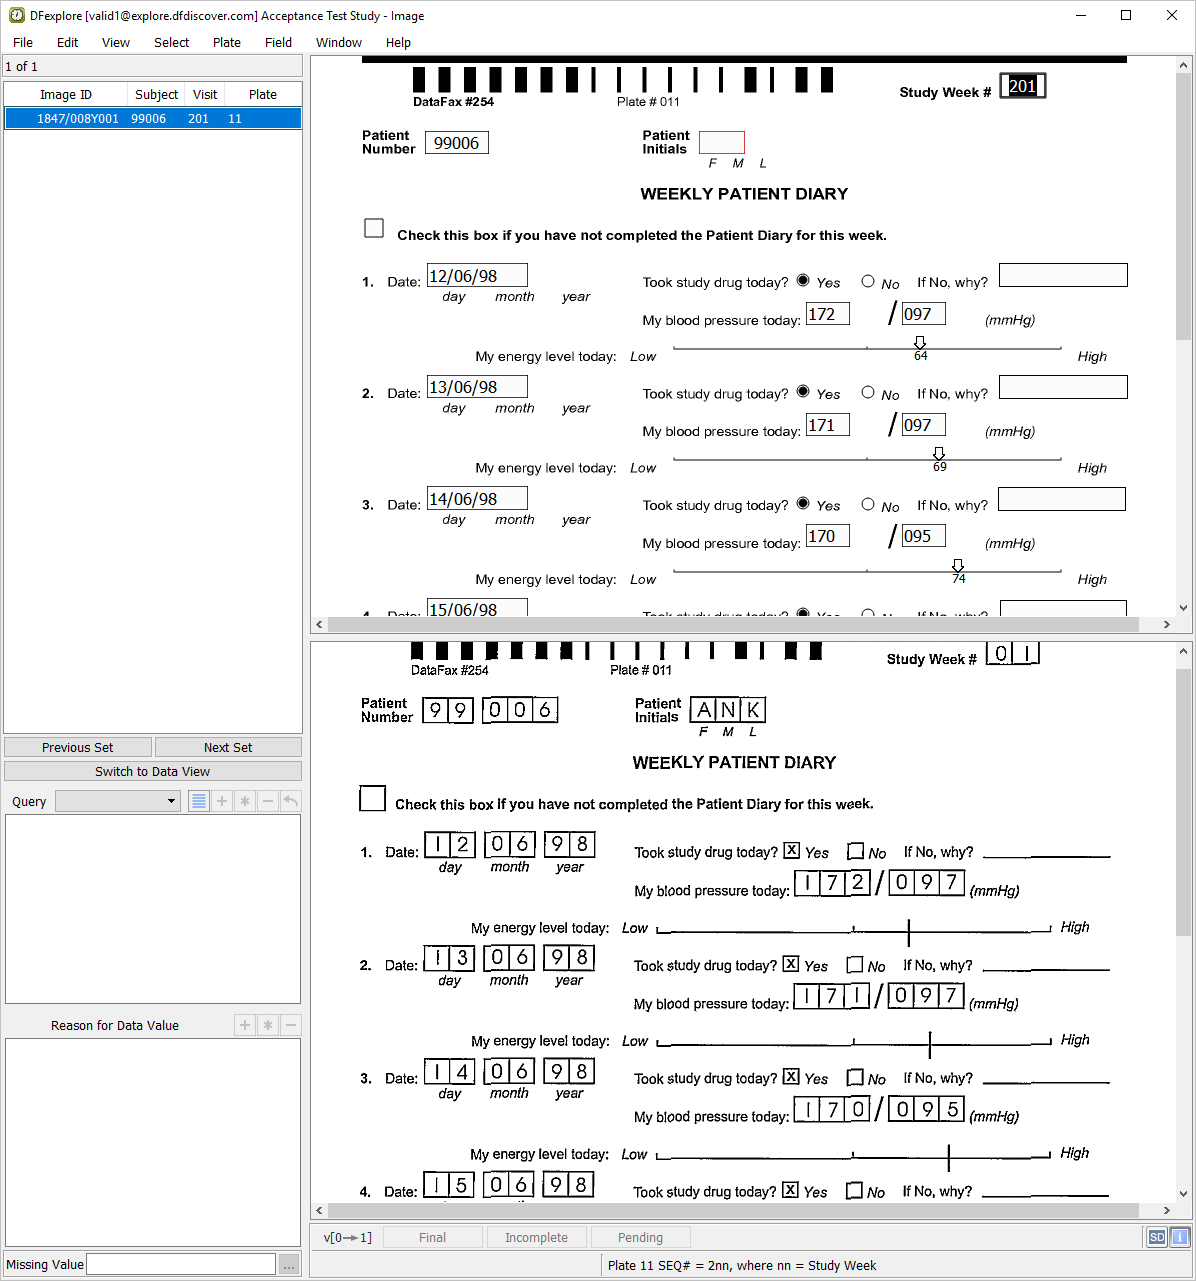
Upon retrieval of plate 11-Weekly Patient Diary, the cursor is on the Study Week # field. Enter the Study Week # value as it appears on the CRF image. Note that a prefix of
2is hardcoded in the Study Week # field so that the resulting value will appear as201. Press Tab to advance to the Patient Number field.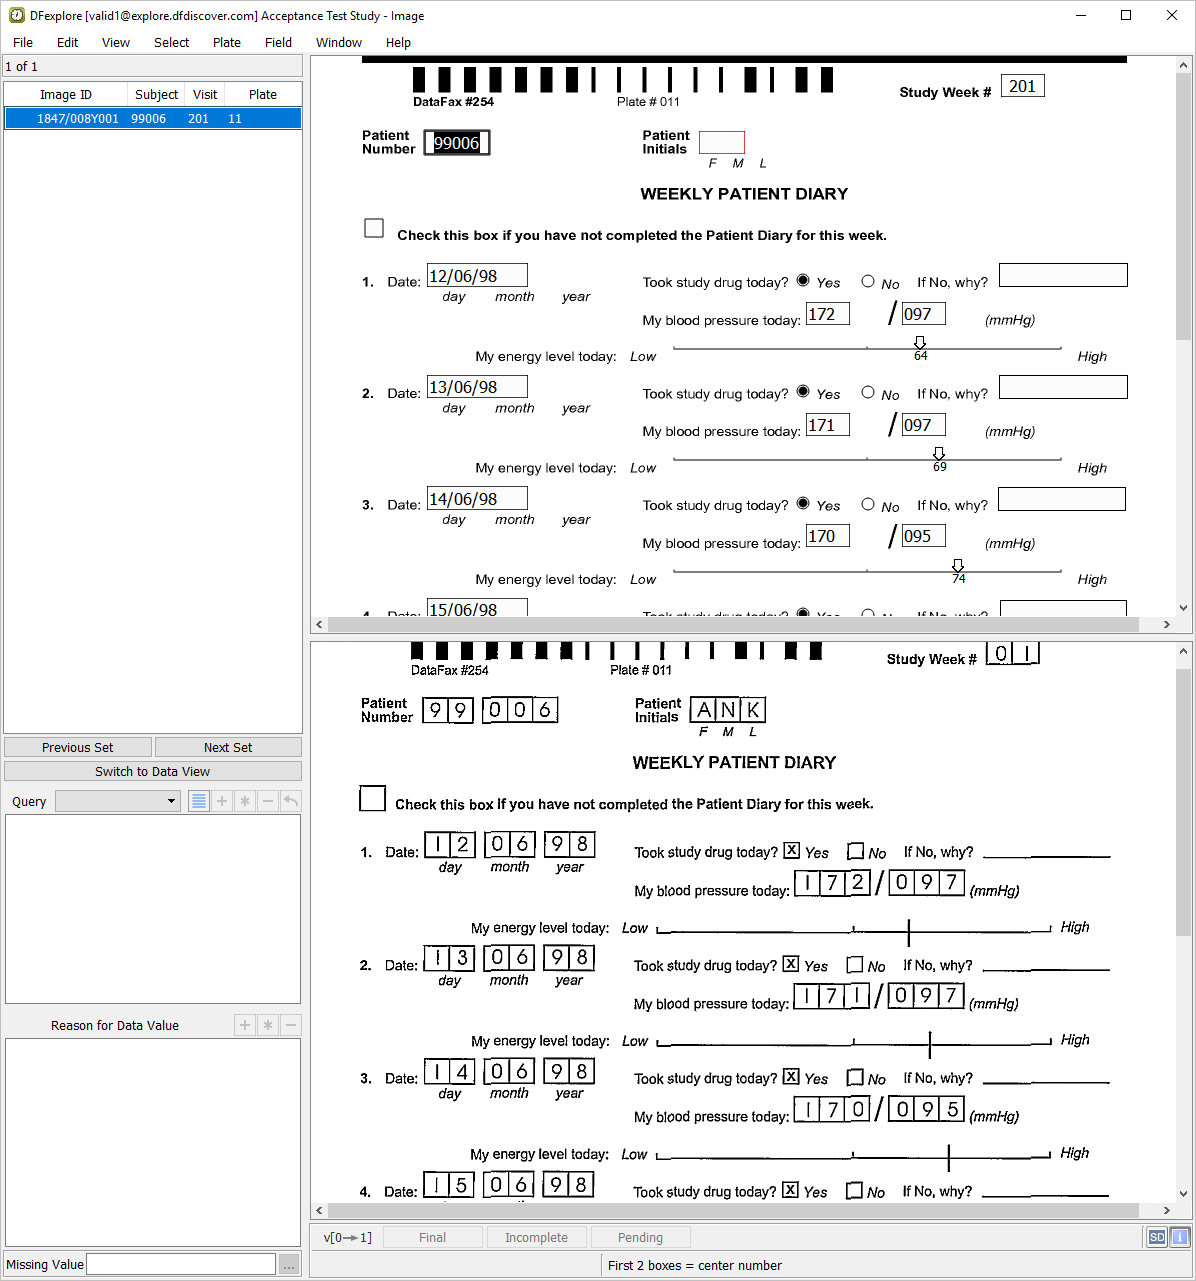
-
Enter the Patient Number as it appears on the CRF image. Press Tab move to the Patient Initials field. Enter
ANKas per the CRF image and press Tab to advance to the next field.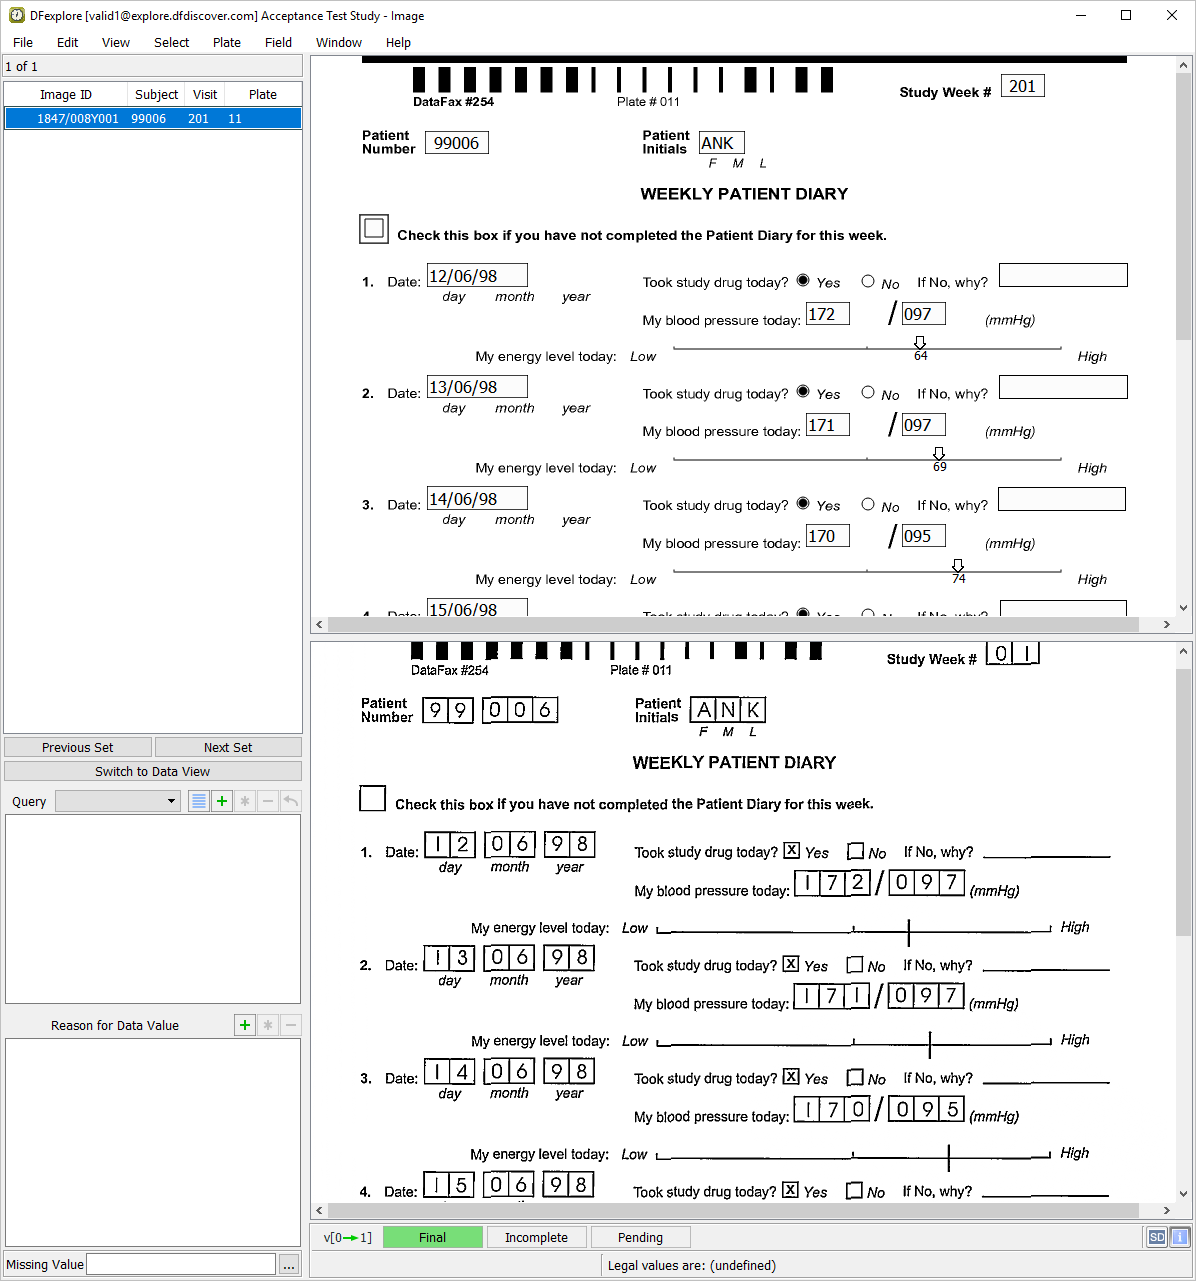
-
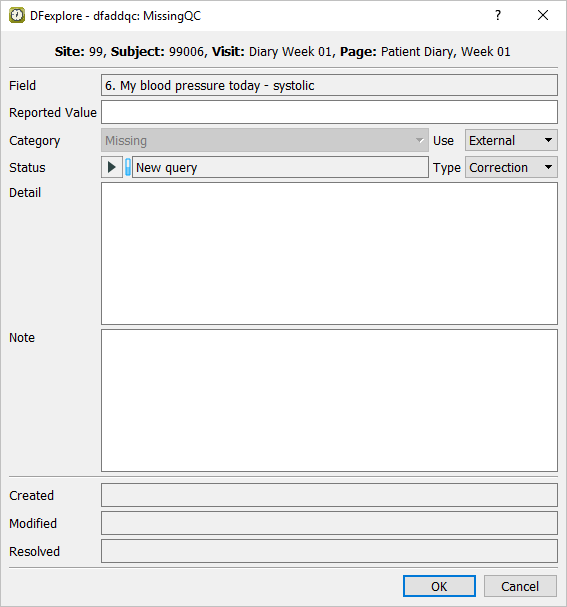
Starting with the Check this box... field, enter all data for 11-Weekly Diary Report as it appears on the CRF image in the lower half of the split screen window. Press Tab to move from field to field until field 6. My blood pressure today is the current field. Leave the field blank as per the CRF image and press Tab. The Add Query dialog is presented.
-
Click in the Add Query dialog to close the dialog. The 2nd blood pressure field (diastolic) gets the focus. Leave the field blank as per the CRF image and Tab off the field. Again, click in the resulting Add Query dialog.

-
Continue to enter the remaining fields on Plate 11-Weekly Patient Diary as per the CRF image. Once a value has been entered in the last VAS field (7. My energy level today), press Tab this makes the save buttons active at the bottom of the data record.
Note During document submission, the ICR may fail on one or more of the fields on the Plate 11-Weekly Patient Diary page. You will need to enter values into those fields that have been missed or misread by the ICR. To correct VAS scales, make the desired VAS scale the current field on the data record. Locate the corresponding VAS scale on the CRF image. Using the mouse button, select the leftmost end of the scale, followed by the intersection point, and then the rightmost end of the scale on the CRF image.
-
With the focus on the save buttons, click to save the record to the database with the status Final.

Select > to close DFexplore
Start DFATK as described in Module 1 (Installation & Initialization).
-
Click to confirm successful completion of Module 3.