Table of Contents
- 16.1. Tests & Requirements
- 16.2. Begin Module 16. PDF File Creation.
- 16.3. Retrieve existing data according to user-specified criteria.
- 16.4. Saving DFexplore data to a standard PDF document.
- 16.5. Viewing a standard PDF data file using a PDF viewer application.
- 16.6. Saving DFexplore data to an encrypted bookmarked PDF file.
- 16.7. Open and view an encrypted bookmarked PDF file using a PDF viewer application.
- 16.8. Create a complete subject package PDF file that includes data records, CRF images and audit trail.
- 16.9. Open and view a PDF subject package using a PDF viewer application.
- 16.10. End Module 16. PDF File Creation.
Retrieve existing data according to user-specified criteria.
Saving DFexplore data to a standard PDF document.
Viewing a standard PDF data file using a PDF viewer application.
Saving DFexplore data to an encrypted bookmarked PDF file.
Open and view an encrypted bookmarked PDF file using a PDF viewer application.
Create a complete subject package PDF file that includes data records, CRF images and audit trail.
Open and view a PDF subject package using a PDF viewer application.
Estimate of Time Required: 30 Minutes
-
Start DFATK as described in Module 1 (Installation & Initialization).
-
Click followed by to begin this module.
-
Start DFexplore, login as user
data_managerand choose 254 Acceptance Test Study as described in Section 1.7, “How to start DFexplore”. -
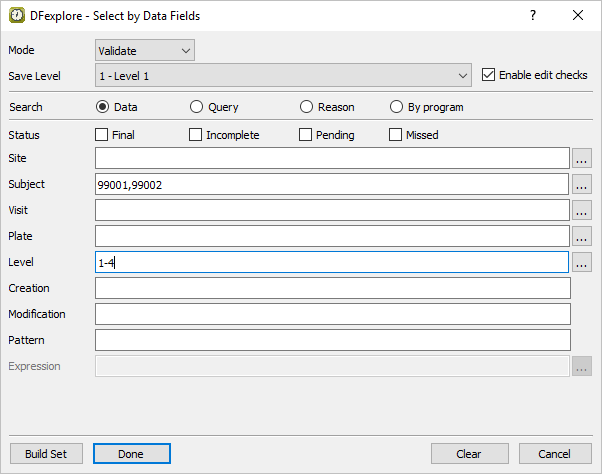
Select > . Set retrieval criteria as follows:
Mode = Validate
Save level = 1 - Level 1
Search = Data
Subject =
99001,99002Level =
1-4
-
Click to retrieve all data records that match the specified criteria. Click in the confirmation dialog, and finally click to create a task set of the retrieved data.
-
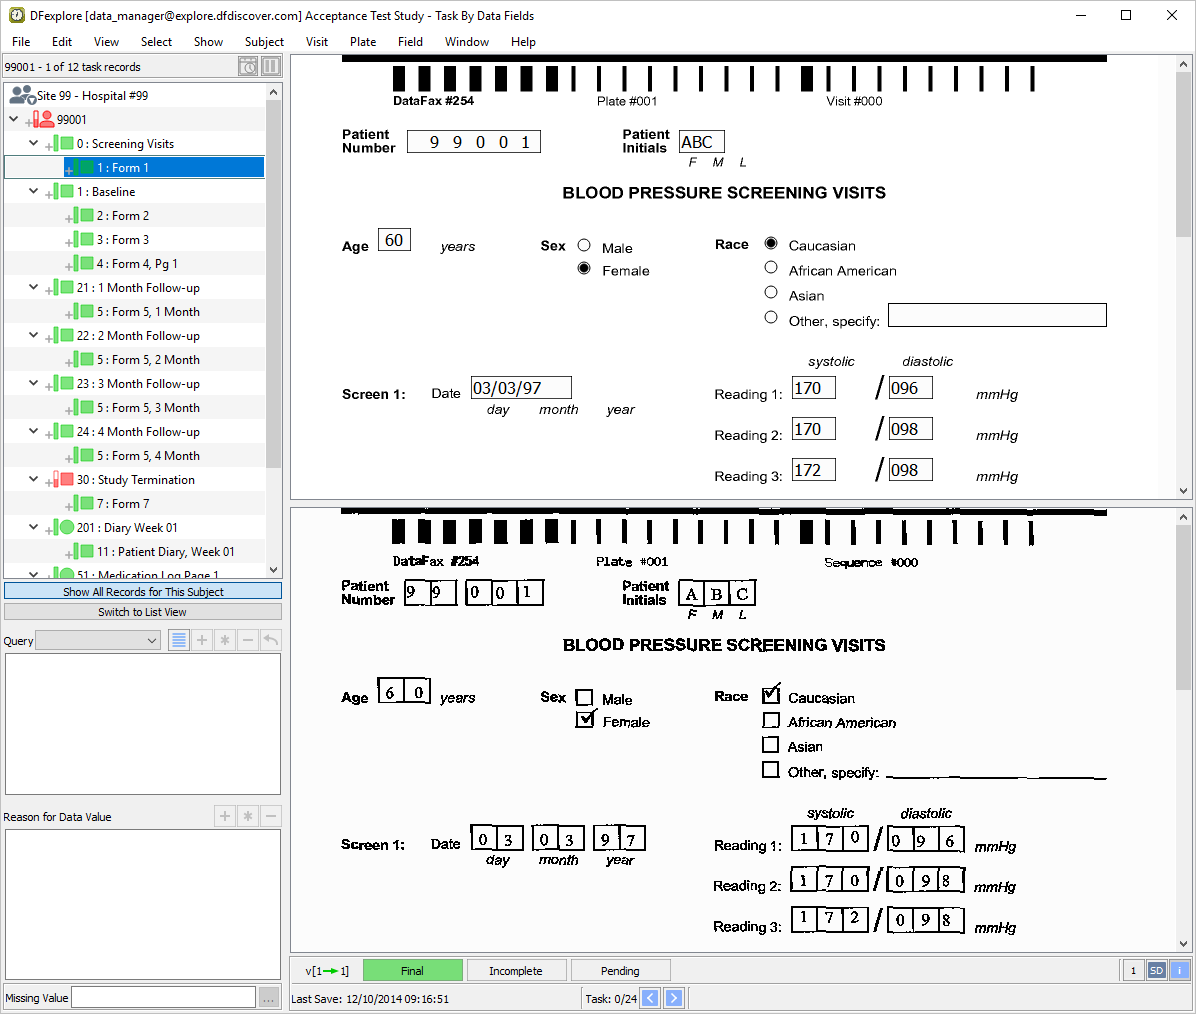
Scroll the record list panel to confirm that 2 subjects, 99001 and 99002, have been retrieved. Double-click the entry for Subject 99002 to open and lock all records for the subject.
-
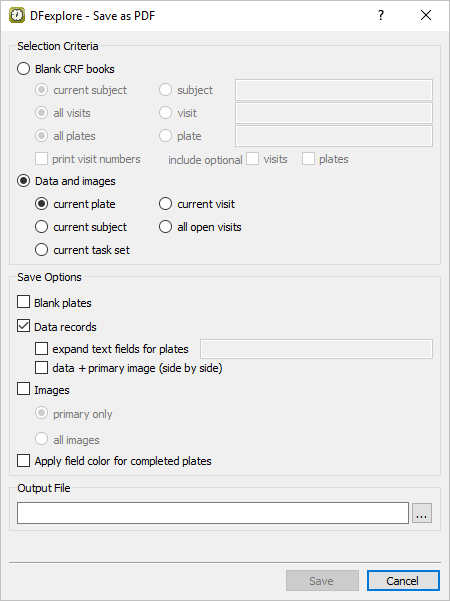
Select > .
-
In the Selection Criteria panel,
Select (enable) Data and images followed by current task set
In the Save Options panel,
Check (enable) Data records and data + primary image (side by side)
Check (enable) Apply field color for completed plates
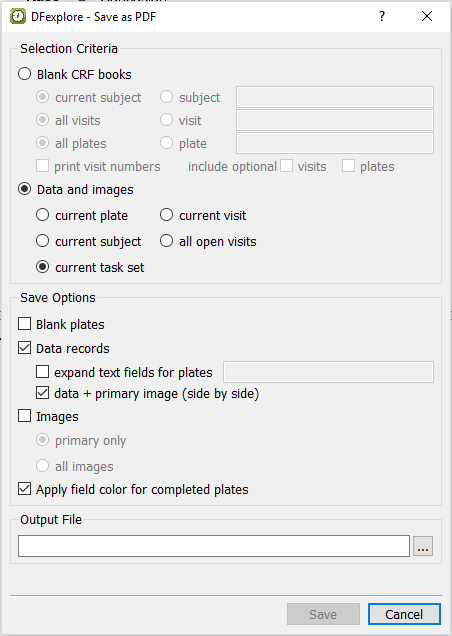
Click Output File . In the file selection dialog, choose a directory in which to save the PDF file.
Once a directory has been chosen, append the file name
subjects.pdfto the directory name. Click .-
Complete the specification by clicking . There will be a busy pause while the PDF file of completed data pages and their primary images is created.
![[Note]](../../imagedata/note.png)
Note The save directory in this test was chosen to be
C:\Users\Public. Your save directory may be different.
-
A PDF viewer application, such as Acrobat Reader, is required for this step. Start the PDF viewer application. Locate the directory in which the PDF file
subjects.pdfwas saved in Section 16.4, “Saving DFexplore data to a standard PDF document.”. Opensubjects.pdf.Note All PDF files opened in this test and in the remainder of this module are illustrated using Acrobat Reader. If you are using a different PDF viewer application, the appearance of your document may differ from that shown here. It may also be necessary to rotate the PDF image so that it is displayed in landscape format.
-
Examine the PDF document.

-
Exit the PDF viewer application.
-
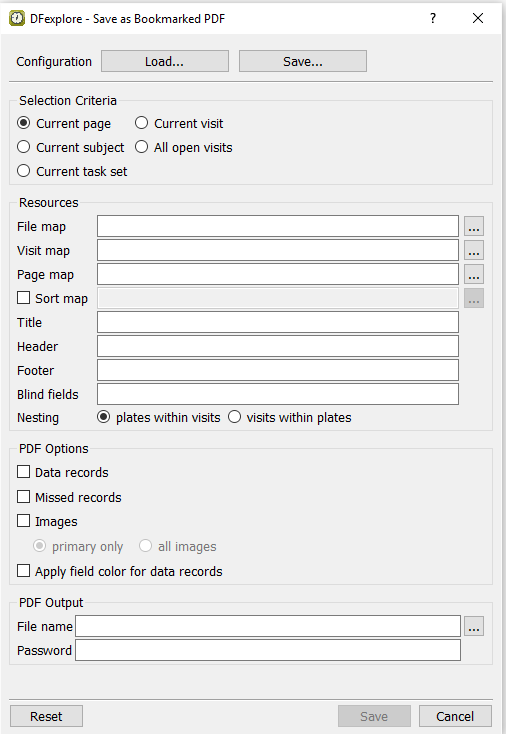
With the task set of records from Section 16.3, “Retrieve existing data according to user-specified criteria.” (Subjects 99001 and 99002) still the current set, click the record for Subject 99002, Form 1 to set it as the current page. Select > to open the dialog.
-
In the Selection Criteria panel,
-
Select (enable) Current subject
In the Resources panel,
-
Enter a Title of
Bookmarked Subject 99002 -
Use the default Nesting plates within visits
In the PDF Options panel,
Check (enable) Data records
Check (enable) Missed records
Check (enable) Images and select (enable) primary only
Check (enable) Apply field color for data records
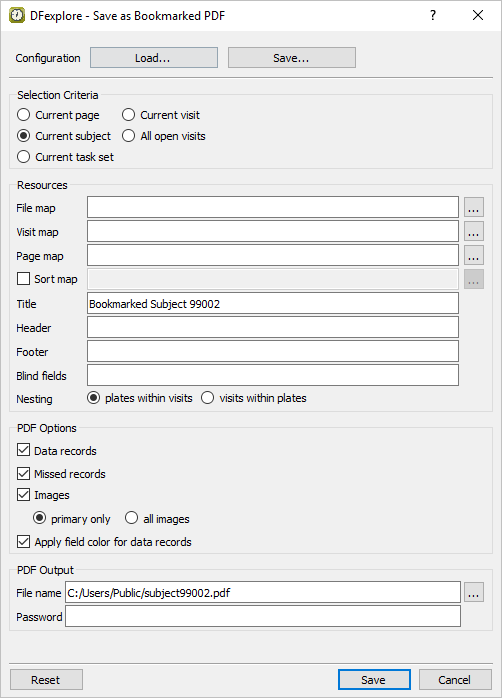
In the PDF Output panel,
Select an Output File directory using the file selection dialog and set the file name to
subject99002.pdf.
-
-
Enter
module16as the value for Password.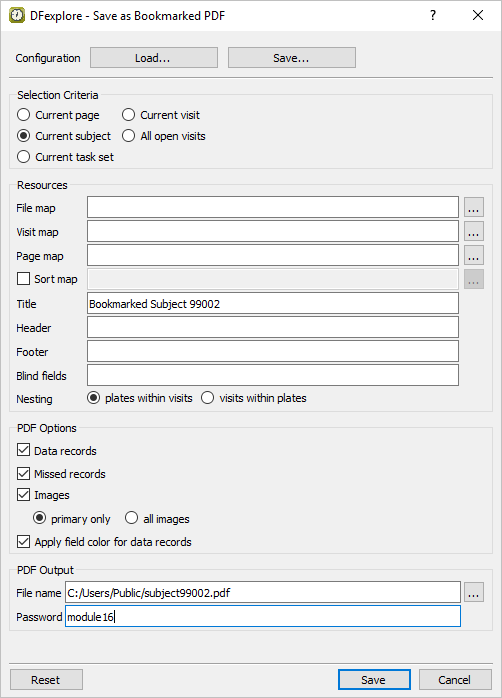
-
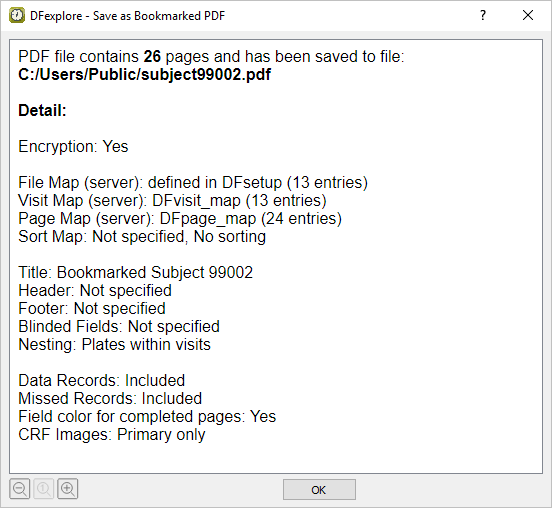
Click to create a password encrypted PDF file of completed data pages and primary images for Subject 99002.
-
Click to close the dialog.
-
A PDF viewer application is required for this test. Start the PDF viewer application. Locate the directory created in Section 16.6, “Saving DFexplore data to an encrypted bookmarked PDF file.”. Locate and open
subject99002.pdf.
-
In the Password dialog enter
module16as the password. This matches the password that was specified at file creation in Section 16.6, “Saving DFexplore data to an encrypted bookmarked PDF file.”. Once the password has been entered, the PDF file opens.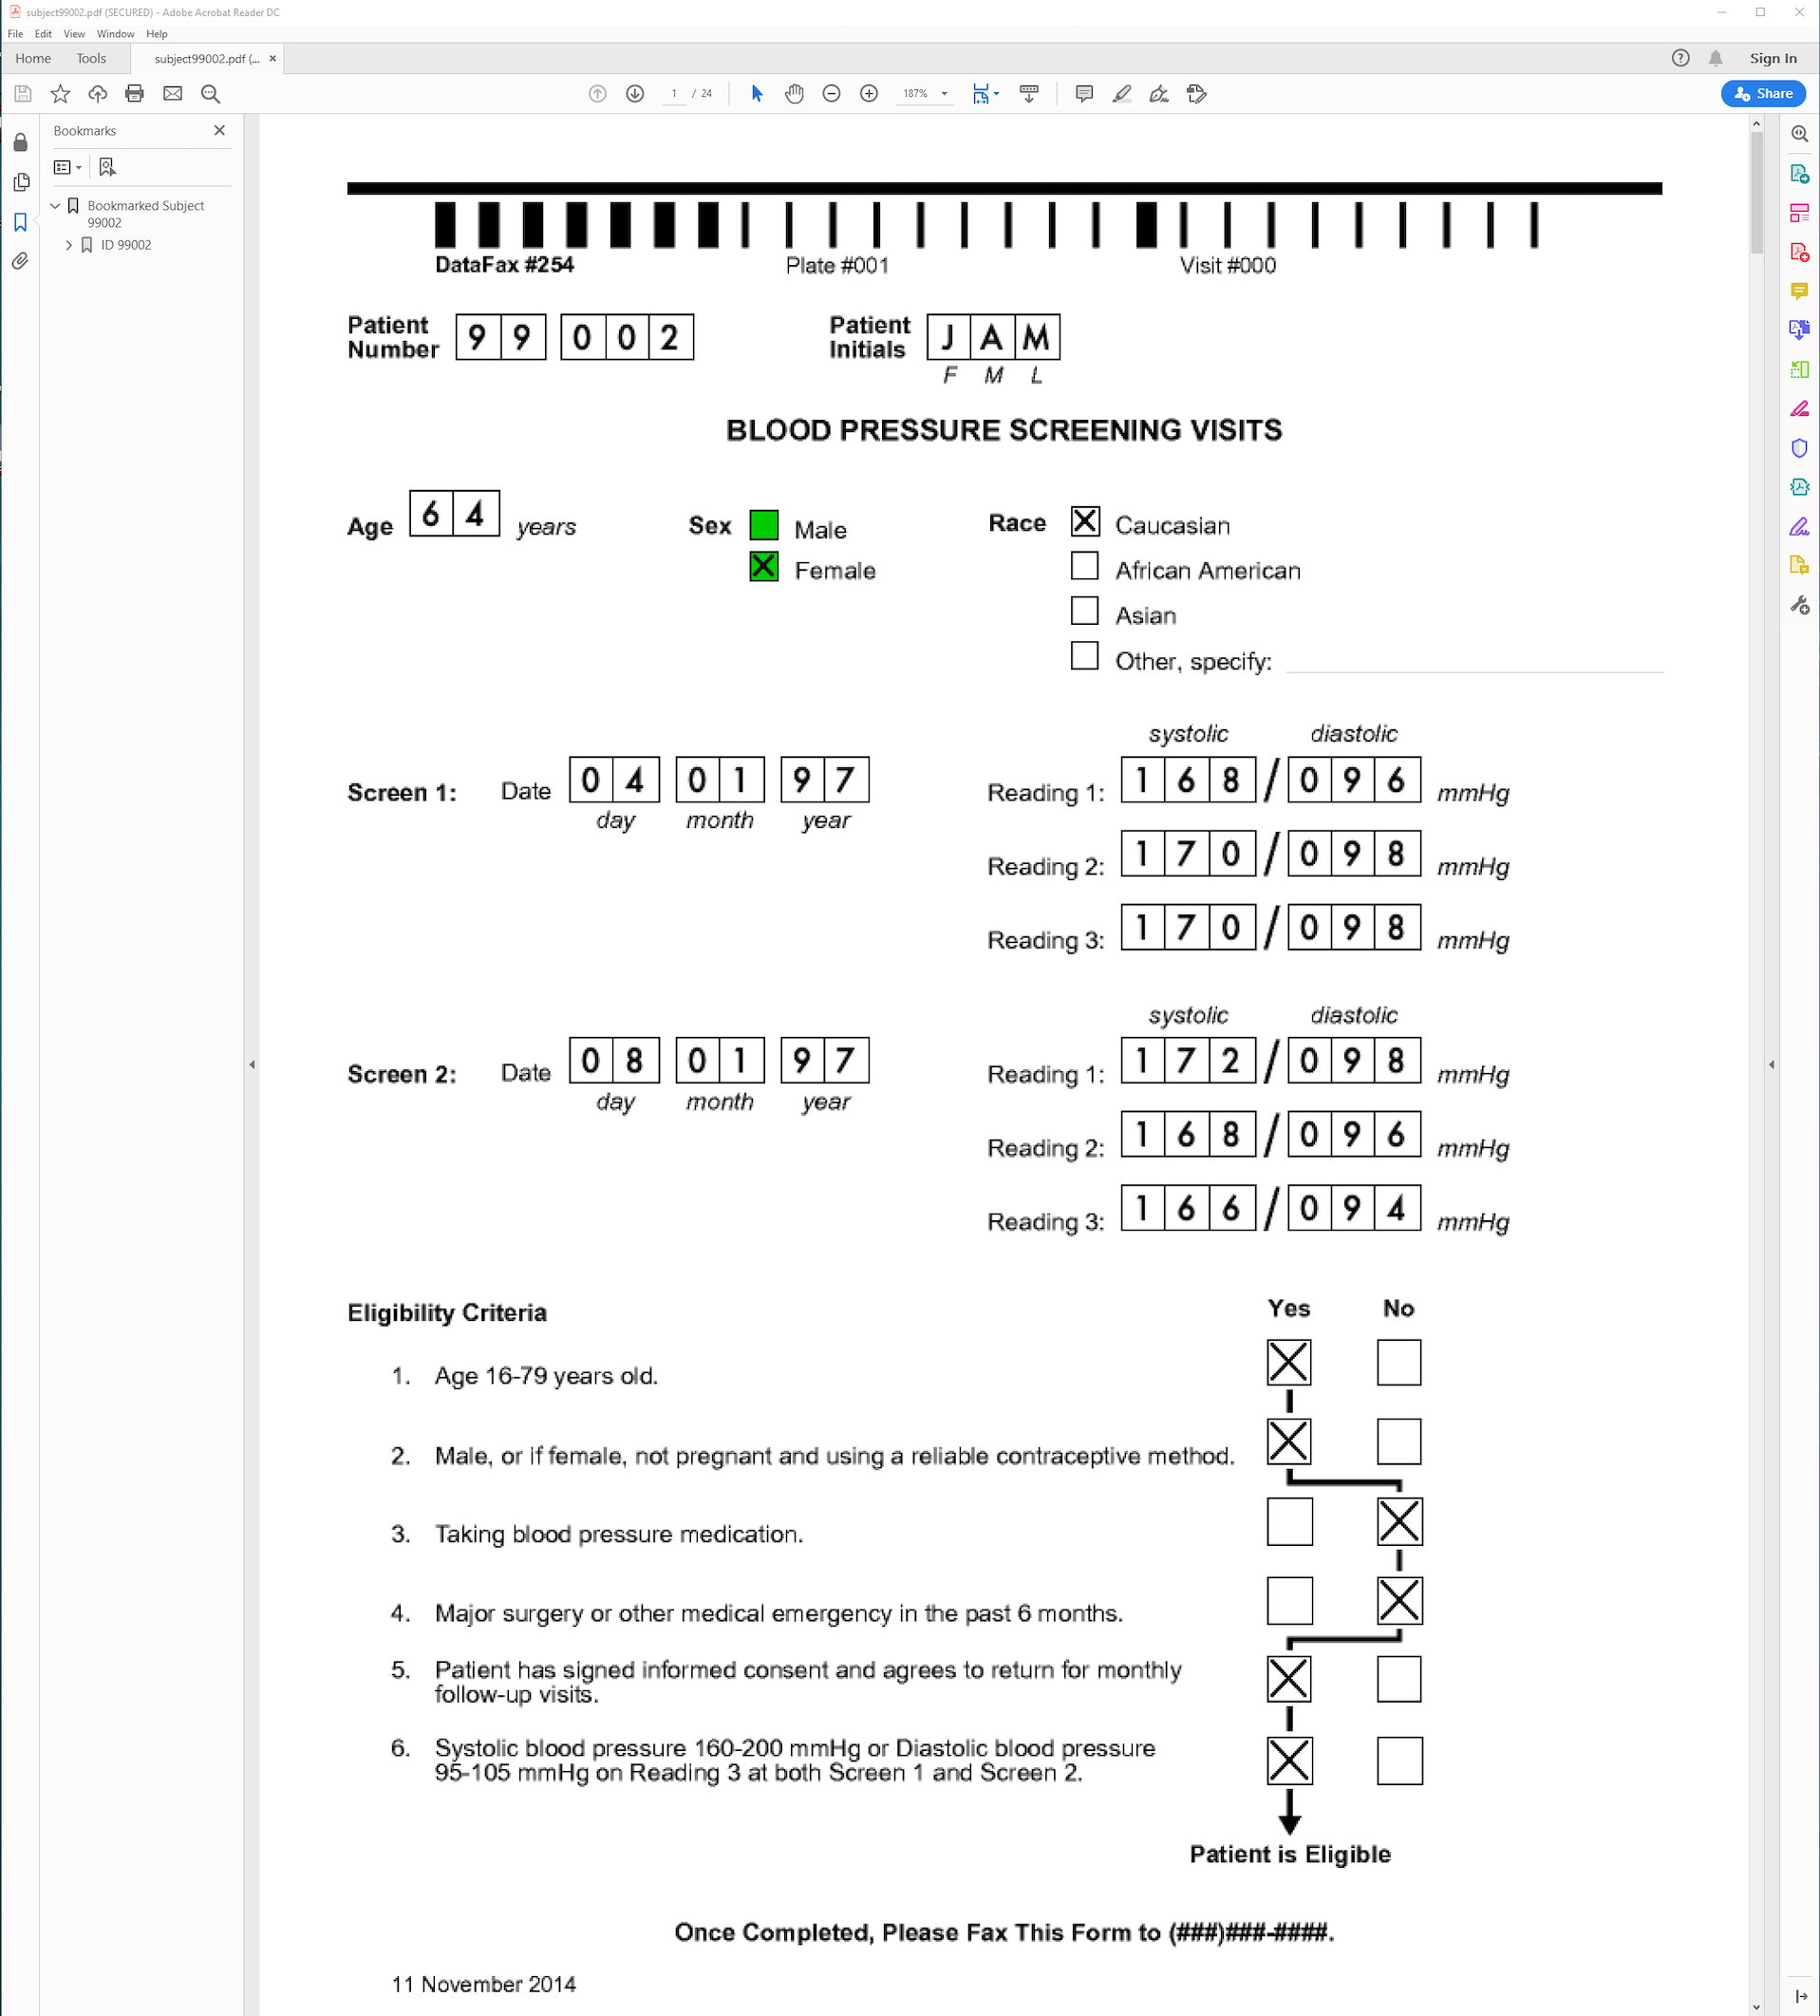
-
Open all bookmarks for Subject 99002.
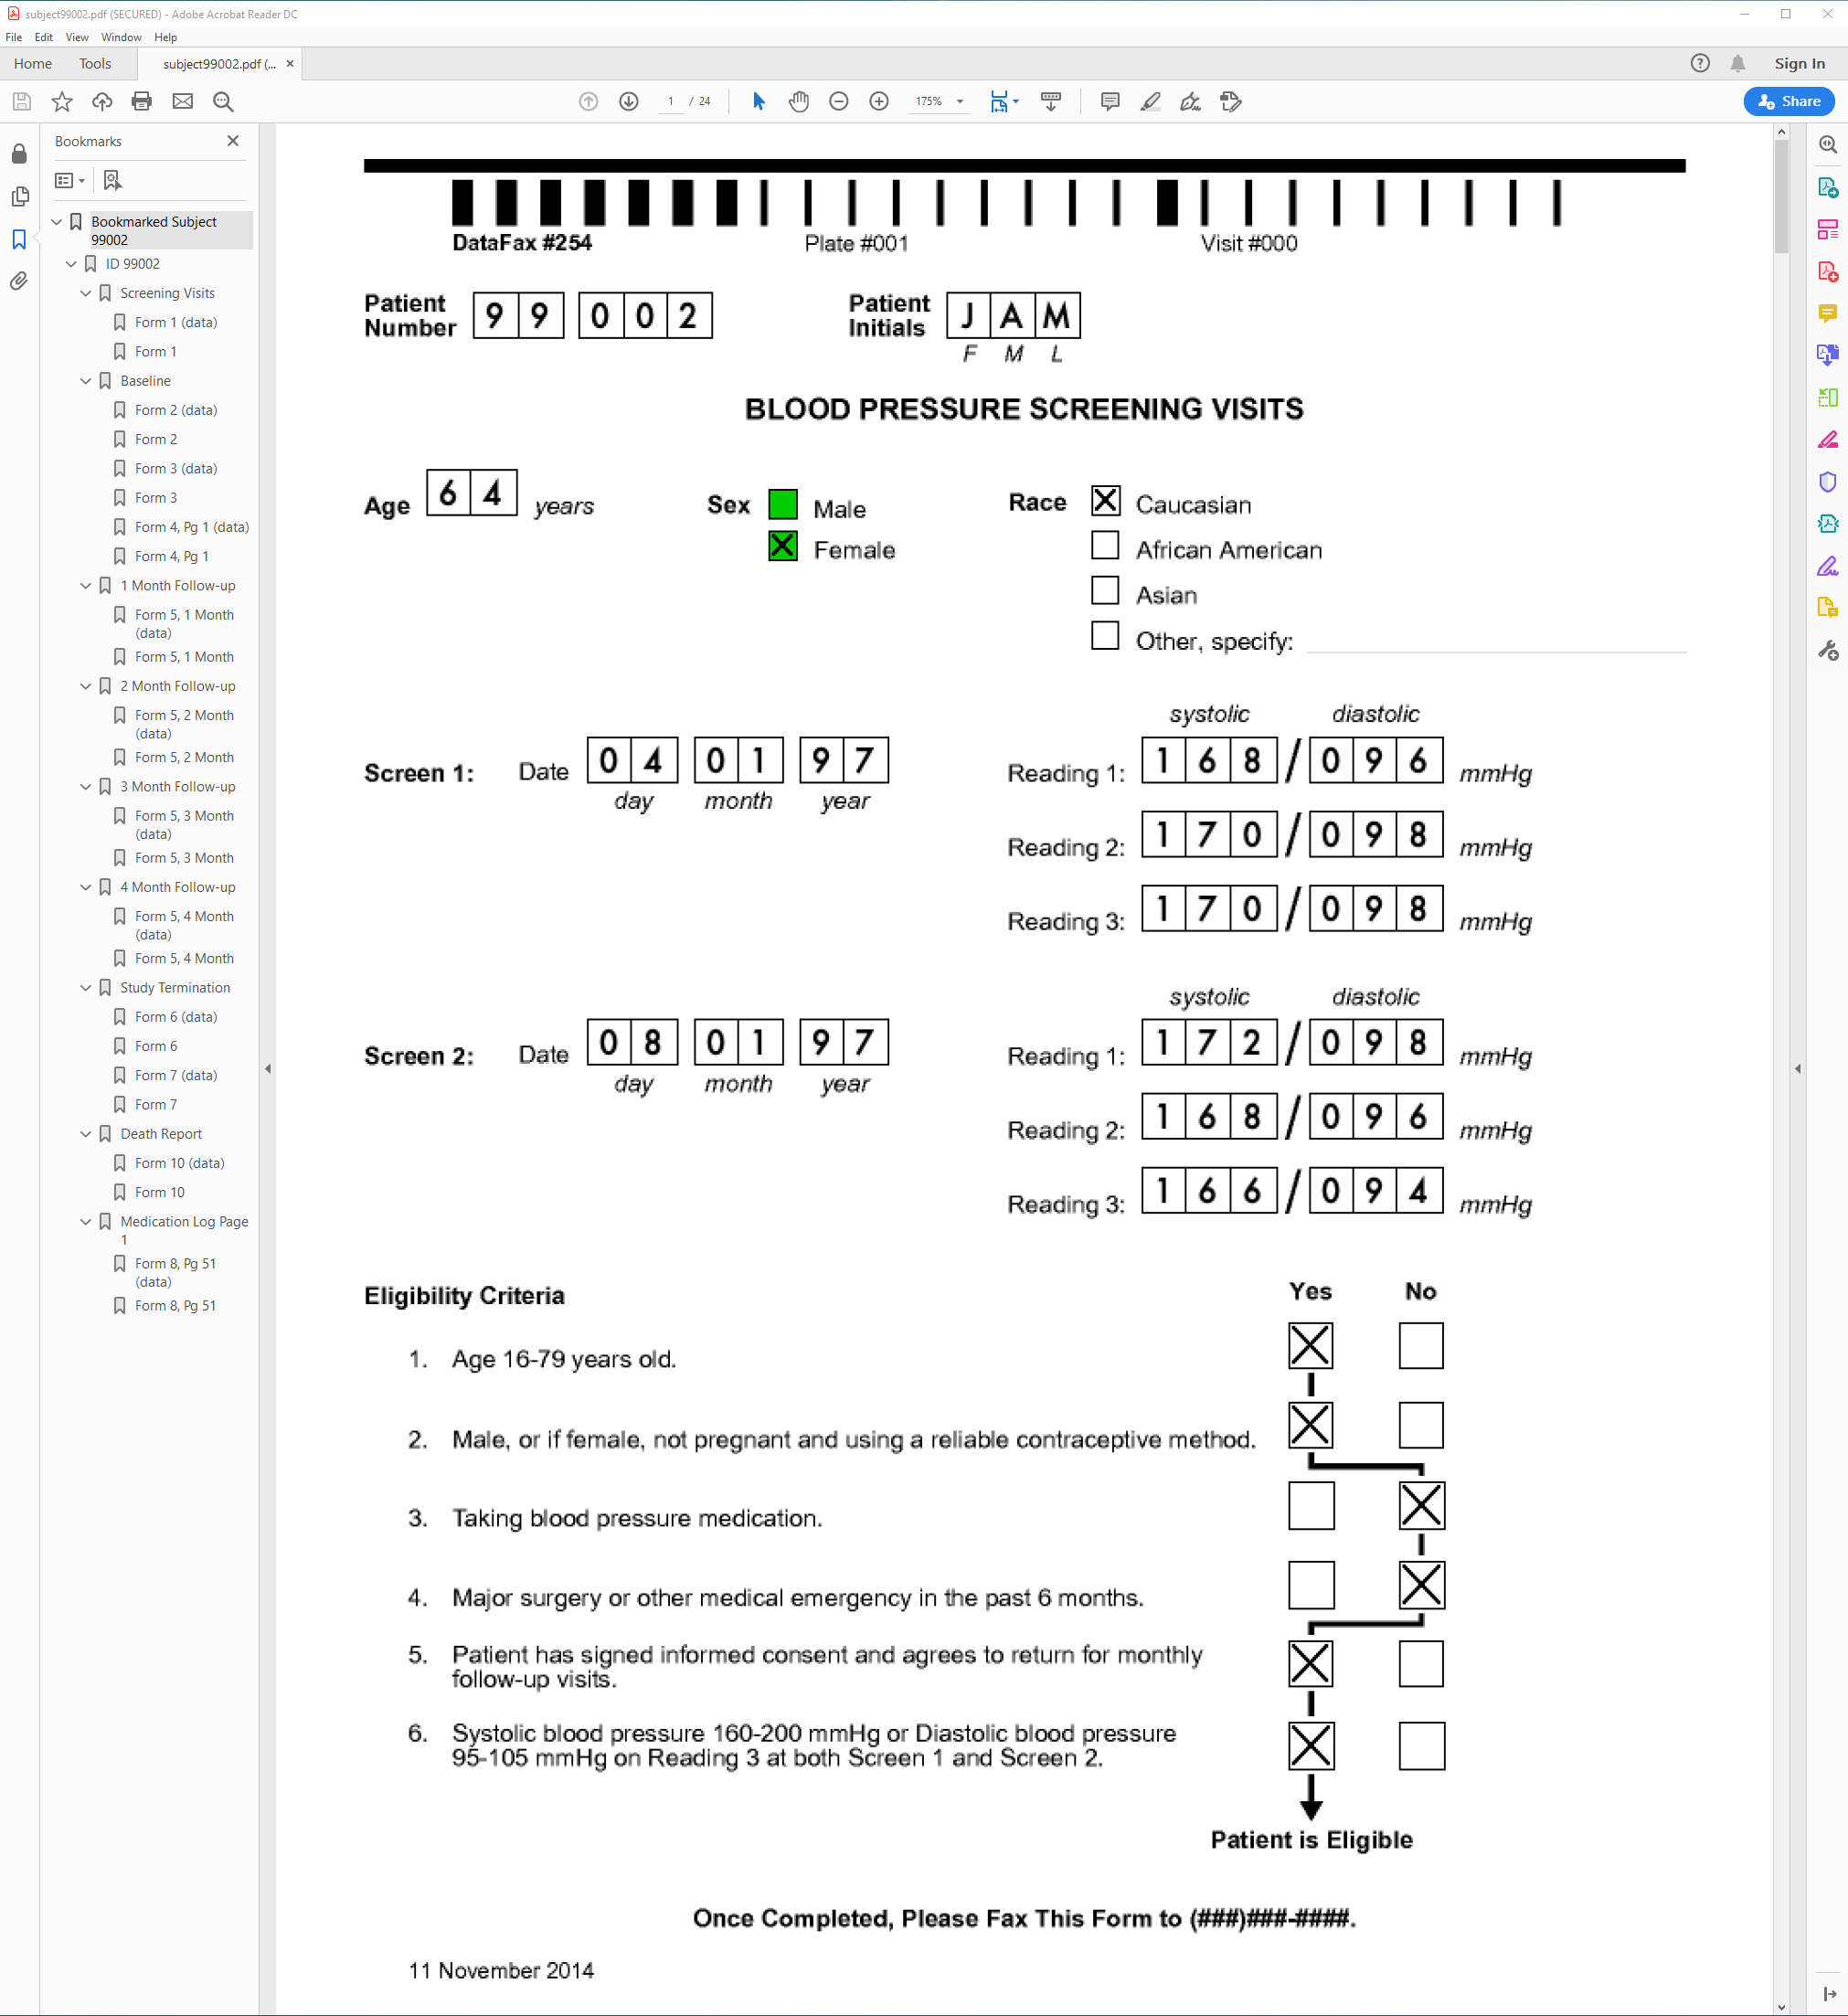
-
In the bookmark panel, each data record is represented by the suffix (data) to distinguish it from the primary CRF image. Click entry Form 2 (data) to make the Form 2 data record the active page. Click entry Form 2 to make the Form 2 primary CRF image the active page.
-
Exit the PDF viewer application. In DFexplore, select > . Then, select > . This will release the task set of records for Subjects 99001 and 99002. Click in the resulting dialog to retain the default settings.
-
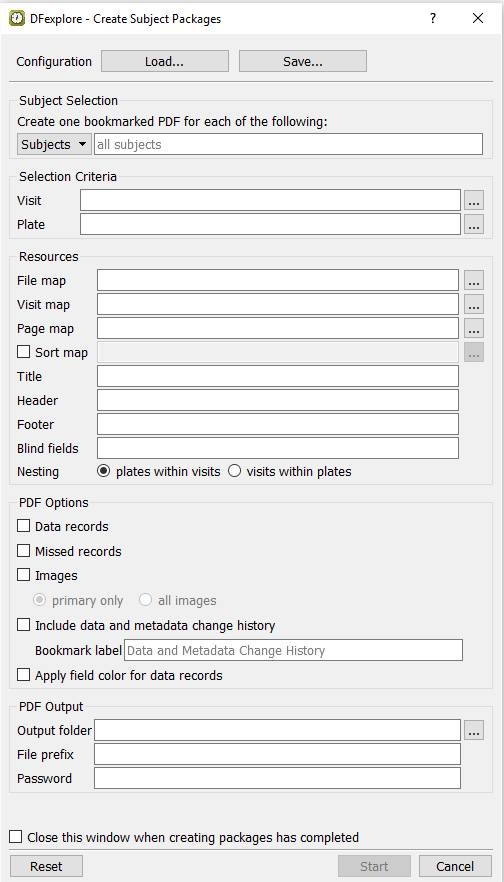
-
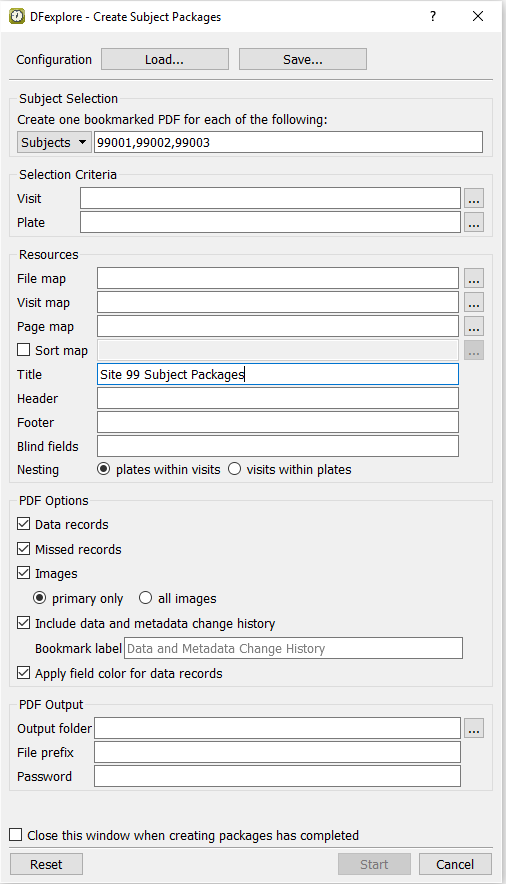
In the Subject Selection section, choose Subjects from the drop-down and enter
99001,99002,99003to create complete subject packages for Subjects 99001, 99002 and 99003.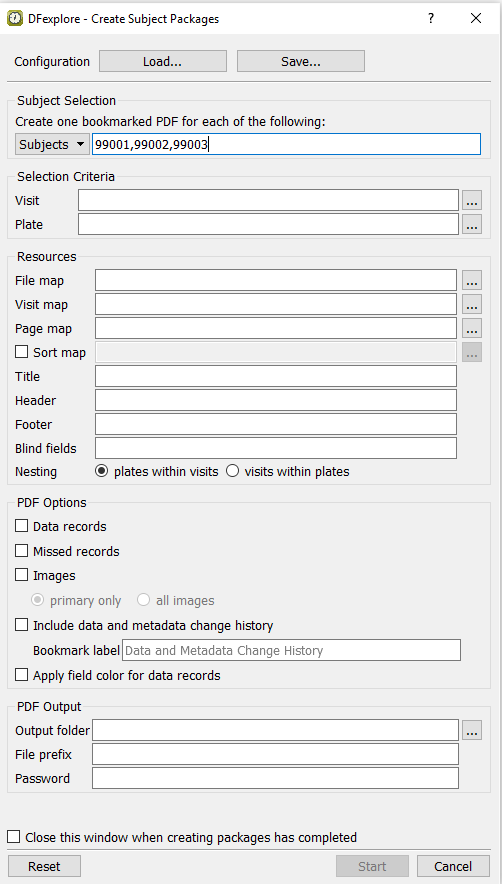
-
In the remainder of the dialog specify the following settings:
Title =
Site 99 Subject PackagesCheck (enable) Data records
Check (enable) Missed records
Check (enable) Images
Check (enable) primary only
Check (enable) Include data and metadata change history
Check (enable) Apply field color for data records
-
Specify a PDF output folder by first clicking Output folder to view the directory structure for the local computer. Select a directory in which to save the subject package PDF files.
-
Specify a file prefix to be prepended to each subject package created. Enter
Site99_in the File prefix field.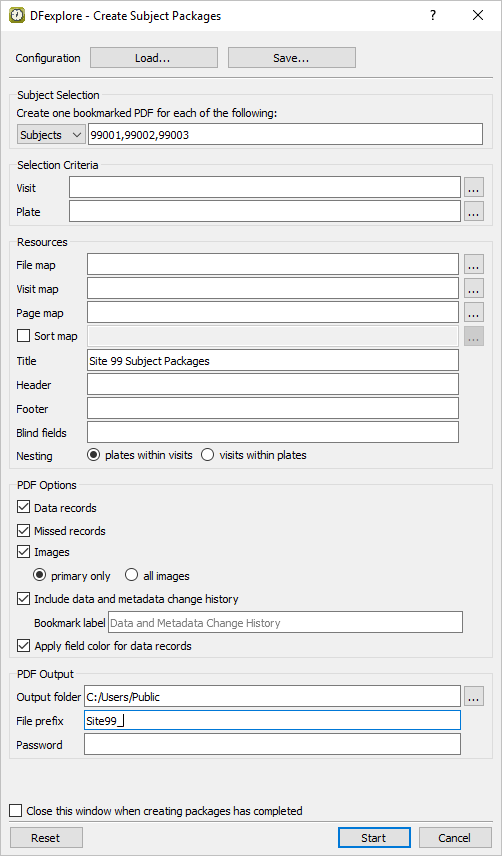
-
Do not encrypt the subject packages to be generated by leaving the Password field empty. Click to begin generating a complete subject package for each of the specified subjects 99001, 99002 and 99003.
-
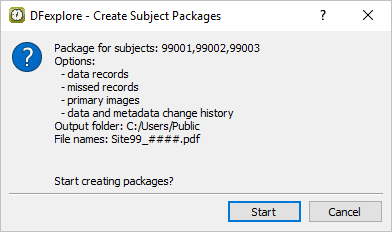
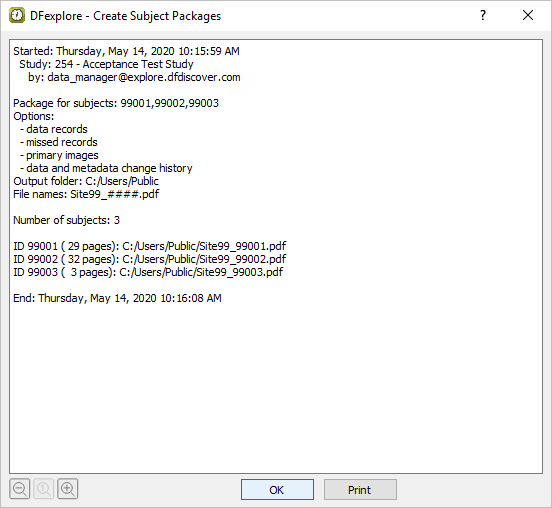
Verify that the output in the confirmation dialog specifies packages for subjects 99001, 99002 and 99003. Click to start package creation.
-
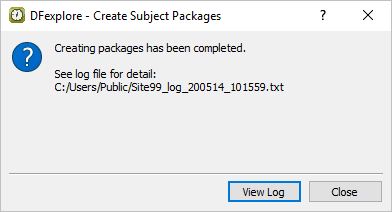
In the confirmation dialog, click . Review the output. Click to close the log.
-
The main Create Subject Packages dialog is displayed. Click to close this dialog.
-
A PDF viewer application is required for this test. Start the PDF viewer program. Locate and open the directory in which the PDF subject packages were saved in Step 7. Locate files
Site99_99001.pdf,Site99_99002.pdfandSite99_99003.pdf. -
Open the subject package for
Site99_99001.pdf. -
Open all bookmarks for Subject 99001.
-
In the record list, each data record is represented by the term (data) to distinguish it from its primary CRF image. Click entry Form 2 (data) to make the Form 2 data record the active page. Click entry Form 2 to make the Form 2 primary CRF image the active page.
-
In the bookmark list click the entry for Data and Metadata Change History to display the complete audit trail report for Subject 99001.
-
Exit the PDF viewer application to close both the file
Site99_99001.pdfand PDF viewer. -
Select > to close and exit DFexplore.