Table of Contents
- 7.1. Tests & Requirements
- 7.2. Begin Module 7. EDC Data Entry.
- 7.3. Login to DFexplore and inspect the list of sites, subjects and visits in the record list window.
- 7.4. Enter and save new data using EDC data entry for Subject 99007.
- 7.5. Add reasons to explain entered data values.
- 7.6. Enter and save Plate 3, Subject 99007 as a pending record.
- 7.7. Mark and save unavailable data as missed. Unmark available data as missed.
- 7.8. Retrieve and modify existing data using a predefined task and save modifications to the database.
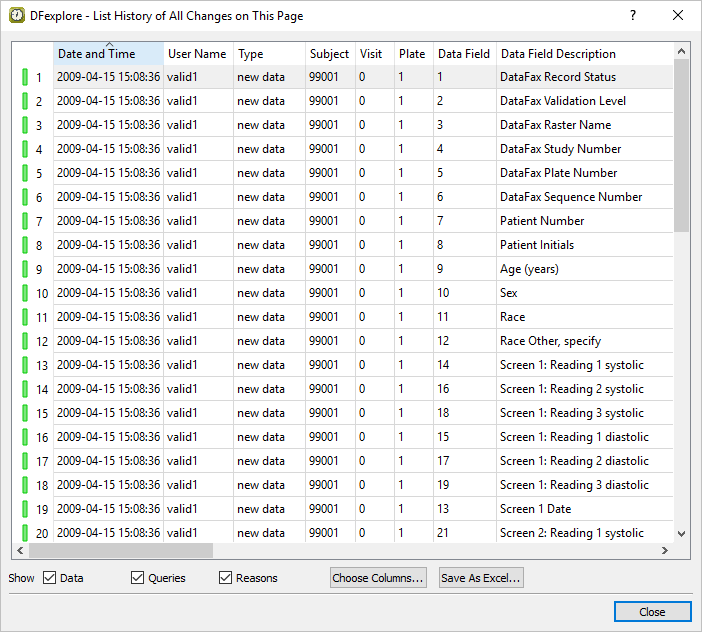
- 7.9. Confirm audit trail information for entered and modified data.
- 7.10. End Module 7. EDC Data Entry.
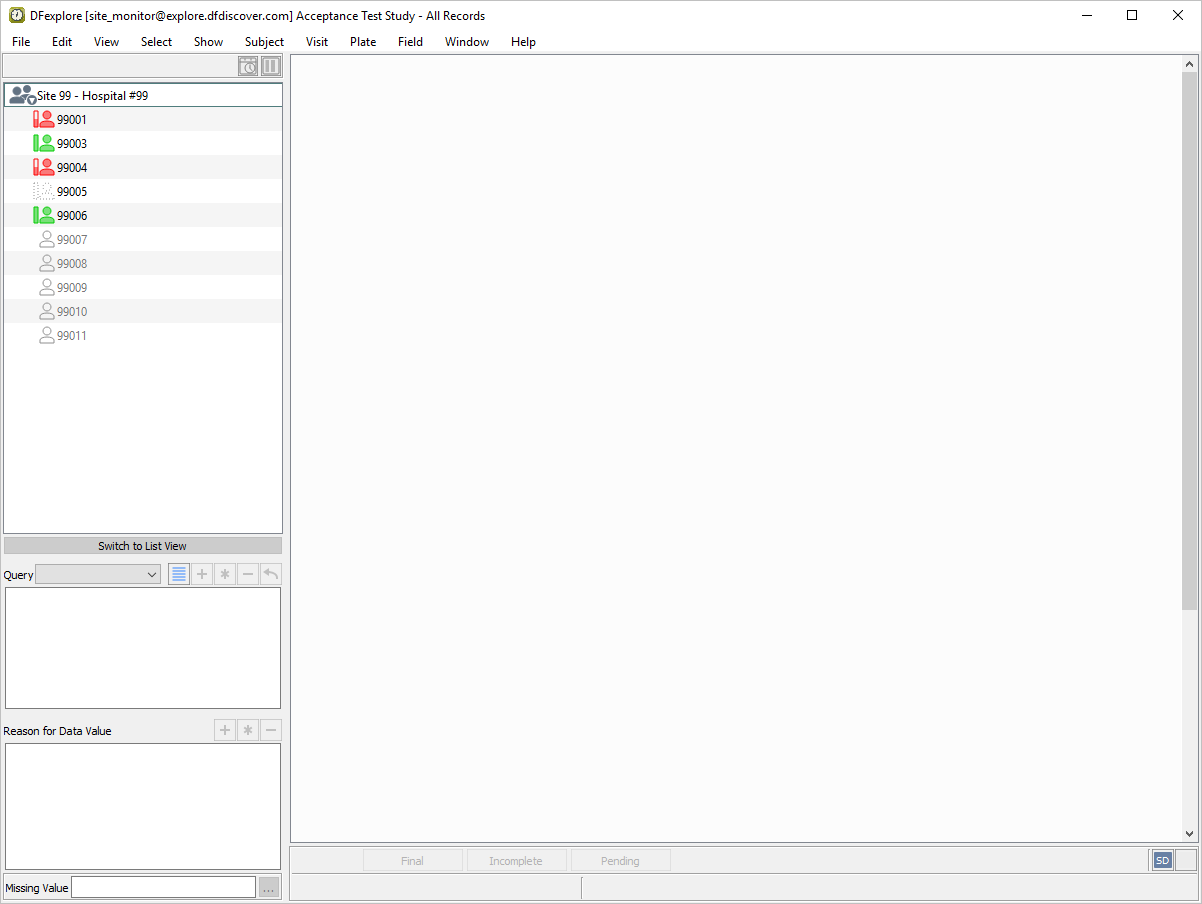
Login to DFexplore and the Acceptance Test Study and confirm the list of sites, subjects and assessments in the record list window.
Enter and save new data using EDC data entry for Subject 99007.
Add reasons to explain entered data values.
Enter and save Plate 3, Subject 99007 as a pending record.
Mark and save unavailable data as missed. Unmark available data as missed.
Retrieve and modify existing data using a predefined task and save modifications to the database.
Confirm audit trail information for entered and modified data.
Estimate of Time Required: 20 minutes
Every module uses DFATK and must be run as datafax.
-
Start DFATK as described in Module 1 (Installation & Initialization).
-
Click followed by to begin this module.
-
Click to email a copy of ID99007_module7.pdf to
site_monitor. Clicking more than once will result in multiple pages arriving to your email inbox.![[Note]](../../imagedata/note.png)
Note Refer to Section 1.8, “Creating user accounts and assigning study permissions.” as a valid email address is required for
site_monitorto receive the module specific PDF files.Wait 2-3 minutes prior to proceeding to DFexplore.
-
Start DFexplore, login as
site_monitorand choose 254 Acceptance Test Study as described in Section 1.7, “How to start DFexplore”. -
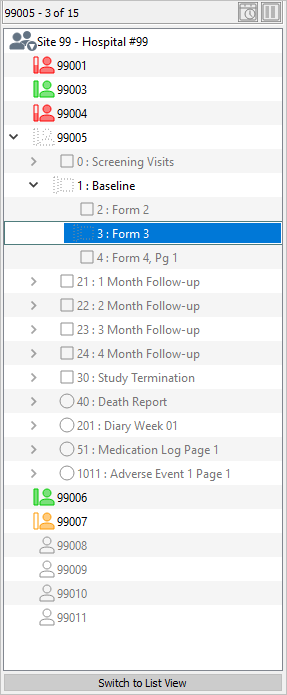
Confirm that only Site 99 - Hospital #99 is available.
-
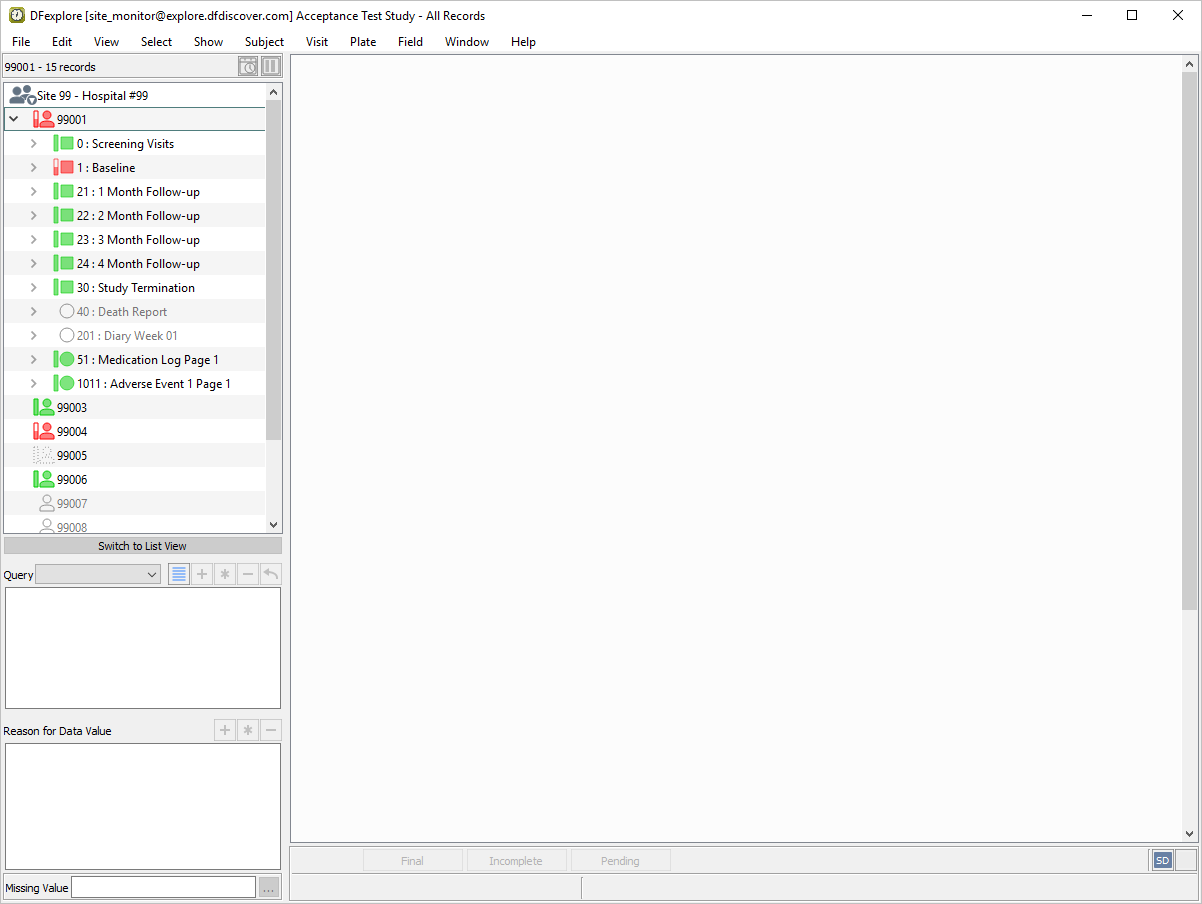
Double-click entry for Subject 99001 to select and open the subject binder. A list of available visits is displayed.
-
Double-click entry for the highlighted 1 : Baseline visit to display the list of pages belonging to the visit.
-
Close the subject binder for Subject 99001 by double-clicking Site 99 - Hospital #99 in the record list panel.
-
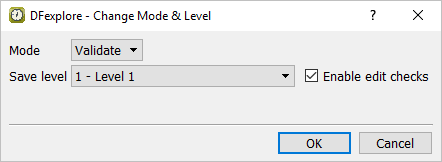
Using the paper CRFs that were printed or emailed at the beginning of this module (Step 2). Select > to set the working mode and data entry level. In the dialog, set:
Mode = Validate
Save level = 1 - Level 1
Check Enable edit checks
Click .
-
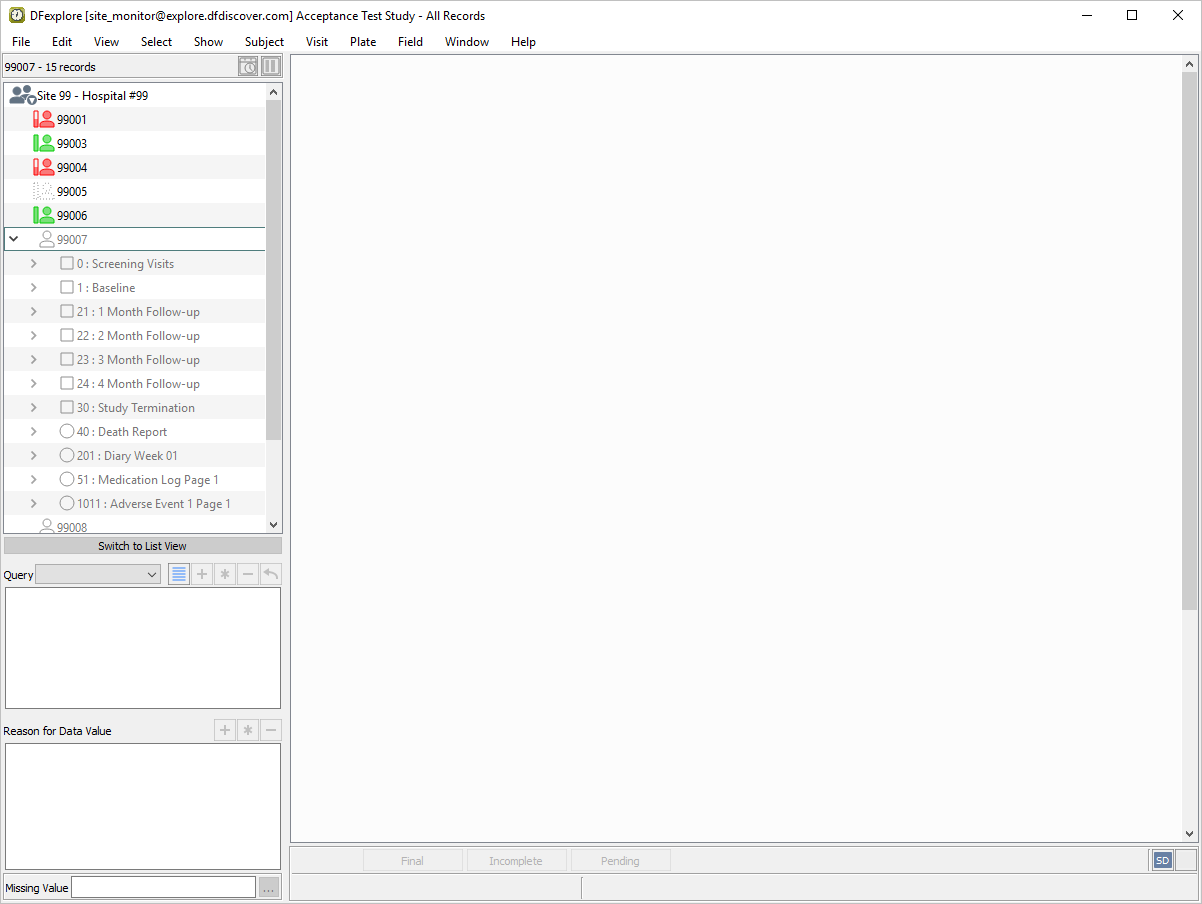
Double-click Site 99 - Hospital #99 entry in the record list panel. Double-click Subject 99007.
-
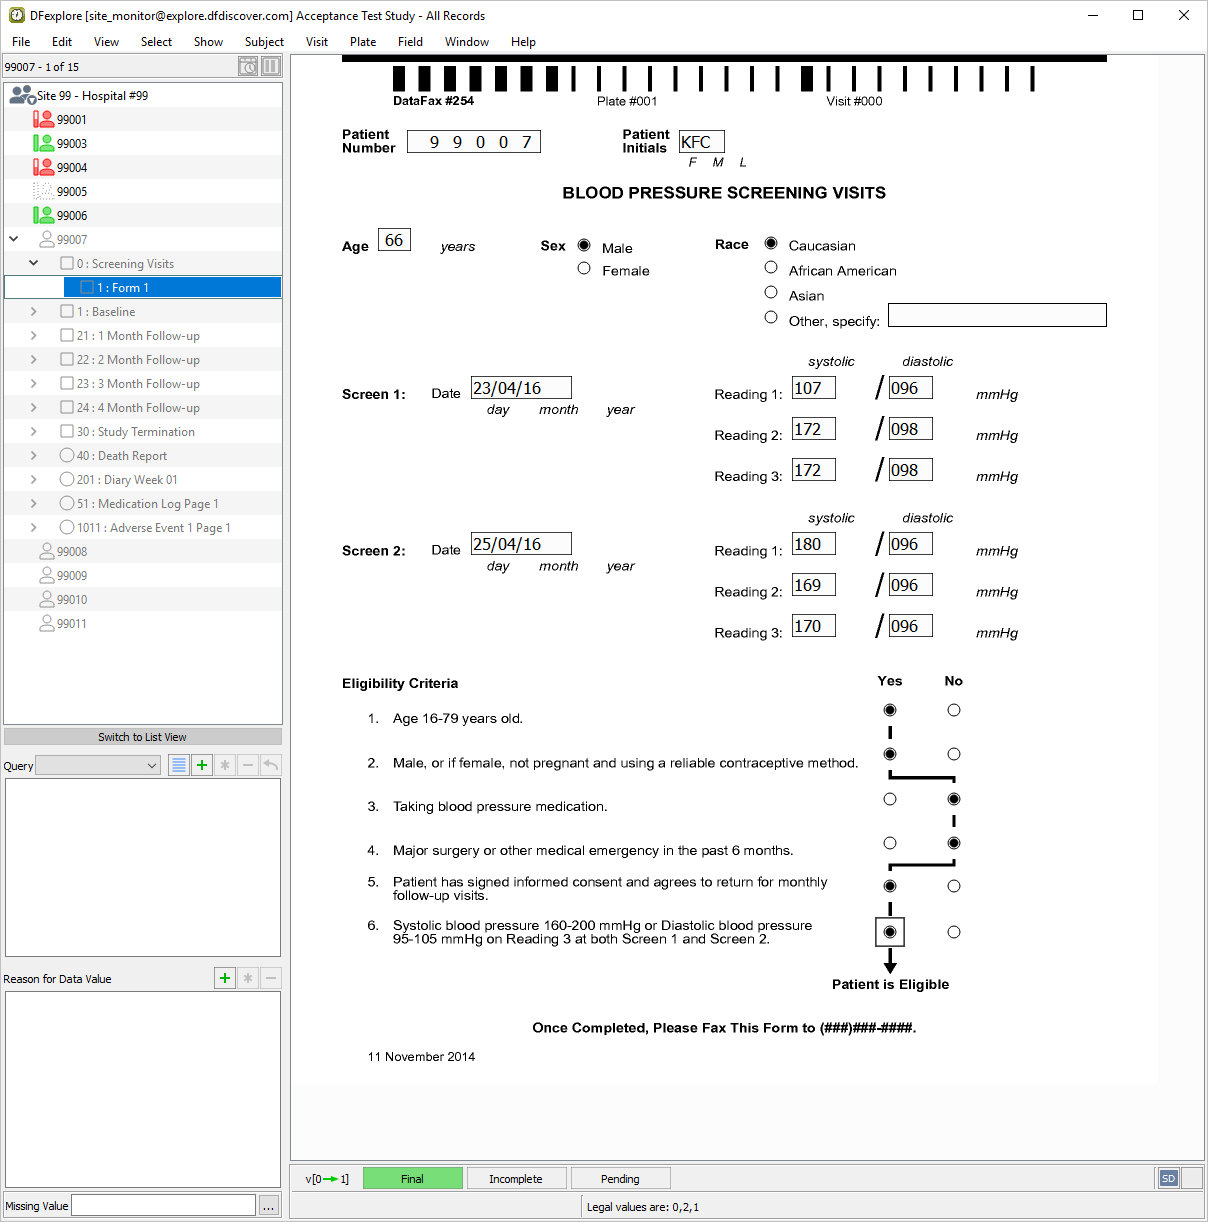
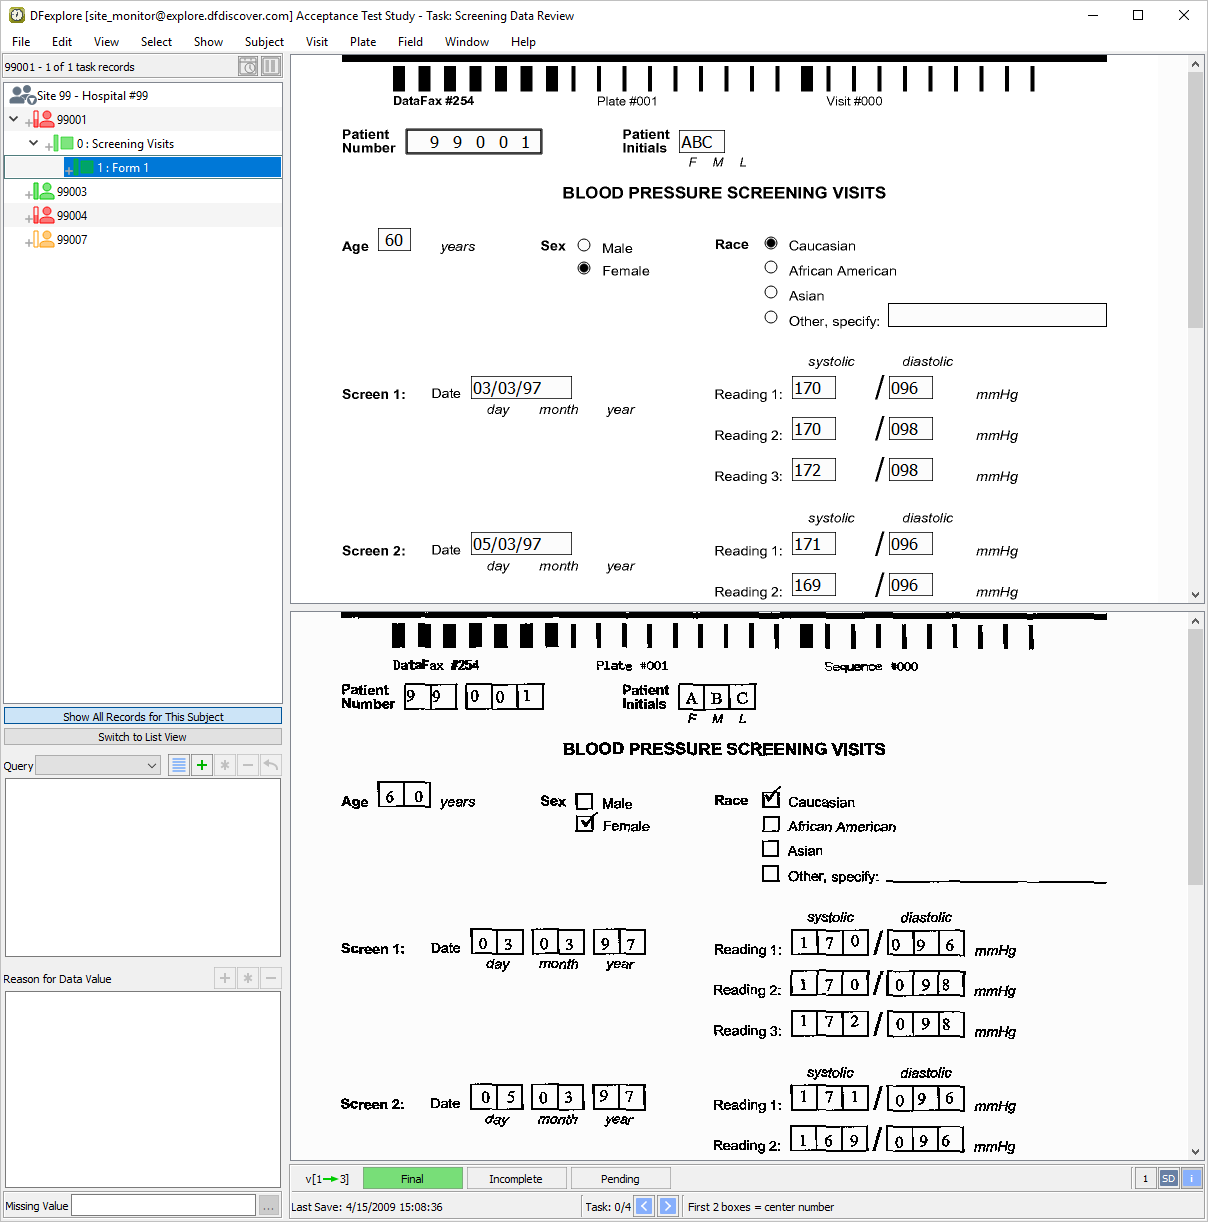
Double-click the 0 : Screening Visits entry to display all pages belonging to the visit.
-
1 : Form 1 becomes the active page. The data window redraws with the plate background and related data entry fields.
-
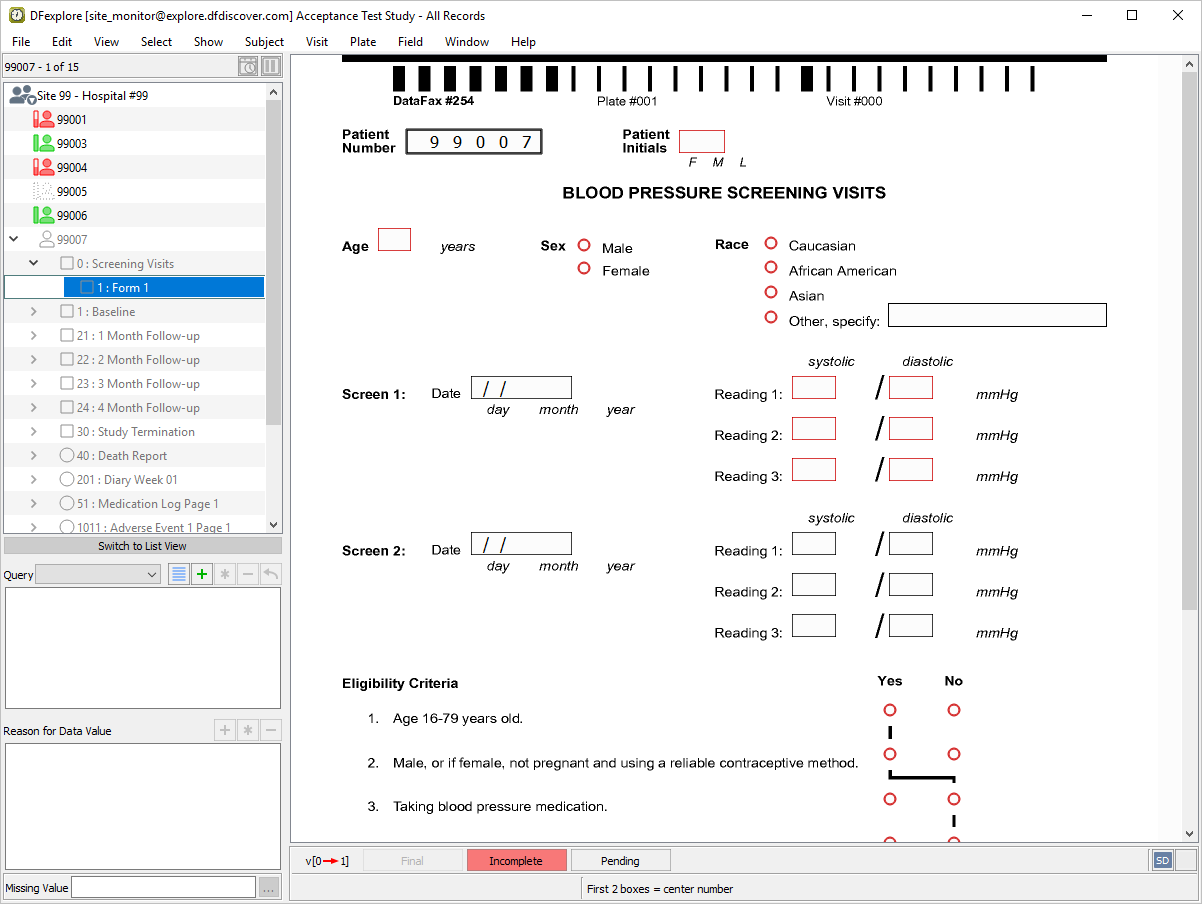
Click anywhere on the plate background - this moves the mouse and keyboard focus to the data window.
-
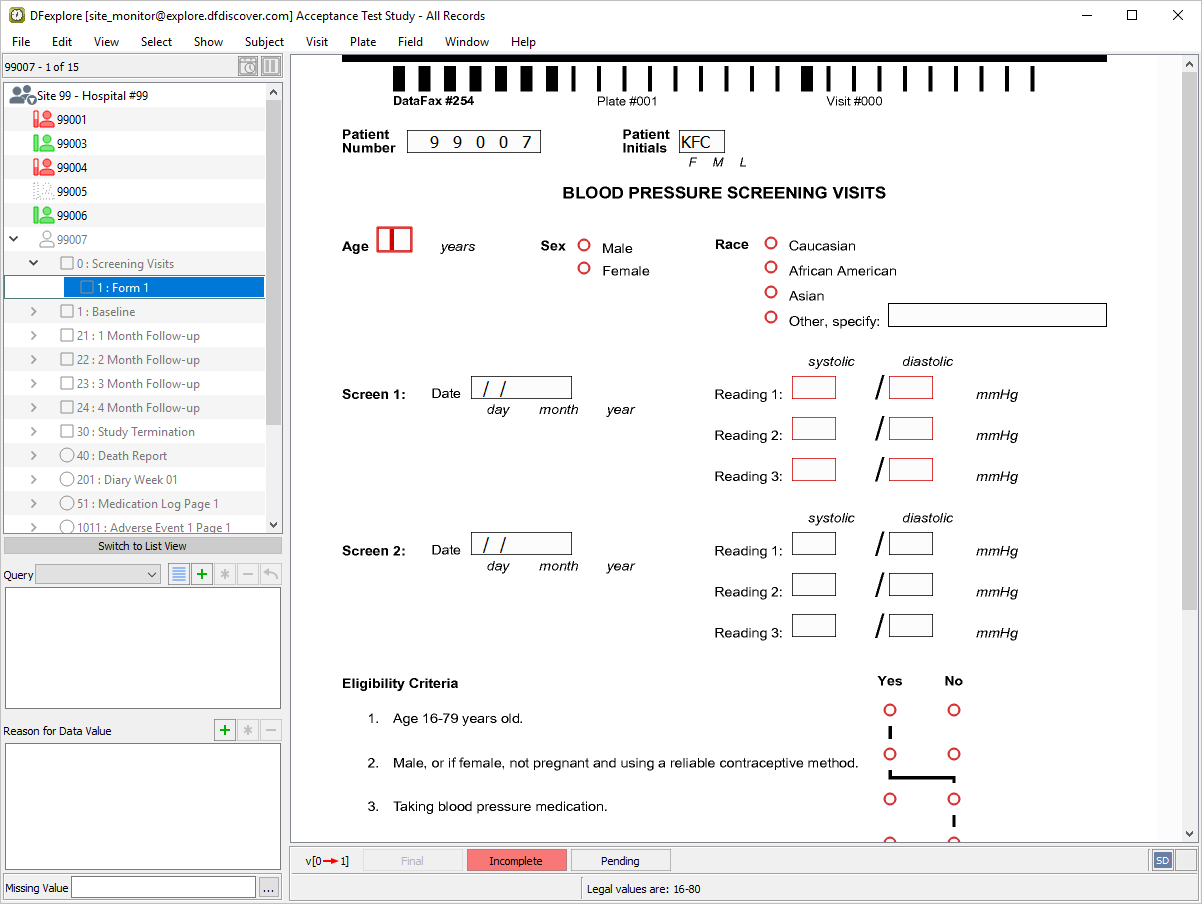
Beginning at the Patient Number field, press Tab to advance to the Patient Initials. Enter the initials as they appear on the printed CRF. Press Tab to advance to the next field.
-
Continuing from the Age field, press Tab to advance through the fields individually. Enter all remaining data as it appears on the printed CRF. Although leading zeros may not always appear on the paper CRF, be sure to enter leading zeros where necessary. After entering the Eligibility Criteria #6, press Tab to make the save buttons active.
-
As no data problems exist on the entered page, the page can be saved to the database with a Final status. Click .
-
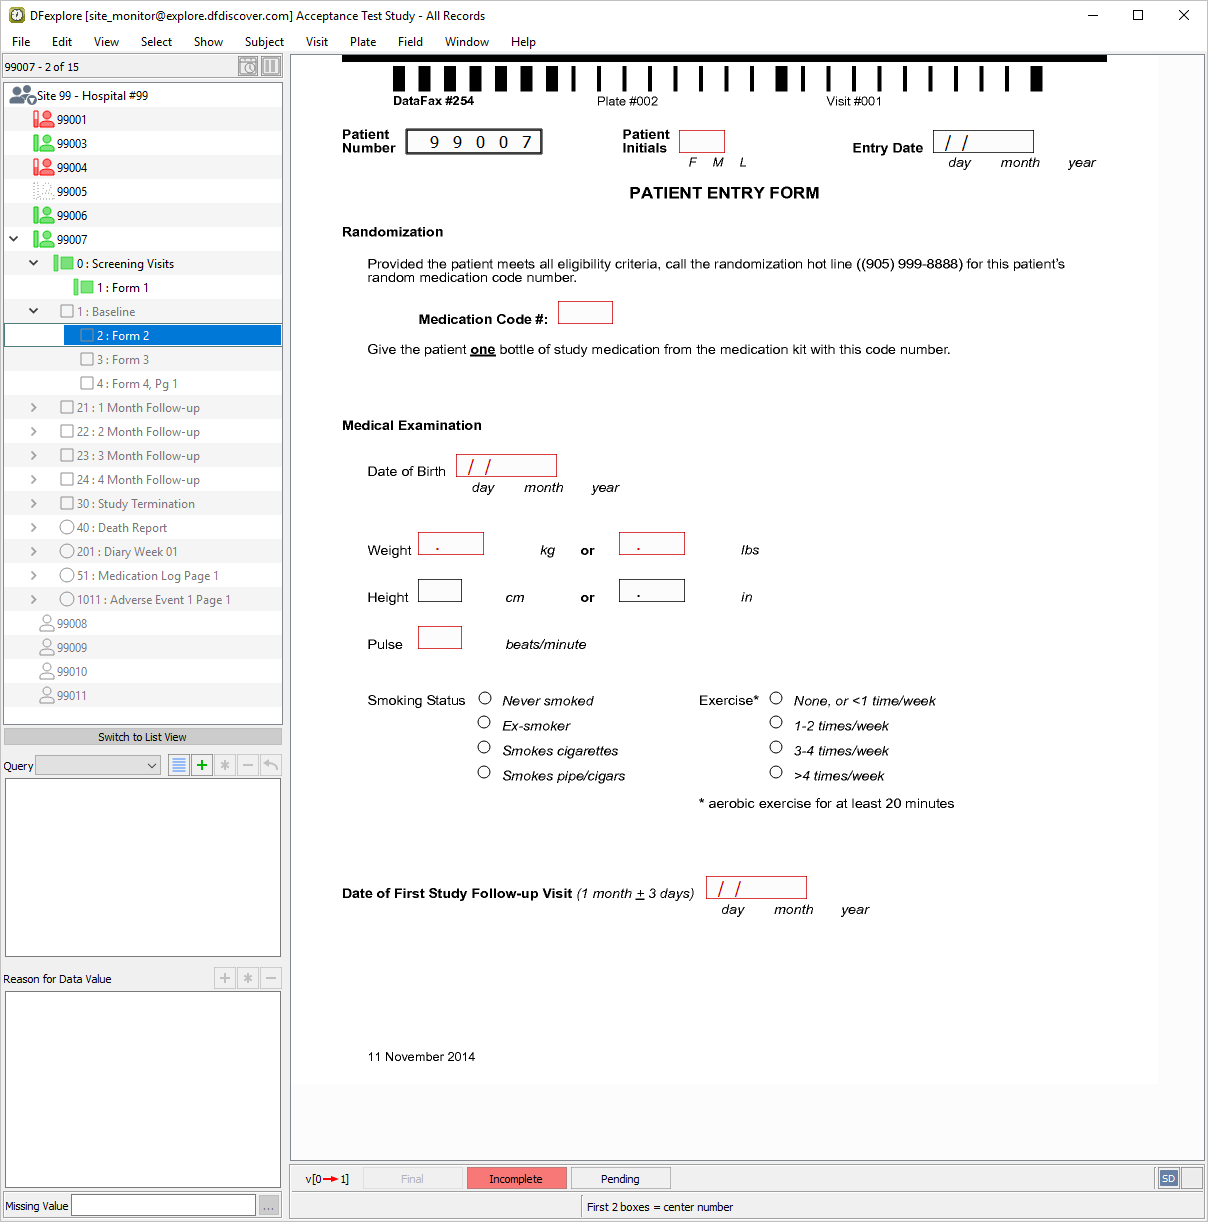
To open a new visit for Subject 99007, double-click the entry labeled 1 : Baseline in the record list panel.
-
Click anywhere on the plate background - this moves the mouse and keyboard focus to the data window.
-
With Patient Number as the active field, attempt to edit the pre-filled value, note that this is not possible. Press Tab to advance to Patient Initials. The
SetInitedit check executes upon entry to the field. If the initials are available on the 1 : Form 1 (previously entered), they are brought forward and populate the Patient Initials field.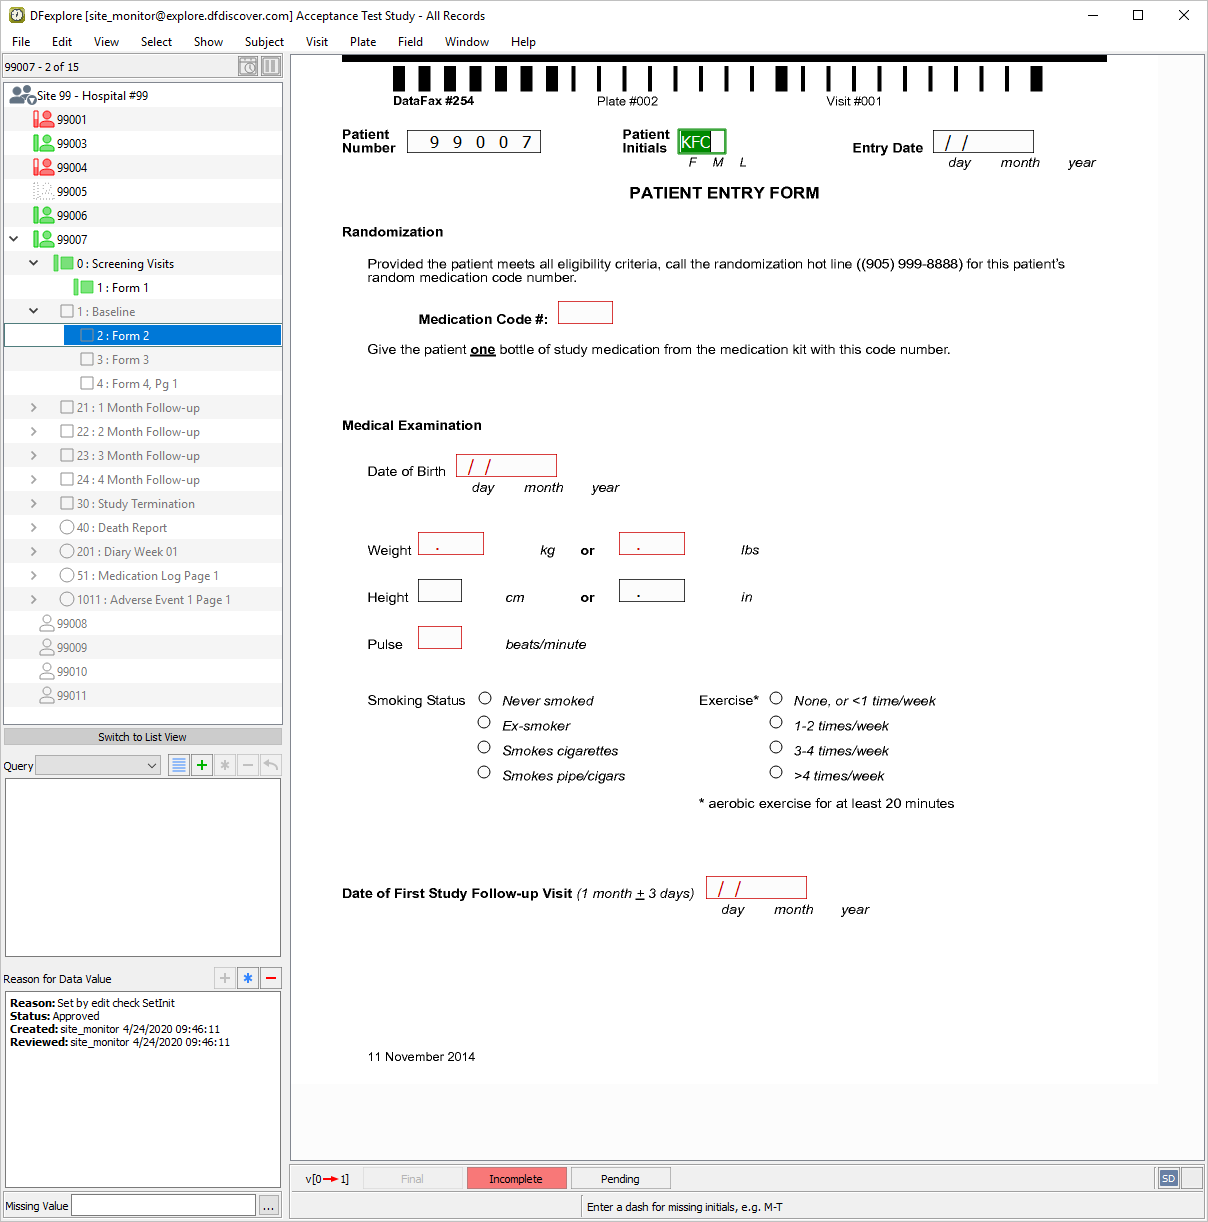
-
Press Tab to advance through each field and enter the data as it appears on the printed CRF, up to and including Weight (lbs). Press Tab to exit the Weight (lbs) field and execute the
WeightEquivedit check. TheWeightEquivedit check calculates and enters the equivalent value in the blank Weight (kg) field.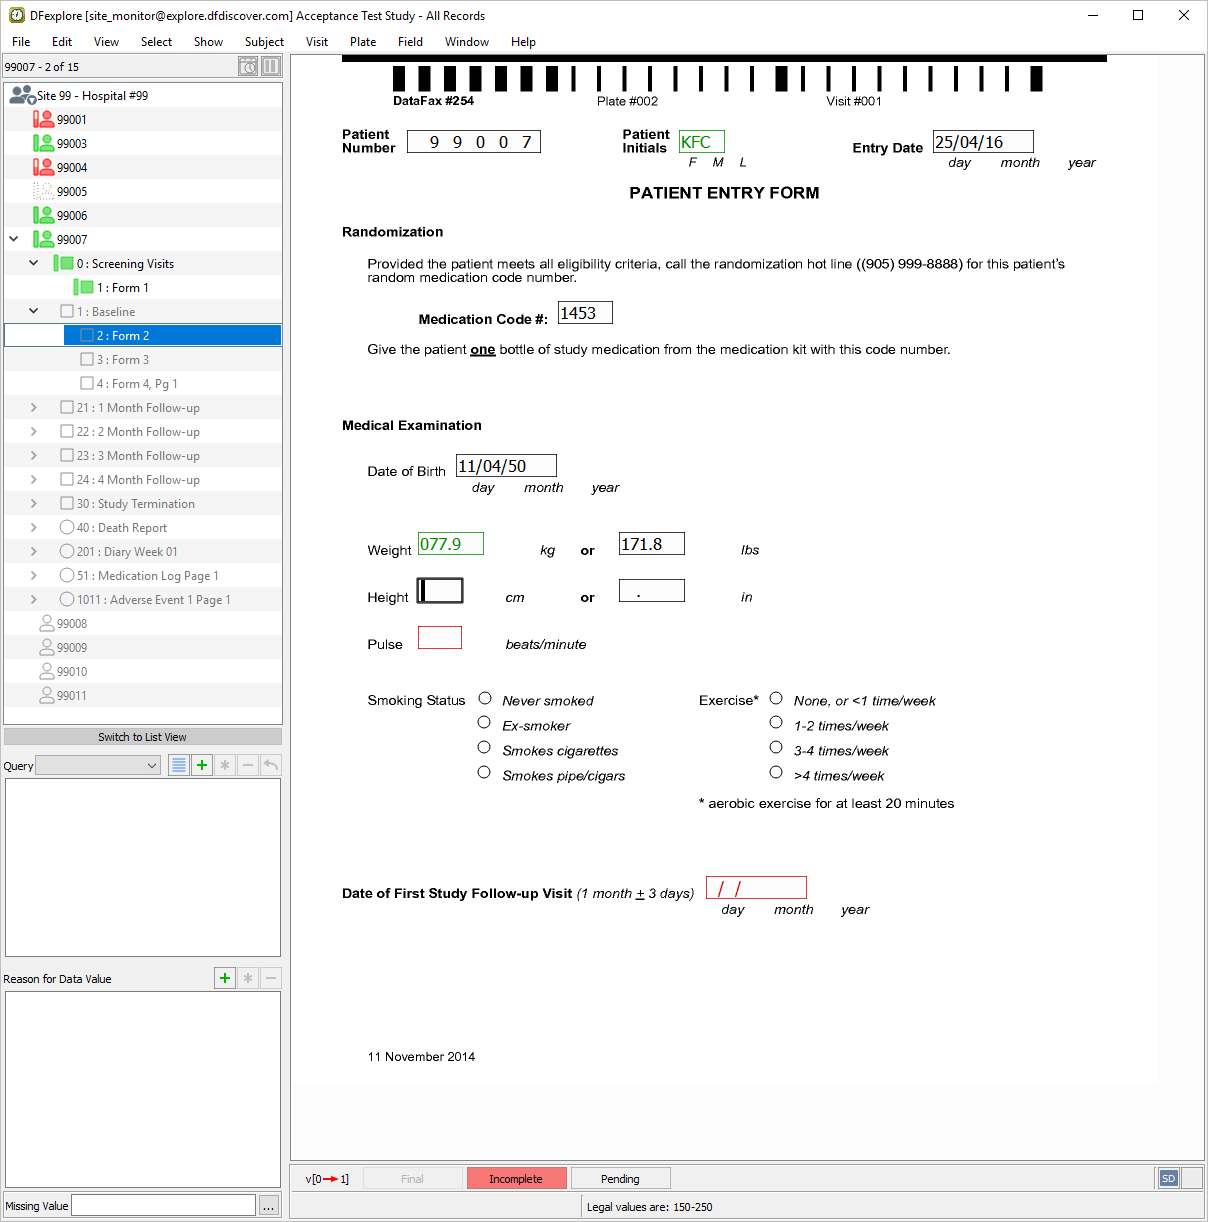
-
The
HeightEquivedit check is similar to theWeightEquivedit check. If only one of the two height values are entered, the edit check calculates and enters the equivalent value for the blank field. Press Tab to exit the Height (in) field and enter the value as it appears on the printed CRF (including leading zeros). Press Tab to exit the field.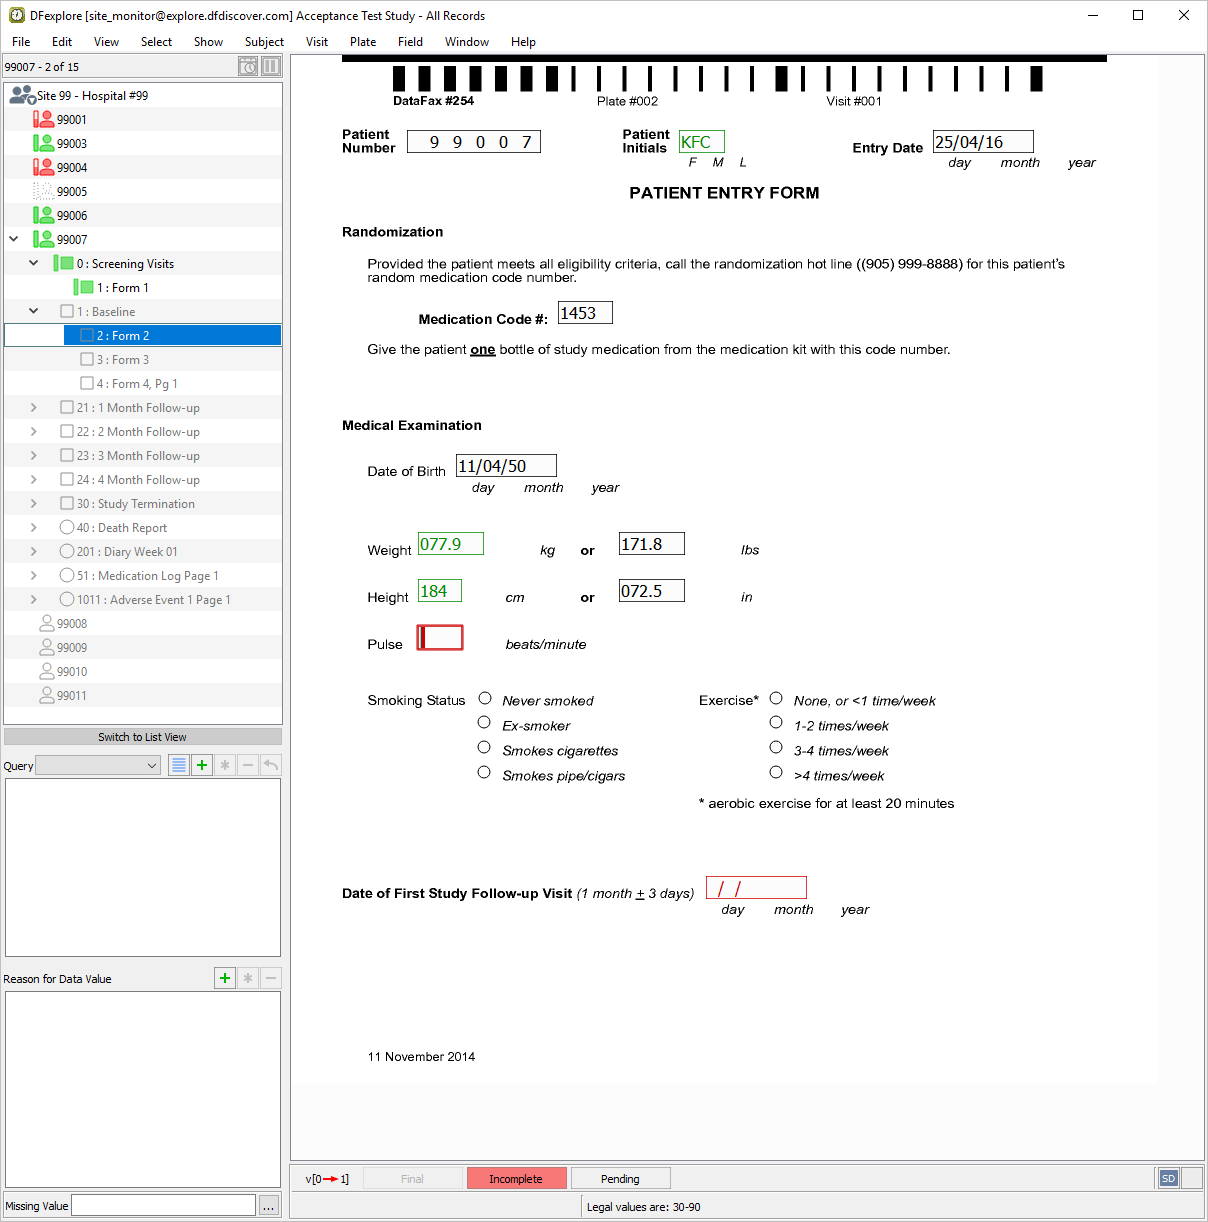
-
Enter all remaining data on the page as it appears on the printed CRF, up to and including the Pulse field. Press Tab to advance to the Smoking Status field.
-
Select > or click
 in the Reason for Data Value window.
In the resulting dialog, choose Approved from the pull-down list.
in the Reason for Data Value window.
In the resulting dialog, choose Approved from the pull-down list.
-
Enter the text
Smoking Status data will be provided once contact has been made with the patient.for the Reason property. Click , press Tab to advance to the Exercise field.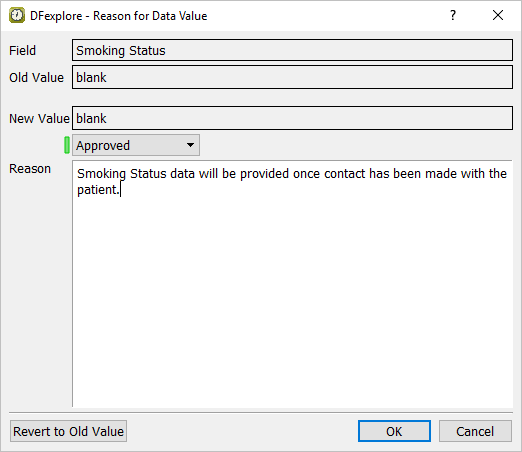
-
Select > or click
in the Reason for Data Value window. Choose Pending from the pull-down list.
-
Enter the text
Exercise data will be
        provided once contact has been made with patient.
for the Reason property. Click , press Tab to advance to the Date of First Study Follow-up Visit field.
-
Enter the Date of First Study Follow-up Visit and press Tab to advance to the save field. Verify that is highlighted. Do not save the page with this status as the Smoking Status and Exercise fields have yet to be completed. Click .
-
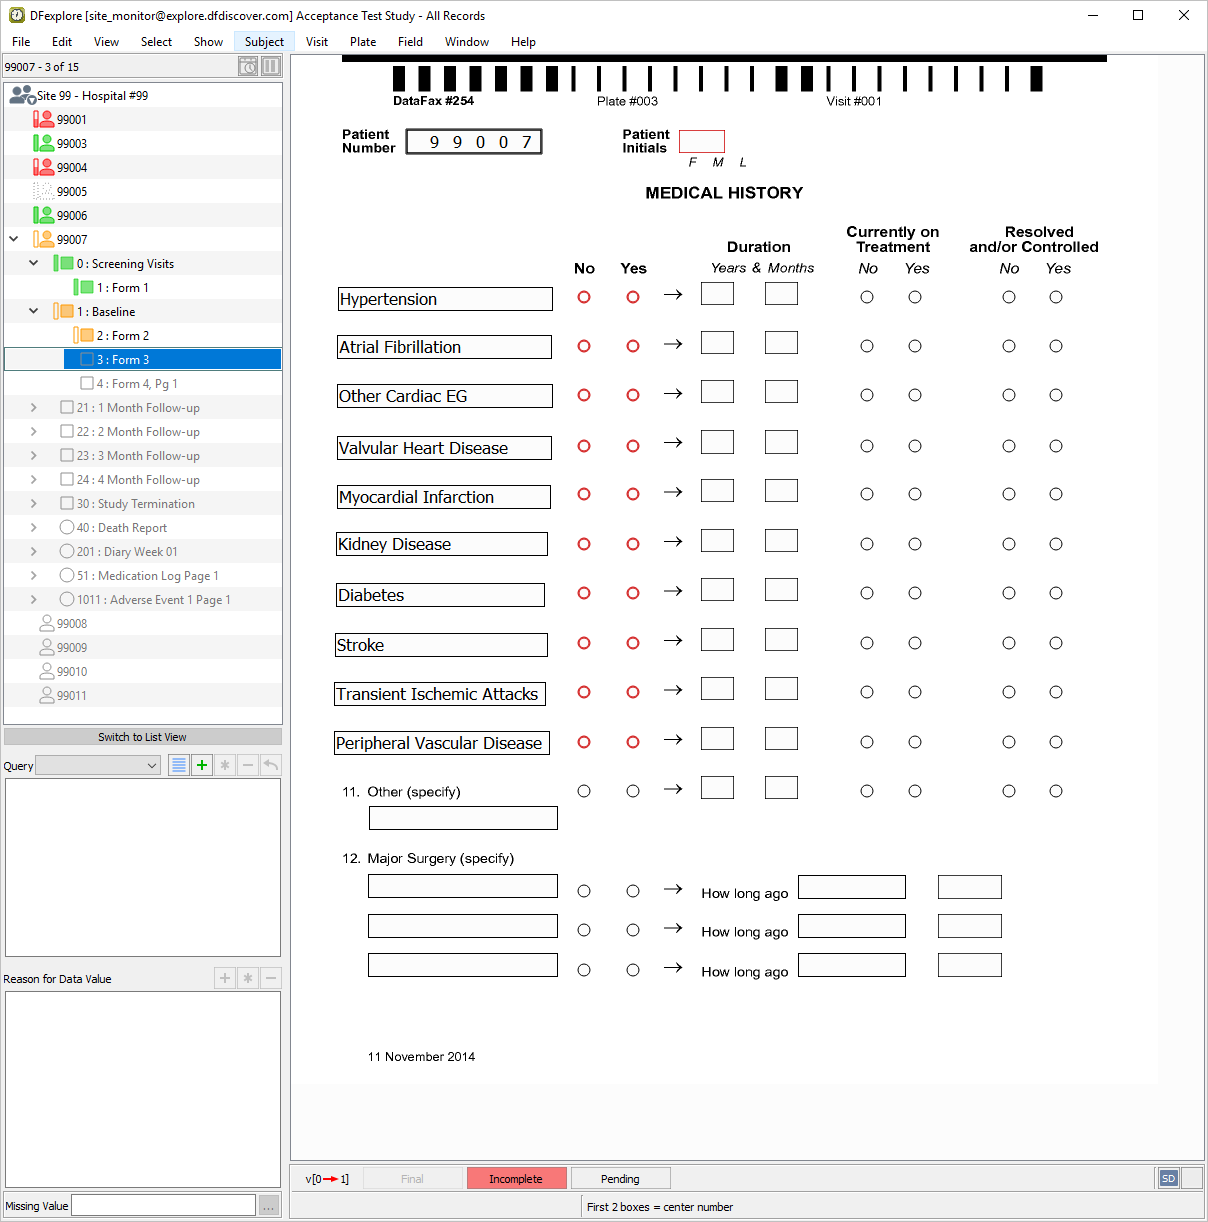
Subject 99007 3 : Form 3 becomes the current record. Click anywhere on the page background to make the fields active for entry.
-
Starting at the Patient Number field, press Tab to advance to the Patient Initials field. The
SetInitedit check executes upon entry to the field.
-
Continuing at Patient Initials, press Tab to advance through each field and enter the data as it appears on the printed CRF. The medical conditions that appear pre-printed on the CRF page have been defined as constant values in the study setup. As a result, these fields cannot be edited. Press Tab to advance to the save buttons. As data for Major Surgery is not yet complete, click to save the page with status Pending.
-
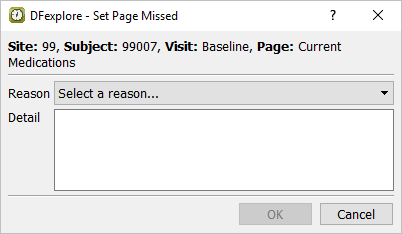
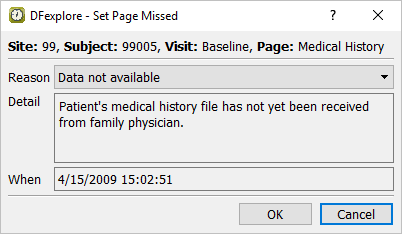
Baseline 4 : Form 4, Pg 1 is now the active page. As no data is available for this page, select > .
-
In the dialog, choose Data not available value from the Reason pull-down list. Enter
Medication information is missing
        from patient's chart.
as the Detail. -
Click to register the page as missed.
-
Double-click Subject 99005 in the record list. From the now open list of visits for that subject, double-click the 1 : Baseline visit.
-
All pages for that visit are displayed.
-
Choose 3 : Form 3. Select > . In the confirmation dialog, click .
-
Enter the text
Patient's chart has been located and Medical History is available.in the Reason field. Click to unset 3: Form 3 as missed.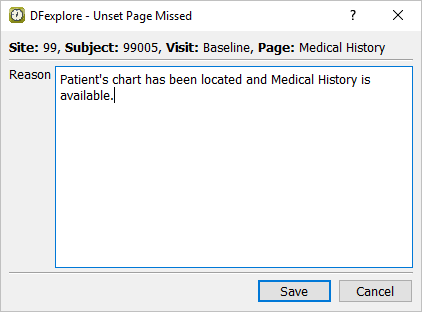
-
Double-click Site 99 - Hospital #99 entry in the record list. This closes all open subject binders for Site 99 - Hospital #99.
-
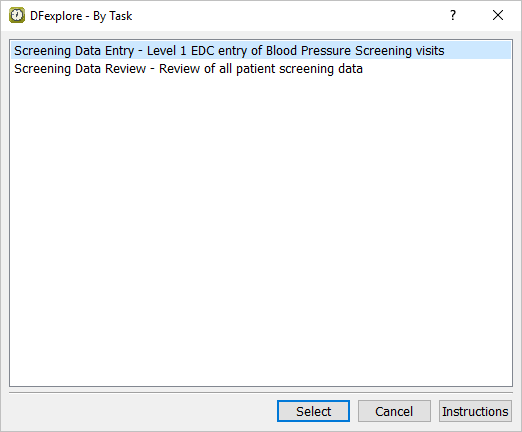
Select > to view the list of predefined data entry and data management tasks.
-
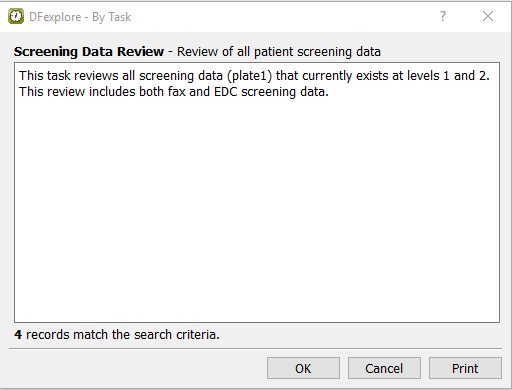
Click Screening Data Review from the list, then to load the task and its selection criteria. This task is used to review all screening plate 1s that exist at level 1 or 2 and save them to level 3. Examine the lower left of the dialog to determine the number of records that match the task search criteria. Confirm that the number is 4.
-
Click to bring forward all records that match the task criteria.
-
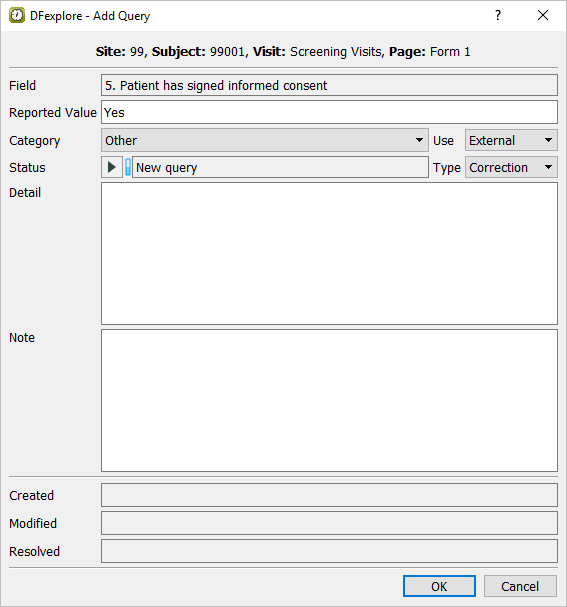
Beginning with the first task record for Subject 99001, press Tab to advance through all fields on the page, comparing their values to those on the CRF image in the image window. When Eligibility Criteria #5 is the current field, select > or click
in the Query window.
-
Category = Other
Use = External
Status = New query
Type = Clarification
Detail enter
We have not received this patient's informed consent form. Please send it by fax or email without delay.

-
Click to apply the query.
-
Press Tab to advance through the remaining fields on the page. Once all fields have been traversed, press Tab to make the save buttons active.
-
Click to save the current task record to the database at level 3.
-
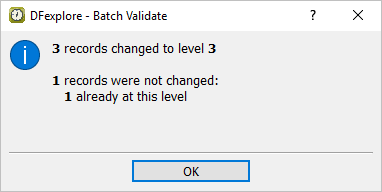
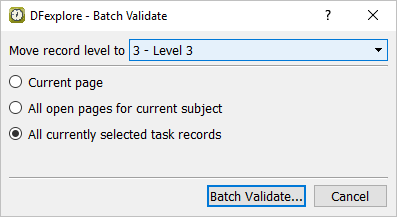
Batch validate the remaining records in the task list to raise their level to level 3. Select > . In the dialog, set:
Move record level to = 3 - Level 3
Choose All currently selected task records
Click .
-
Enter Username of
site_monitor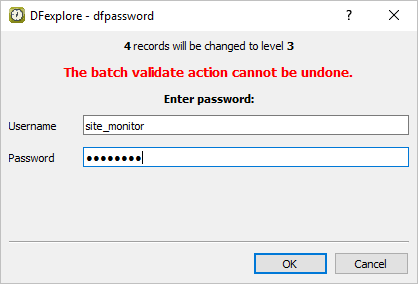
-
Review the details in the summary dialog. Click to close the summary dialog and complete the batch validation operation.